How To Retouch Backgrounds in Lightroom
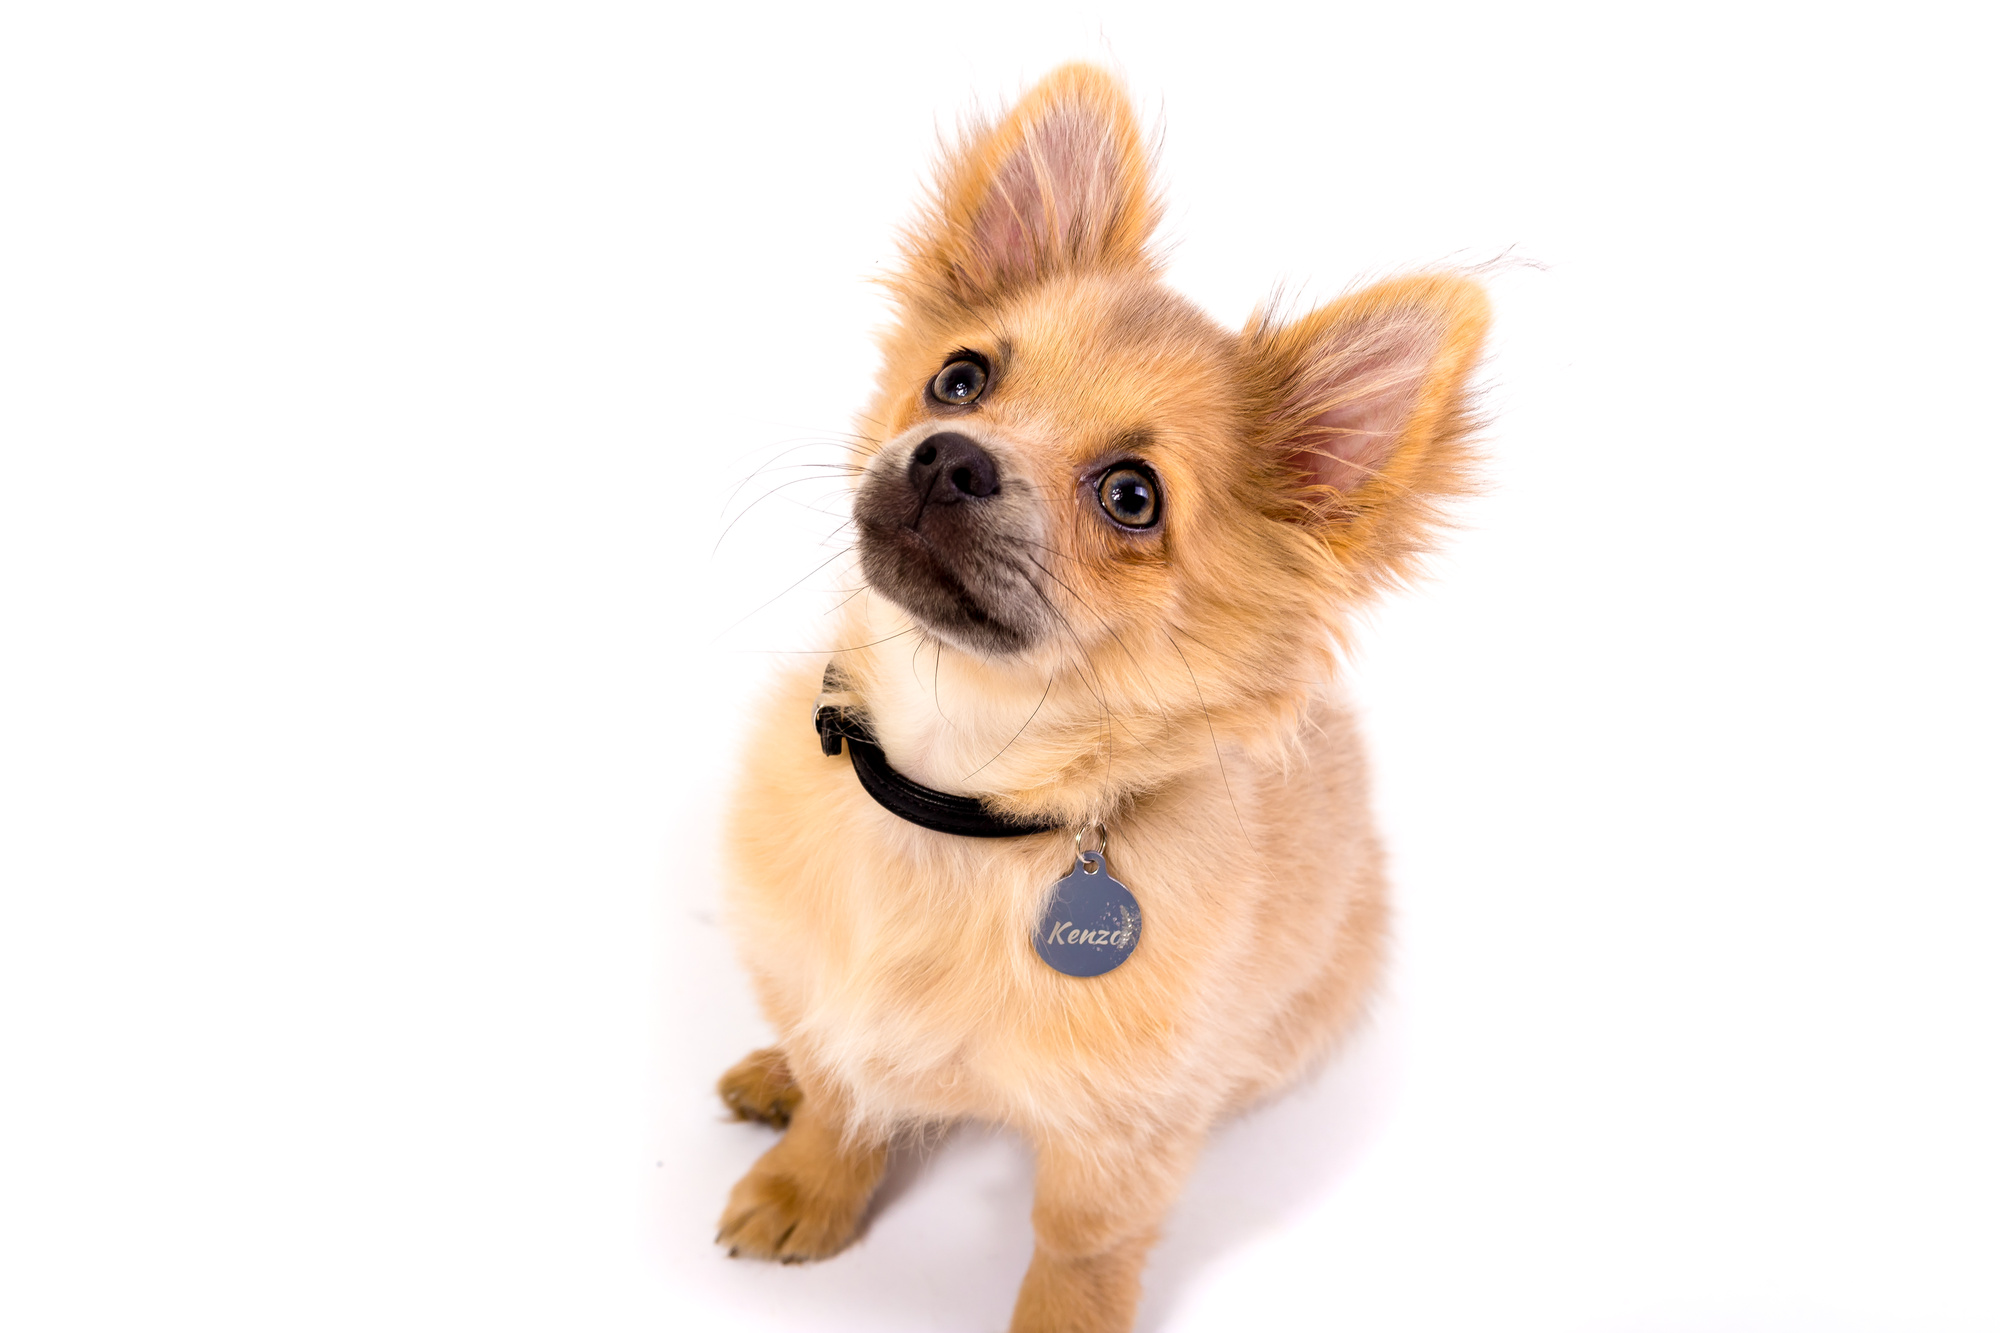
After the photo shoot with Kenzo, I struggled a lot with the retouching. I didn’t want to blow out the light details in Kenzo’s fur, but the background should still be evenly bright without borders or spots on high res screens.
I found a method, that lets me control that without even leaving Lightroom for Photoshop, which was exactly what I was looking for.
There is a lot of inspiration to find on the Internet on how to edit perfect backgrounds of studio shots. However, most of them focus on Photoshop. I, however, wanted a method that I could add to my workflow in Lightroom instead of exporting each single picture to Photoshop, where I then would work with all kinds of brushes and layers. For other situations, those methods and tutorials might be fine, but they were not what I was looking for now.
Using clipping warnings
I found the clipping warnings in Lightroom to be the tool I was looking for. They can be used for both white and black backgrounds (not for grey or colored ones, though), and are not so much a concrete tool that will do all the work for you. However, I found them very useful as they give me a clear visual feedback and I don’t have to guess whether the background is even now.
I found the tip on Adorama’s YouTube channel. Gavin Hoey uses the clipping warnings both for white backgrounds (video starts at 8:32 min) and black backgrounds (video starts at 8:15 min).
Both Lightroom and Camera RAW (in Photoshop) are able to show clipping warnings.
Examples
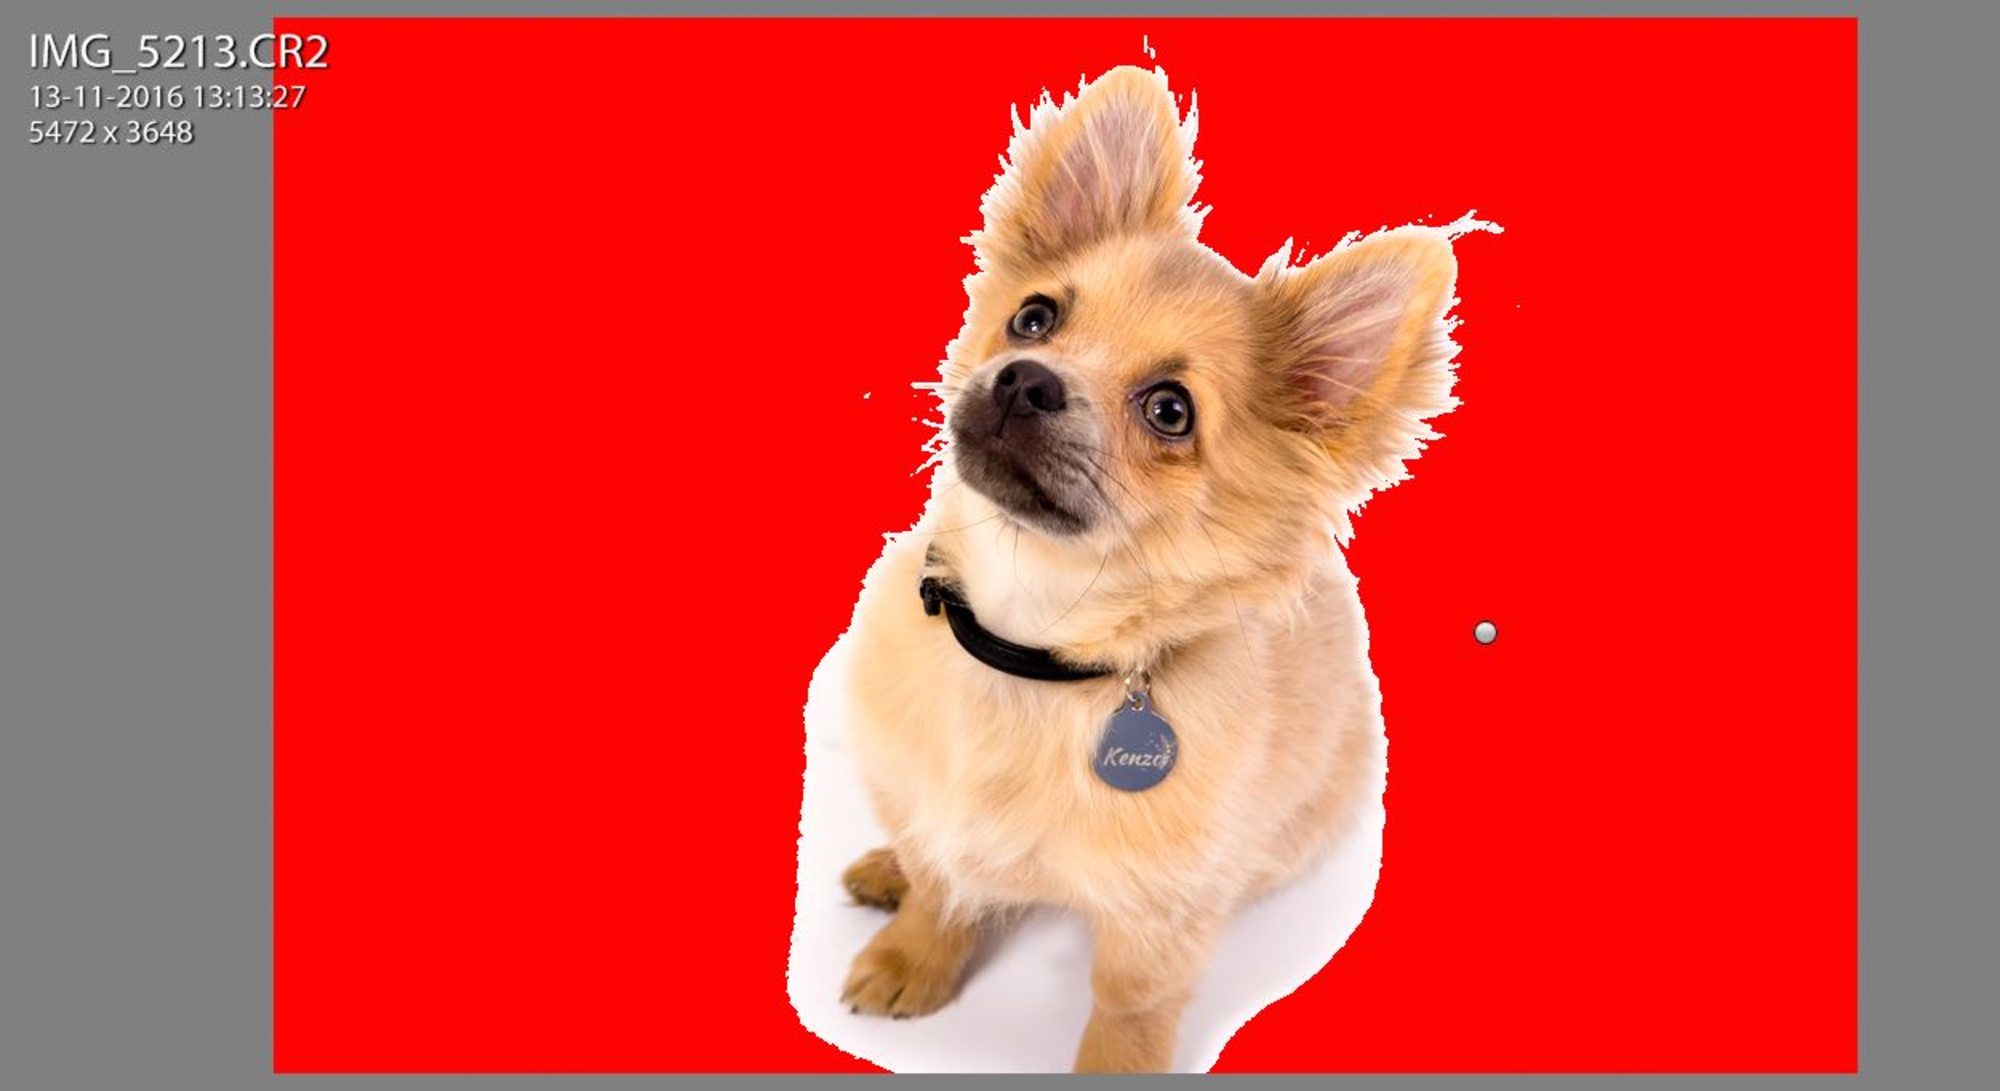
After I had made my initial changes, the white clipping warning for this picture looked like this (the red area is blown out and thus white without any details left):
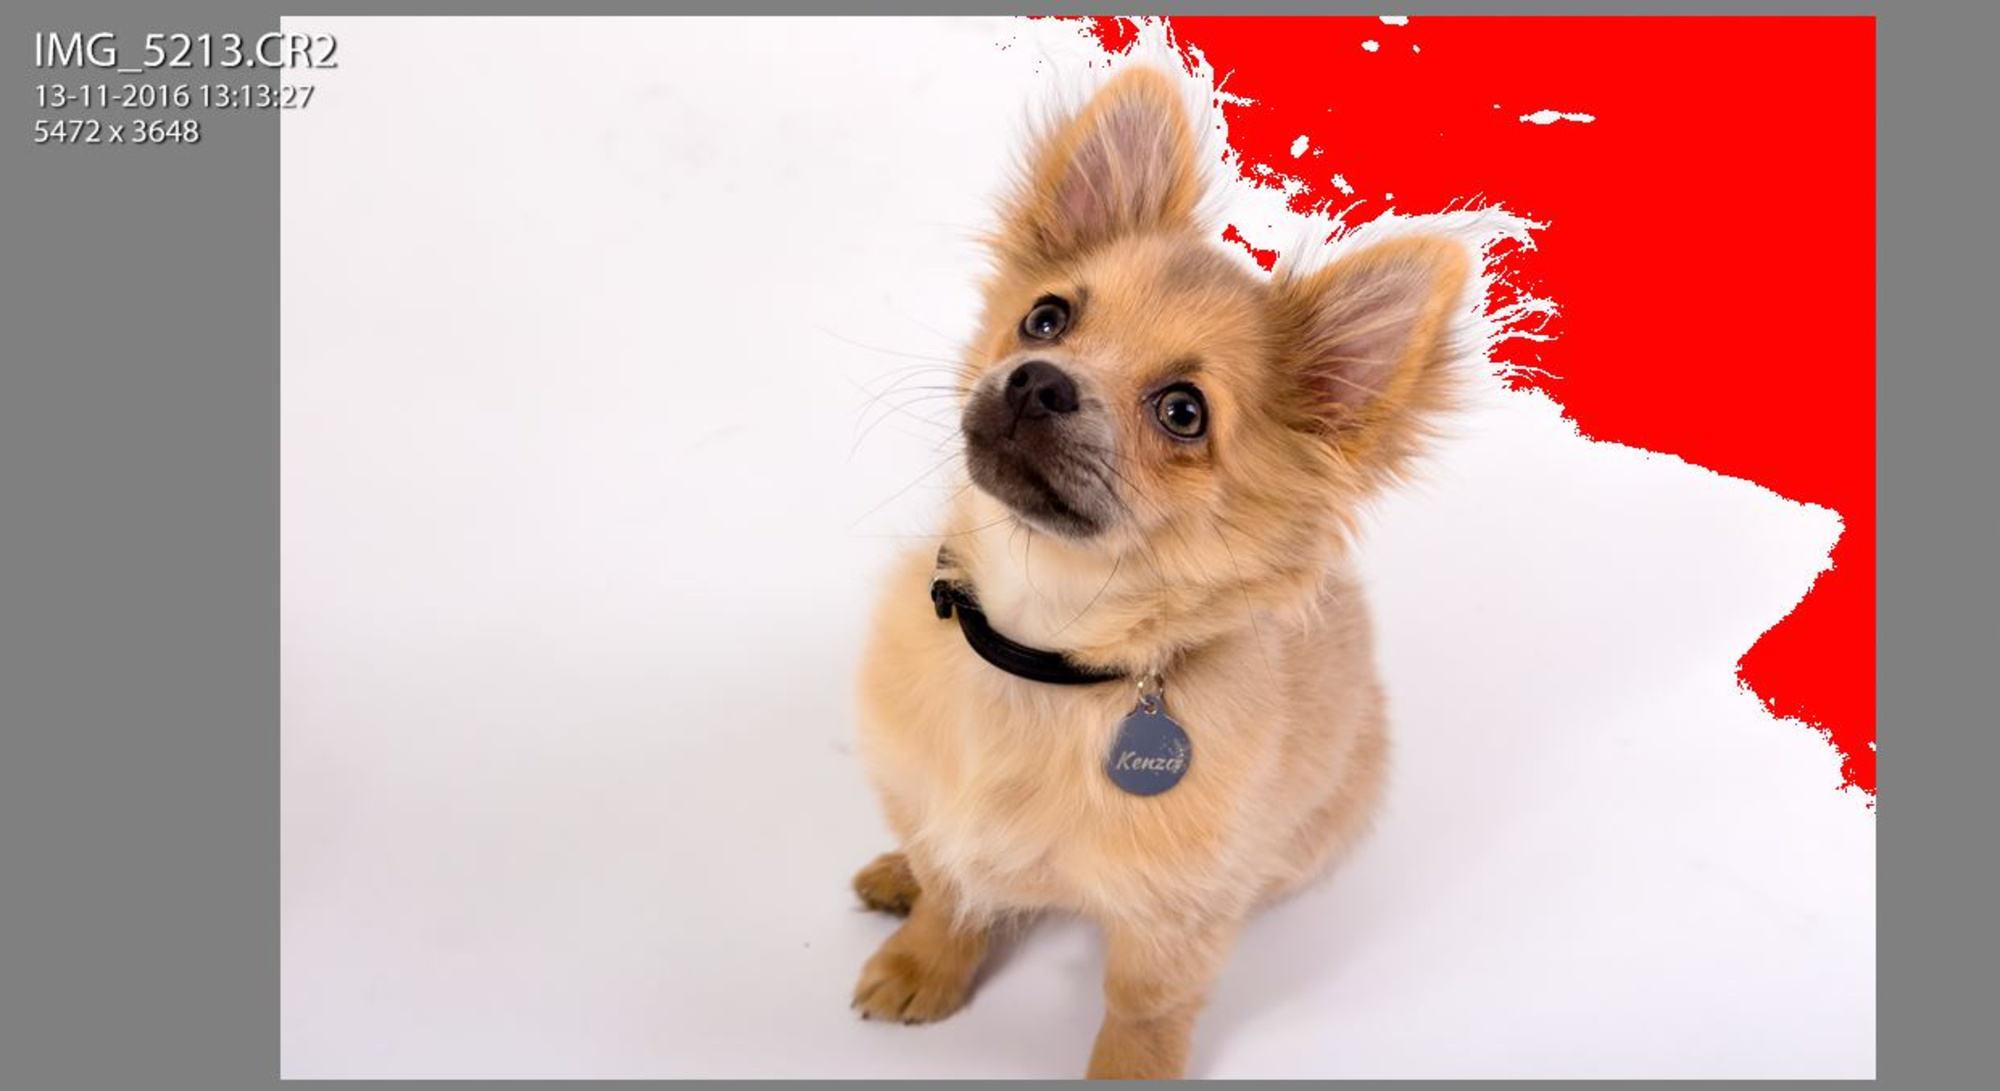
By moving the controller for whites (not highlights) further to the right, I blew out more of the background area. I stopped when fur began to get red, too. I edited the remaining not-yet-red background with the adjustment brush, where I pulled the whites almost all to the right.
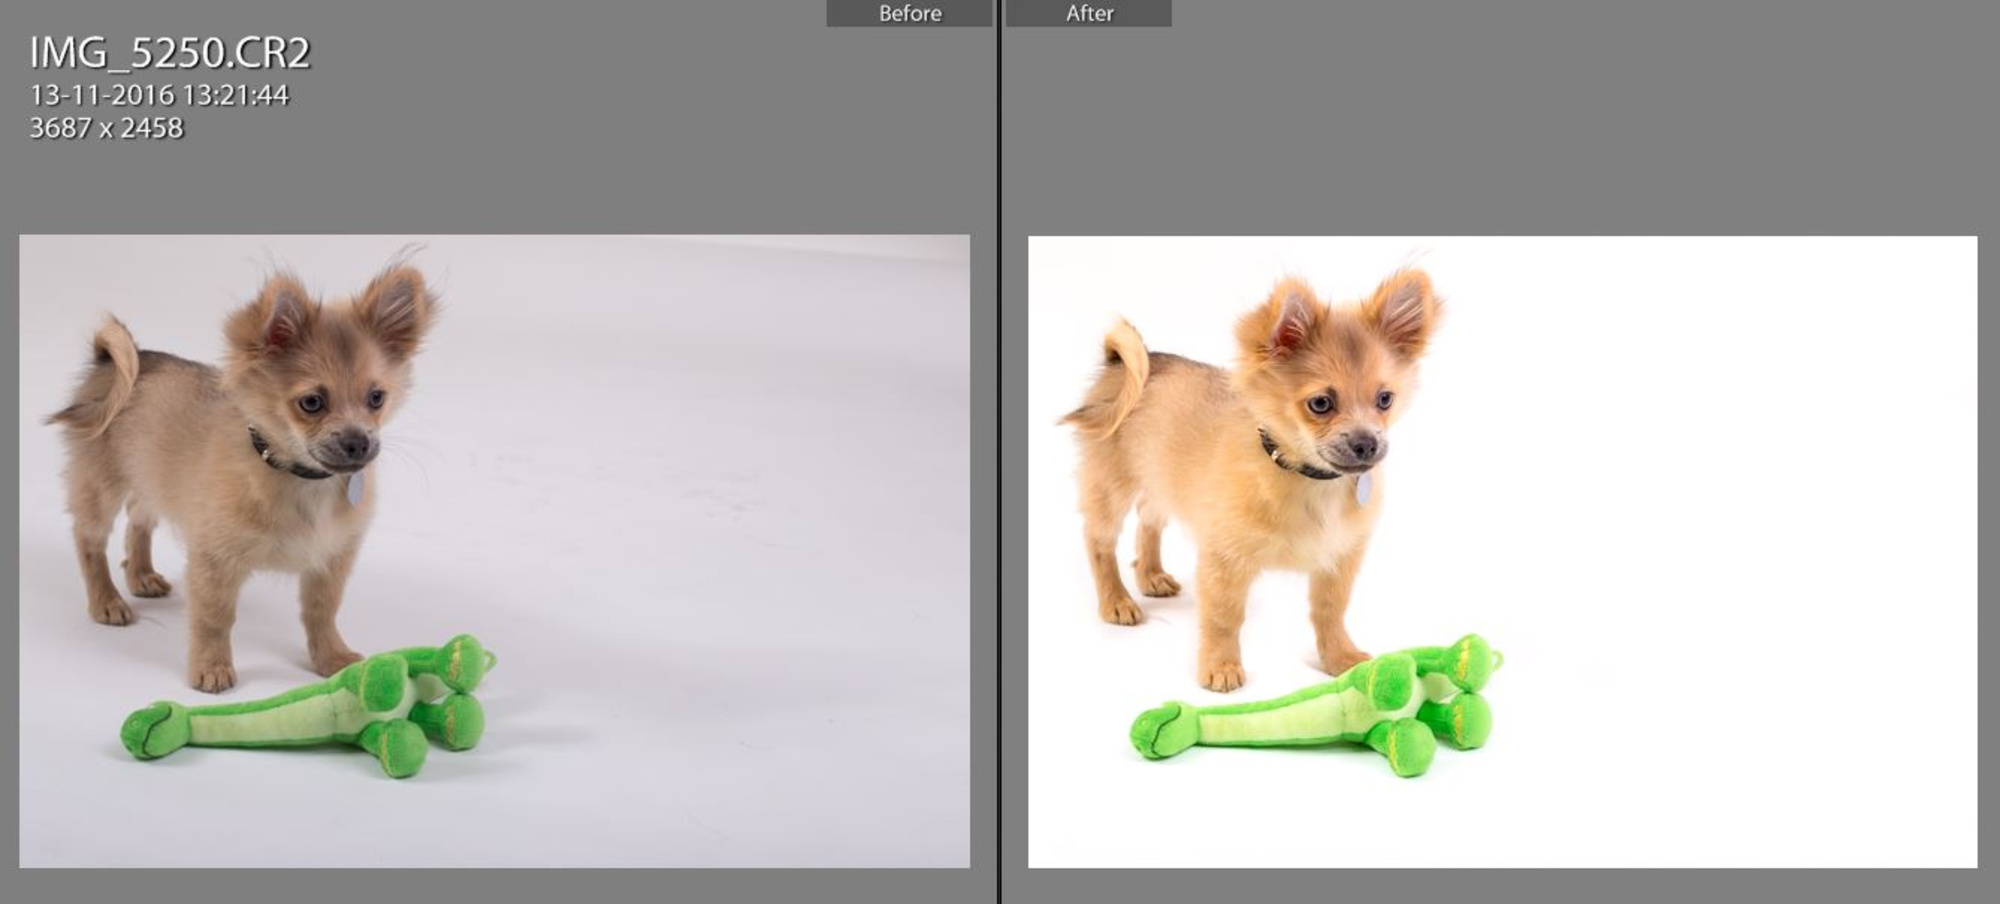
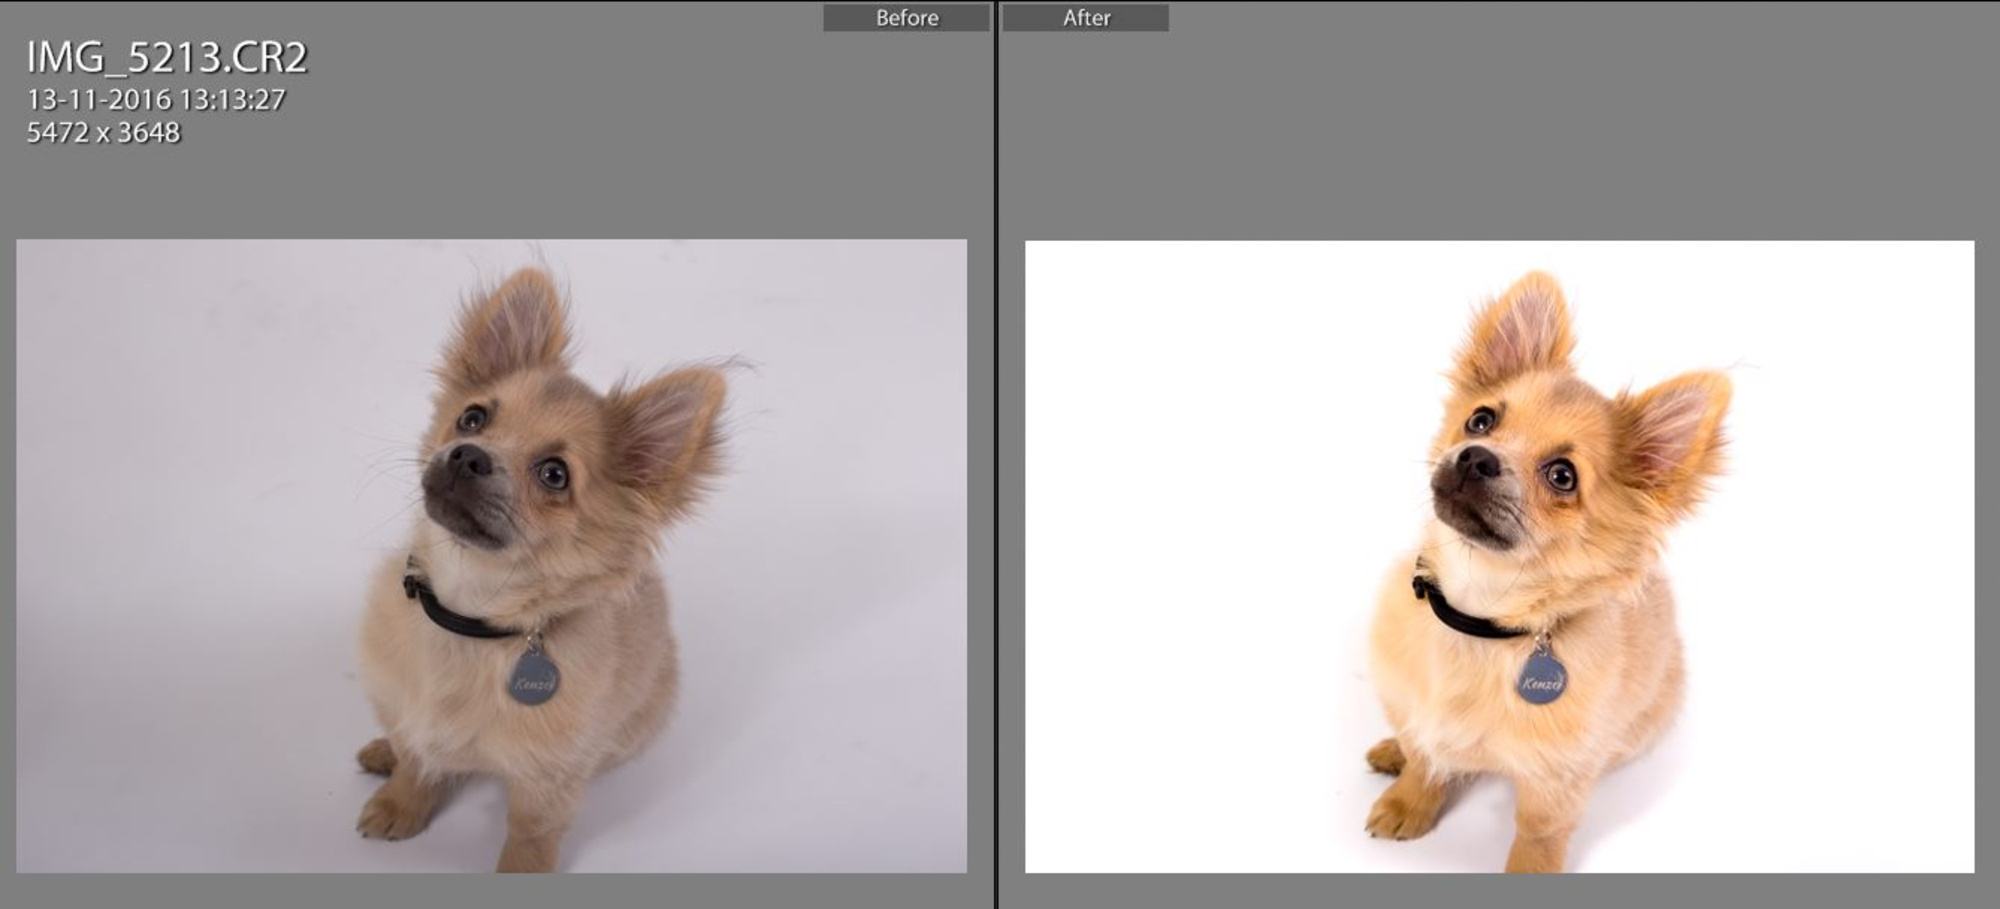
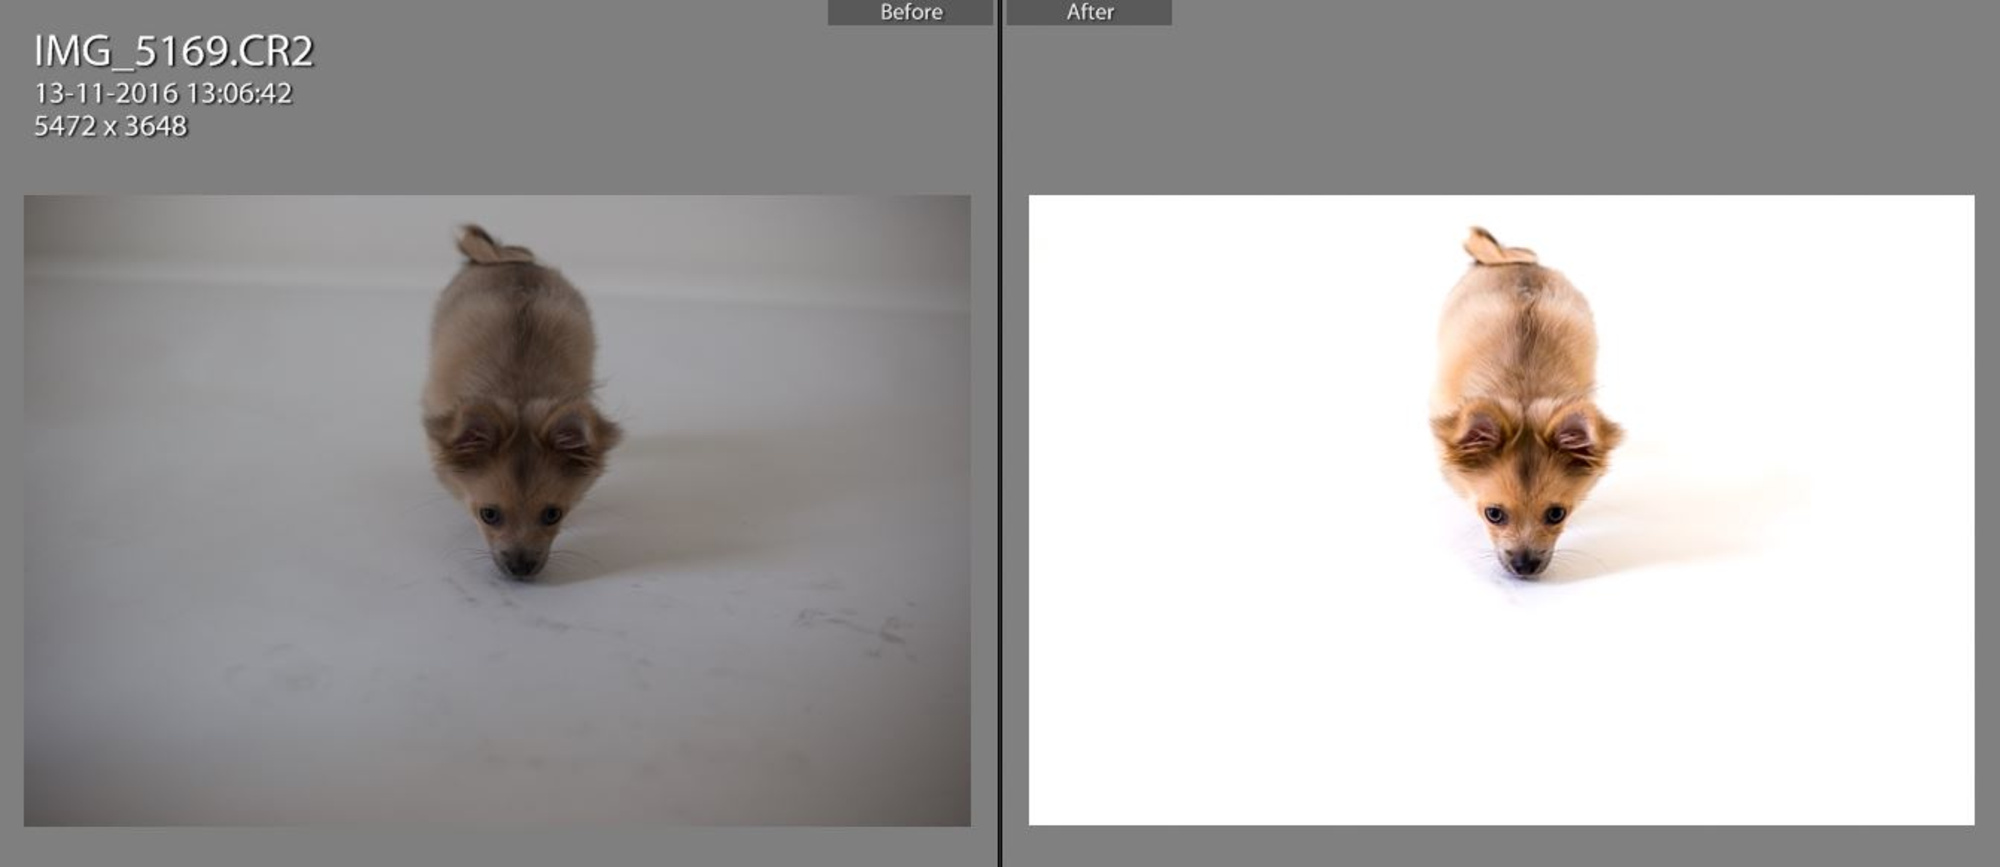
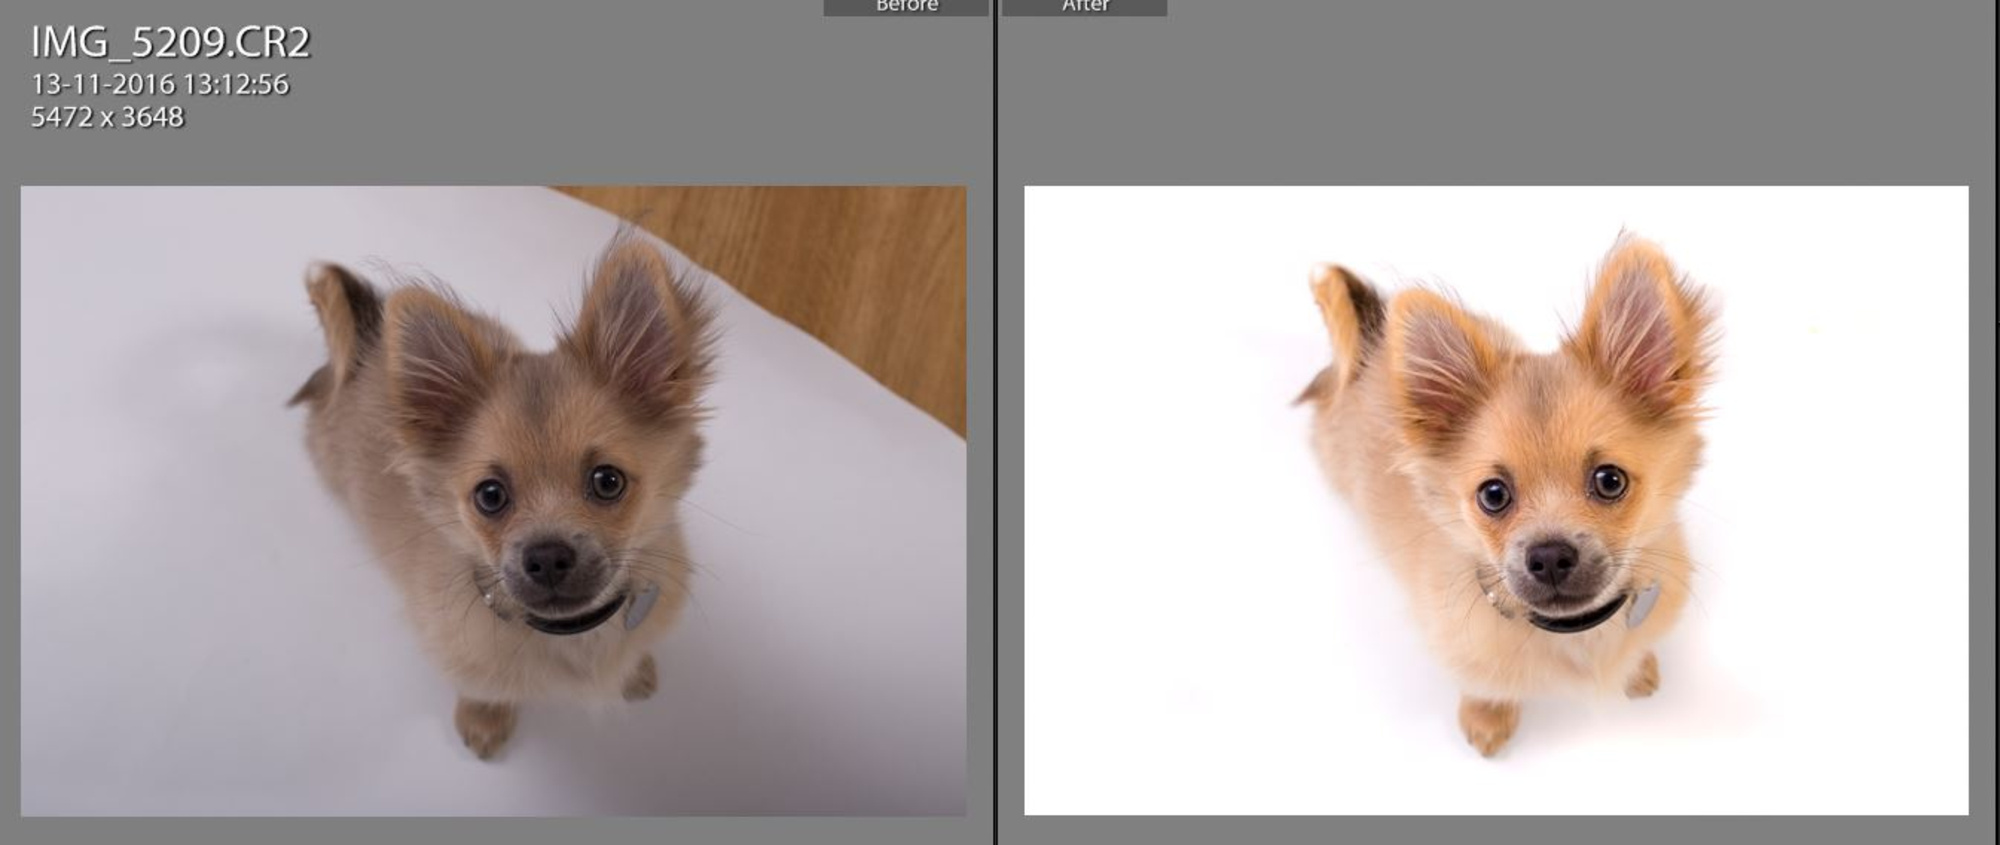
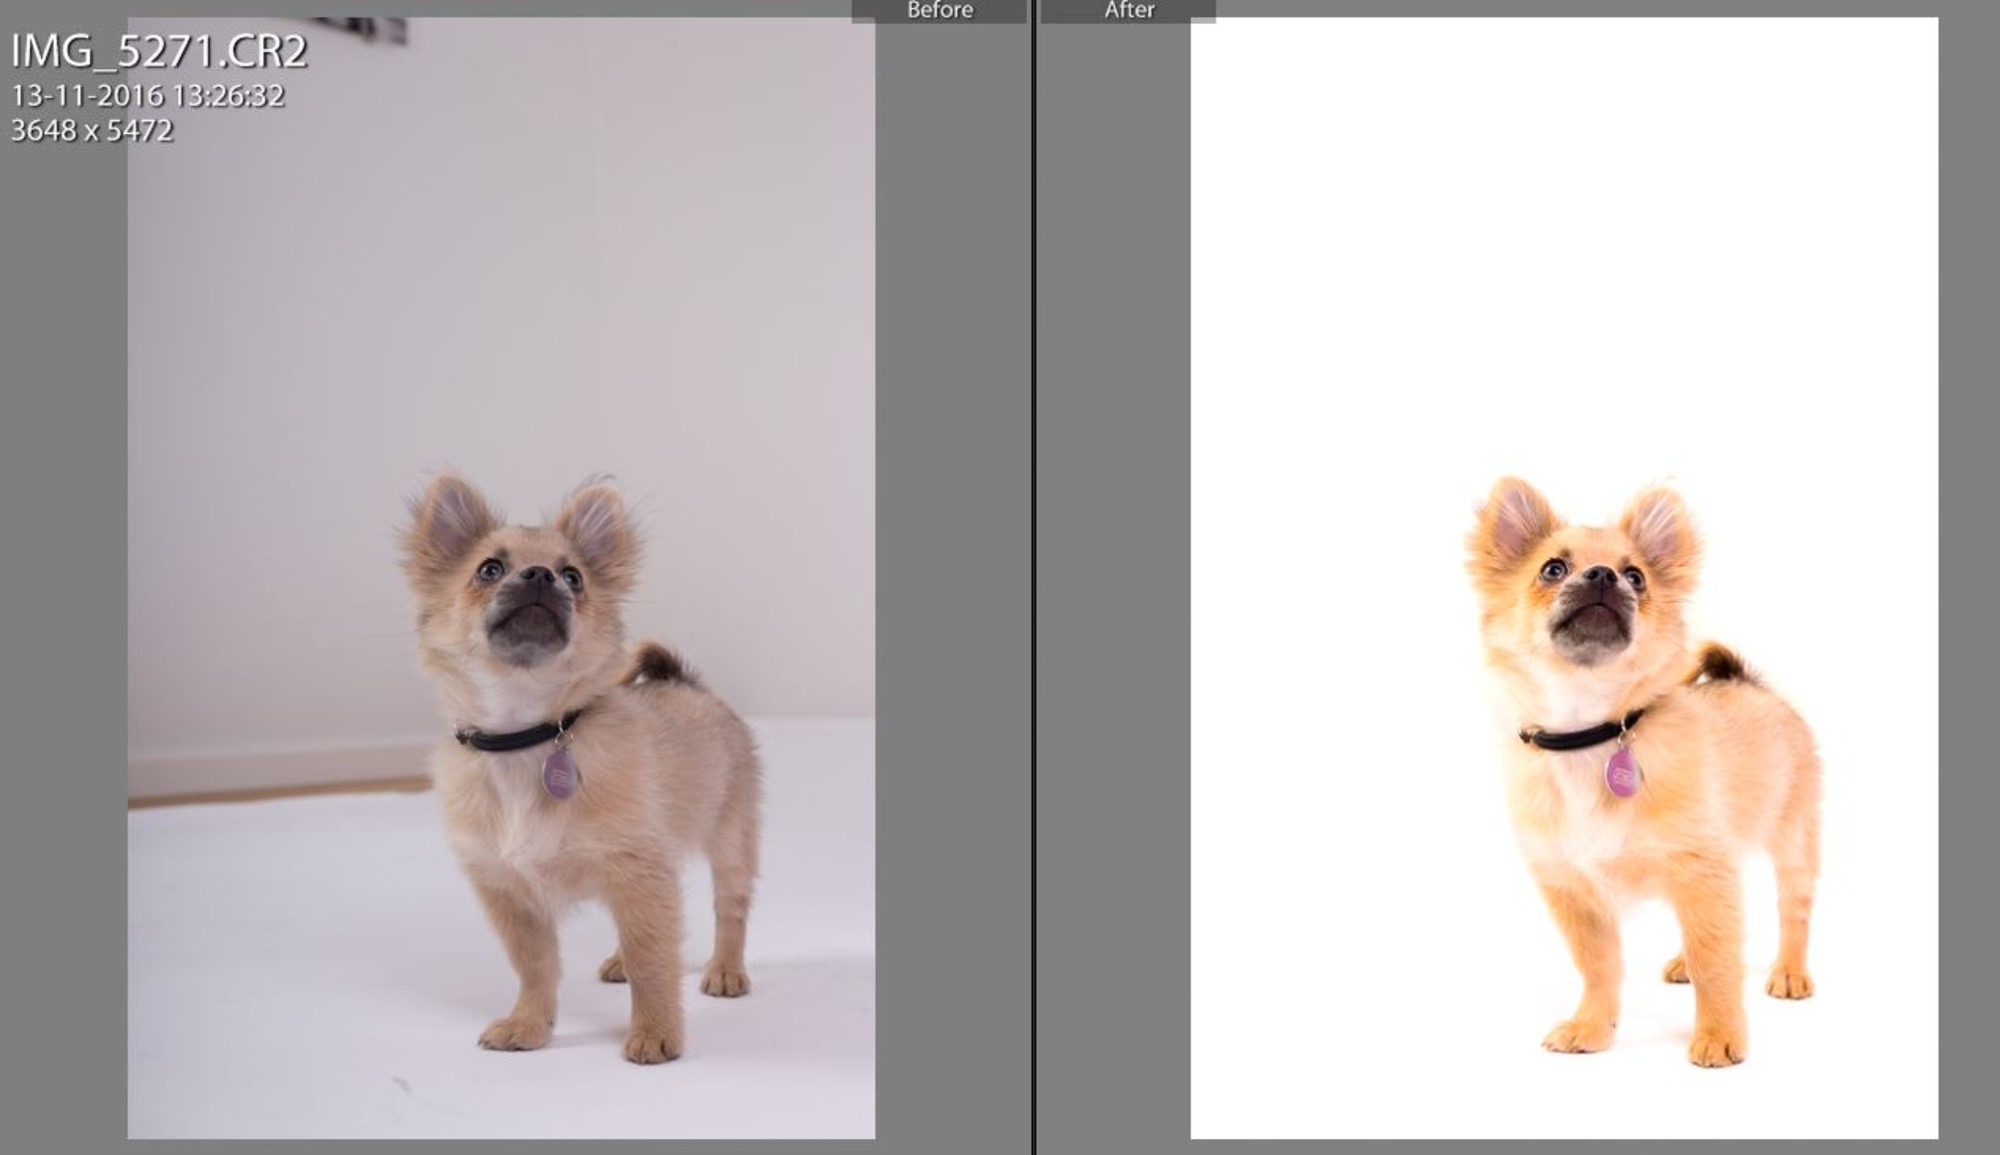
The comparison of the straight-out-of-camera-RAW picture and the finished picture with blown out background looks like this:
If you want to completely remove the shadow under the model, too, the job might be a little more tricky and need more detailed work with different adjustment brush sizes.

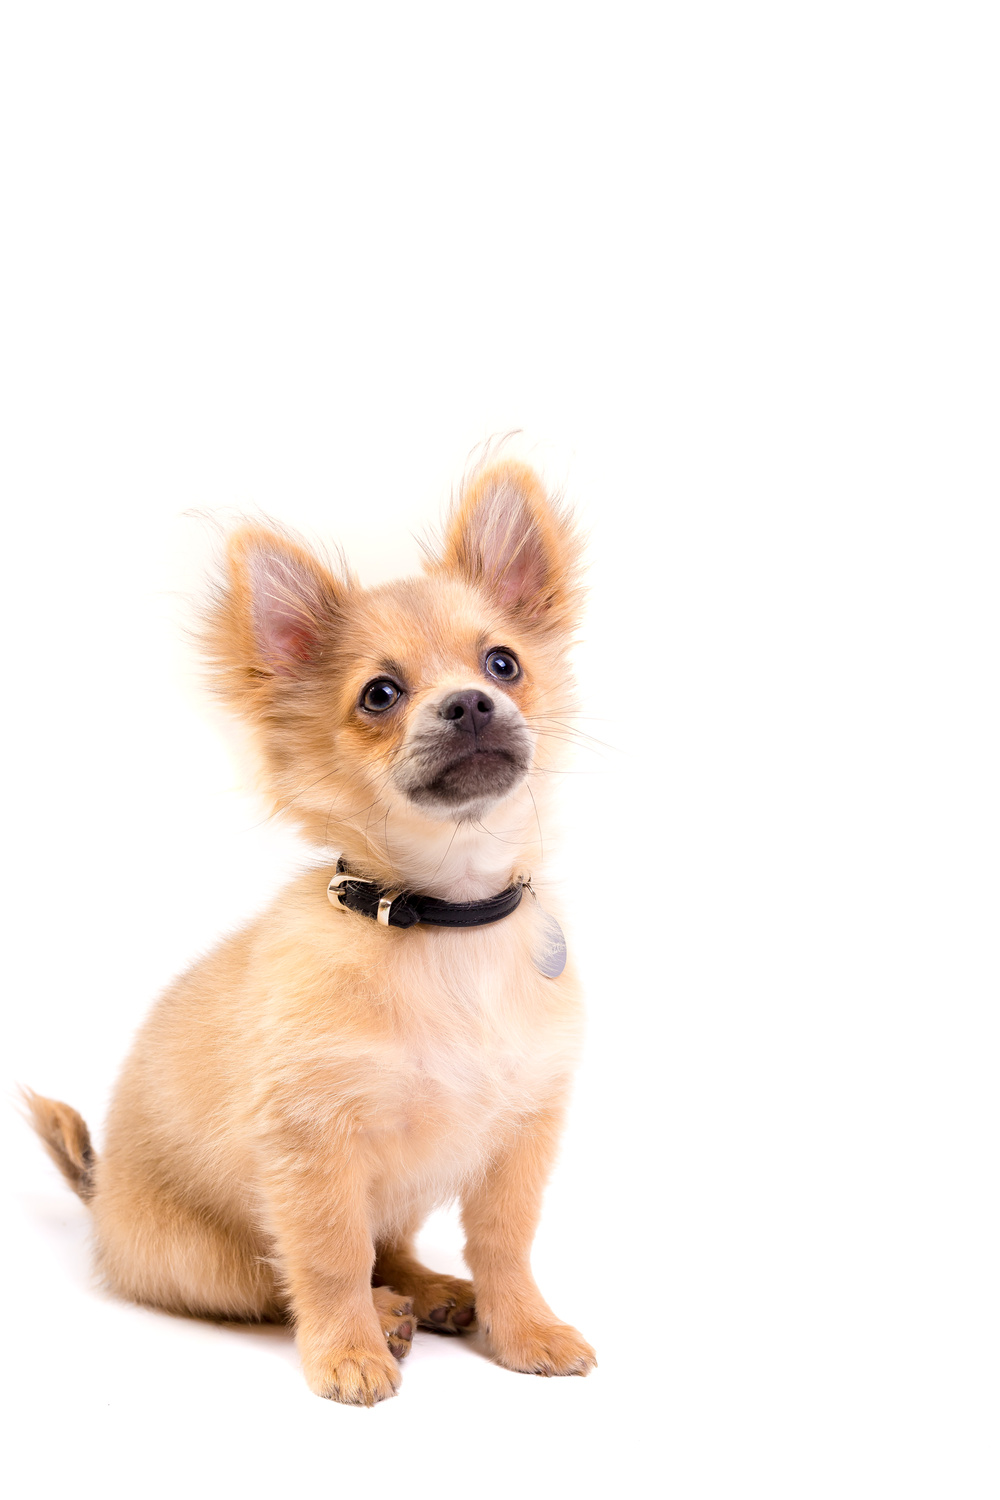
If you want to know more about shooting dogs in studios and how we got 4,5-months old Kenzo to pose like an old pro, head over to this post.