Dog Photography - On Location vs In The Studio
Most of the dog photos that you’ll find on this site are taken in the studio. So it’s about time we expand our skillset and porfolio with some dog photos taken outside!
Luckily, the opportunity arose when we dog sitted Moka, a 1-year old vizsla lady. She even has her own Instagram profile, check her out: @pawlittlemoka.
Photographing Moka Outside
Most of the time when we sit dogs, we take them to the nature area Sydhavnstippen not far from where we live. It’s a nice big area to walk your dog, and you might be able to say to sheep and alpacas (you are allowed to bring your dog as long as they’re on a leash). They also have an enclosed area where you can let the dog off leash to play - this is where we took the photos of Moka.
Here is what we took into consideration when photographing Moka outside.
Beware of the Light
We took Moka for her long walk (that we wanted to use to get some photos) noon/early afternoon on a hot summer day. So against all the rules concerning quality and direction of light. However, she only visited us for 24 hours so that’s what we had to work with.
If you can, try to schedule your shoot early in the morning or late afternoon/evening, especially in the summer.
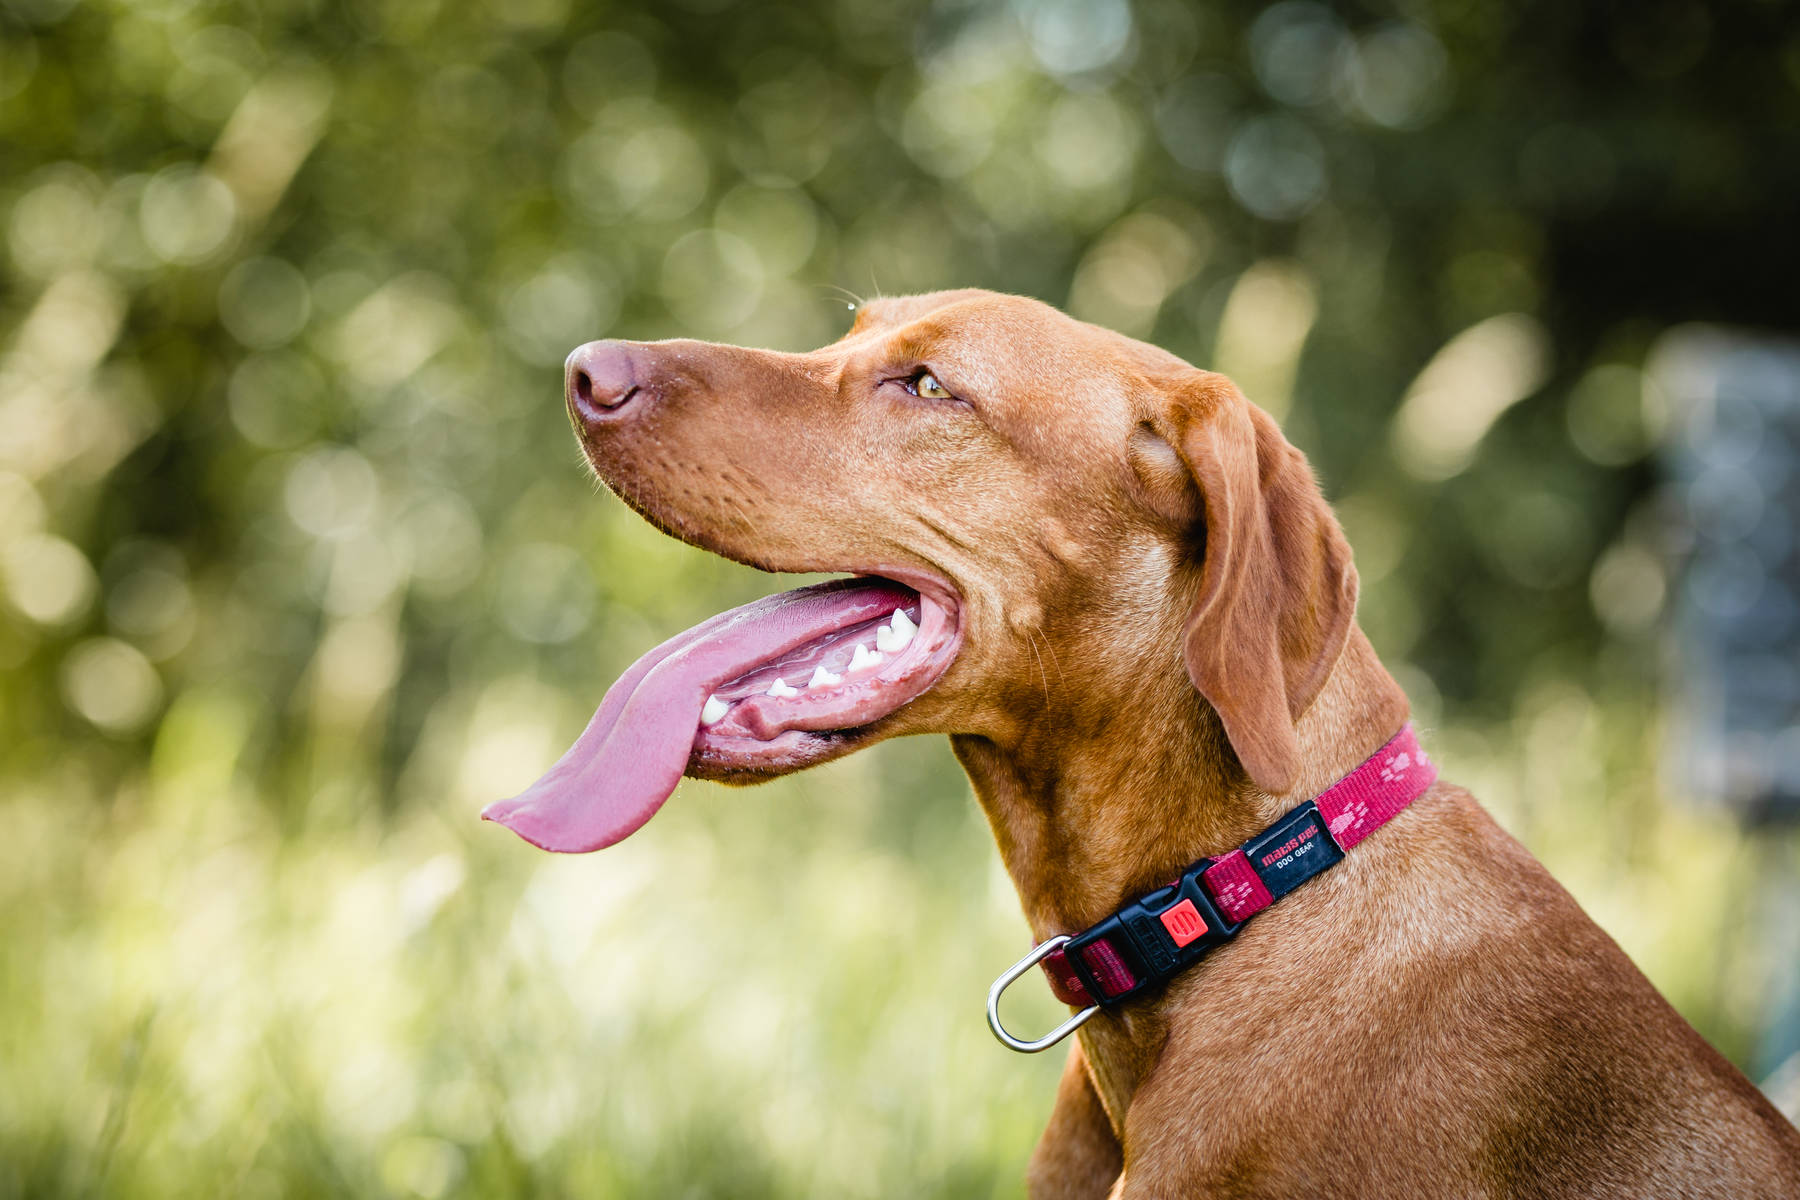
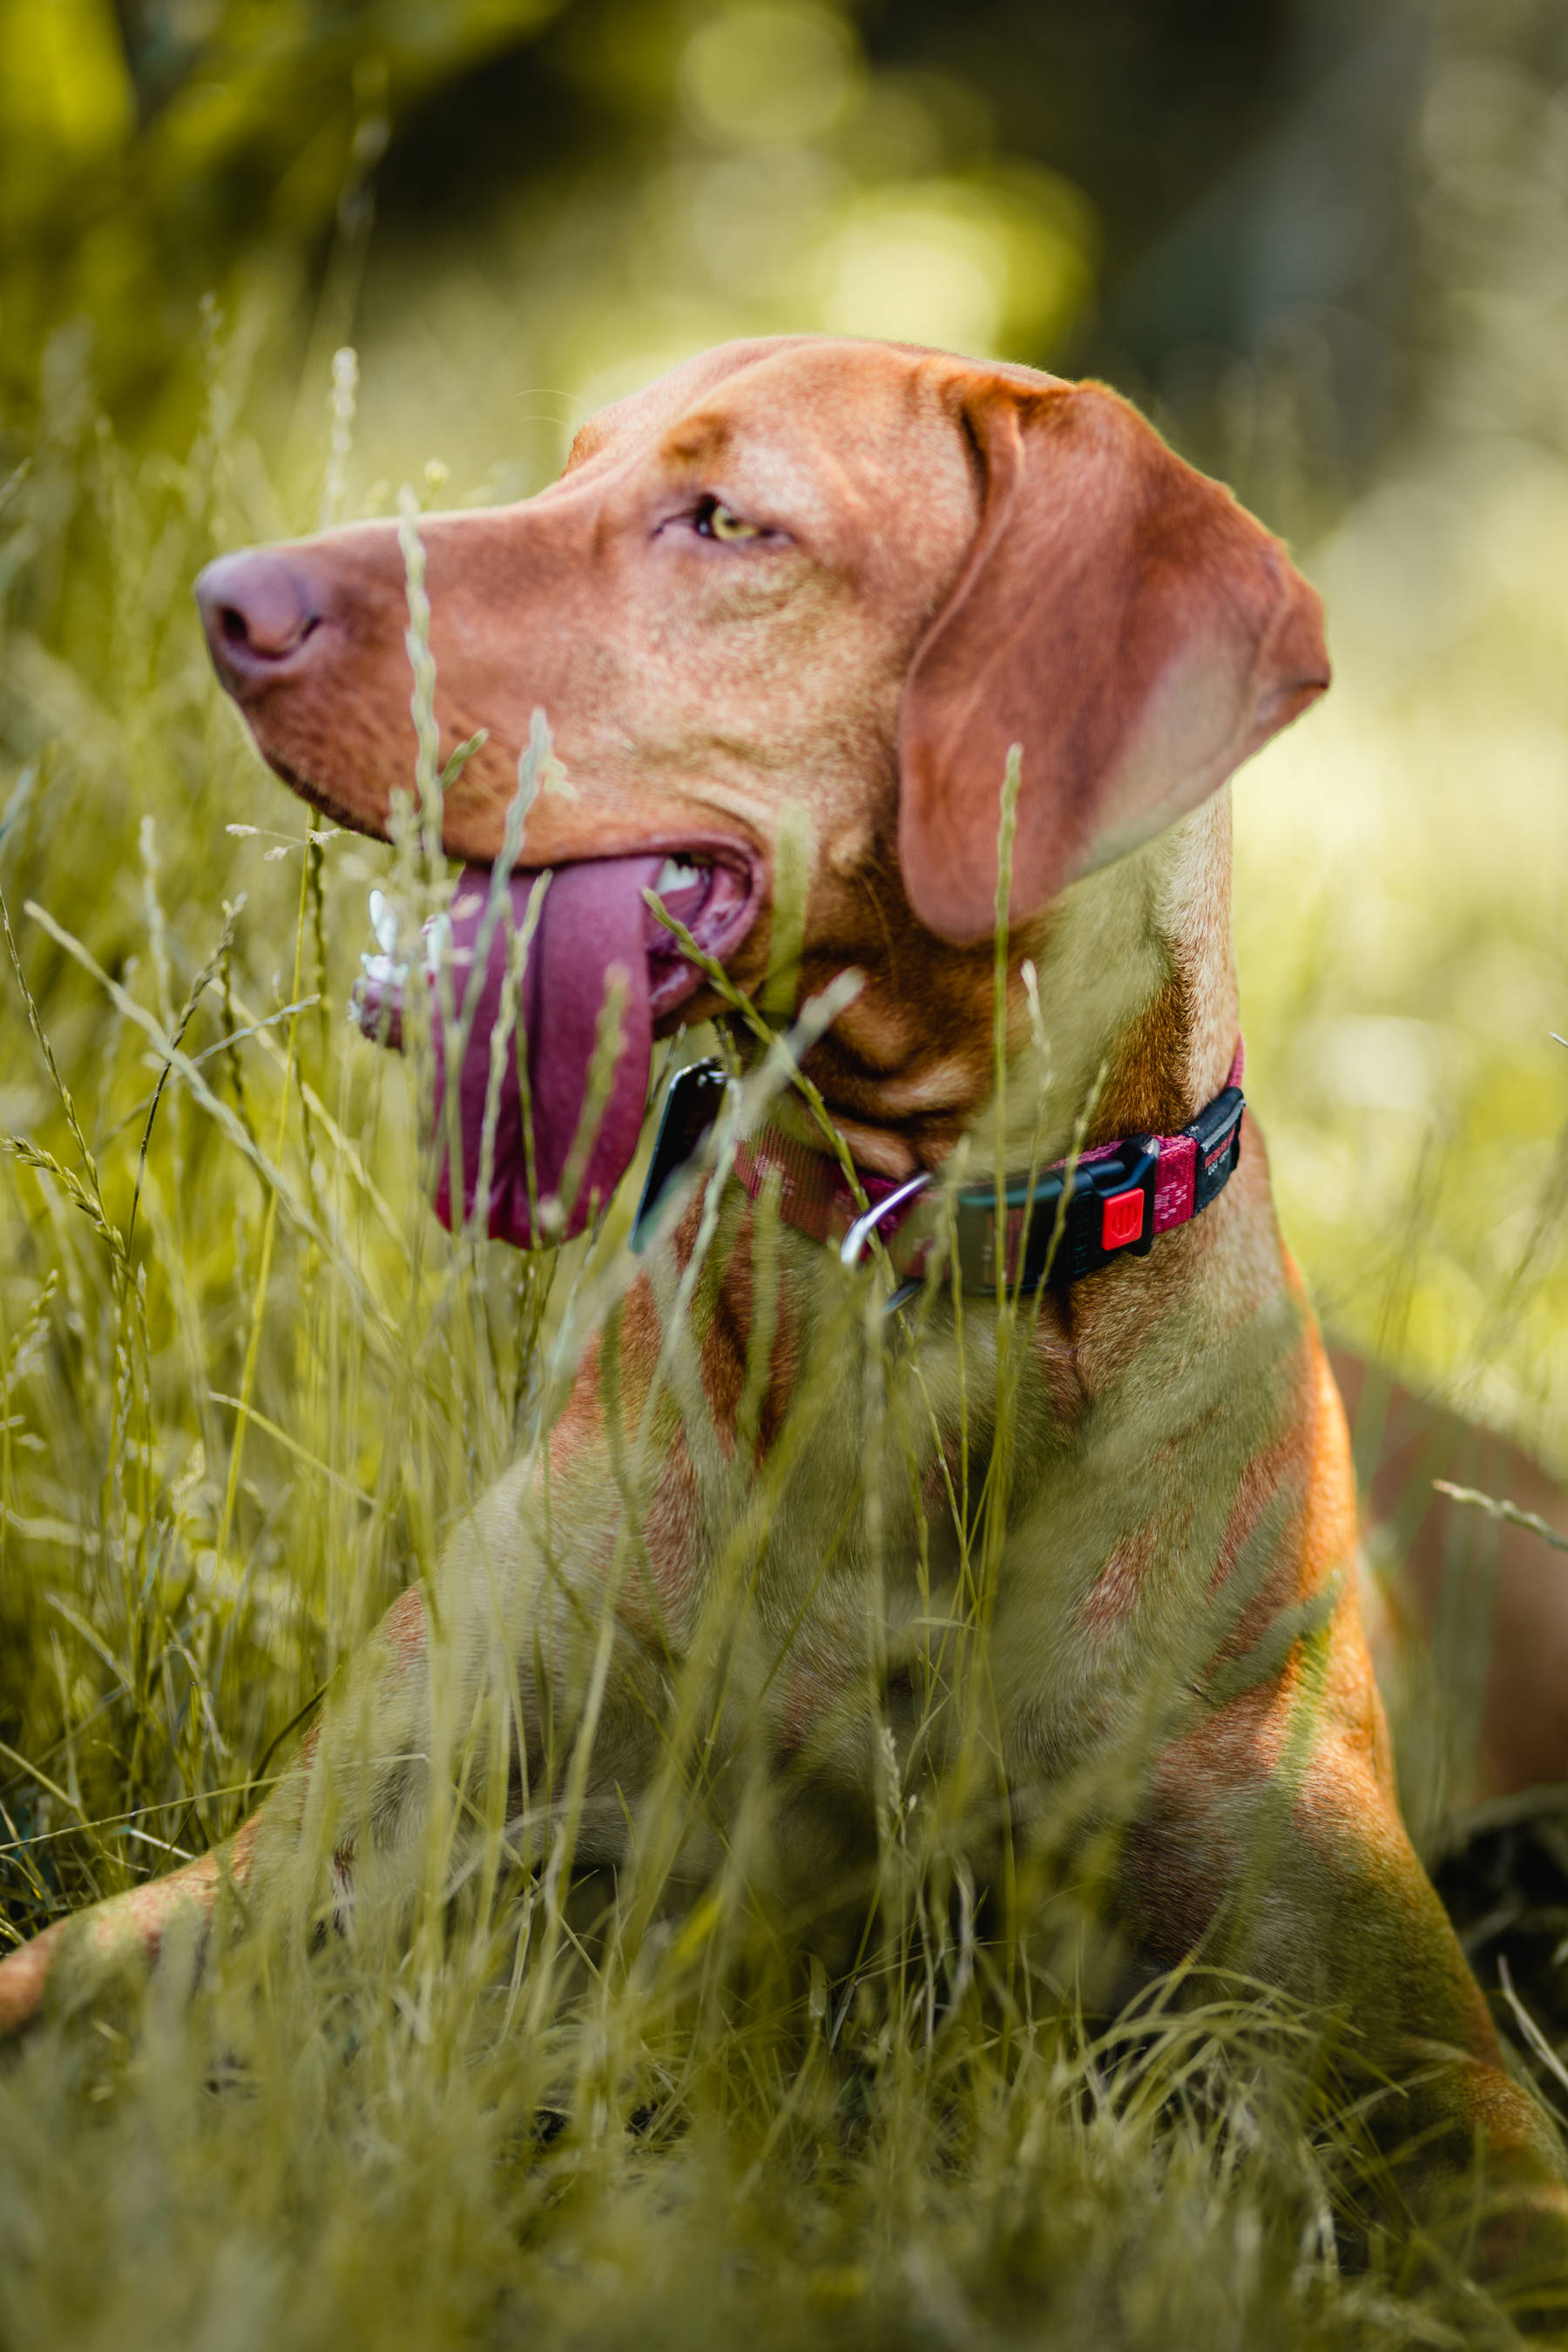
This is how photos looked taken in direct sunlight:
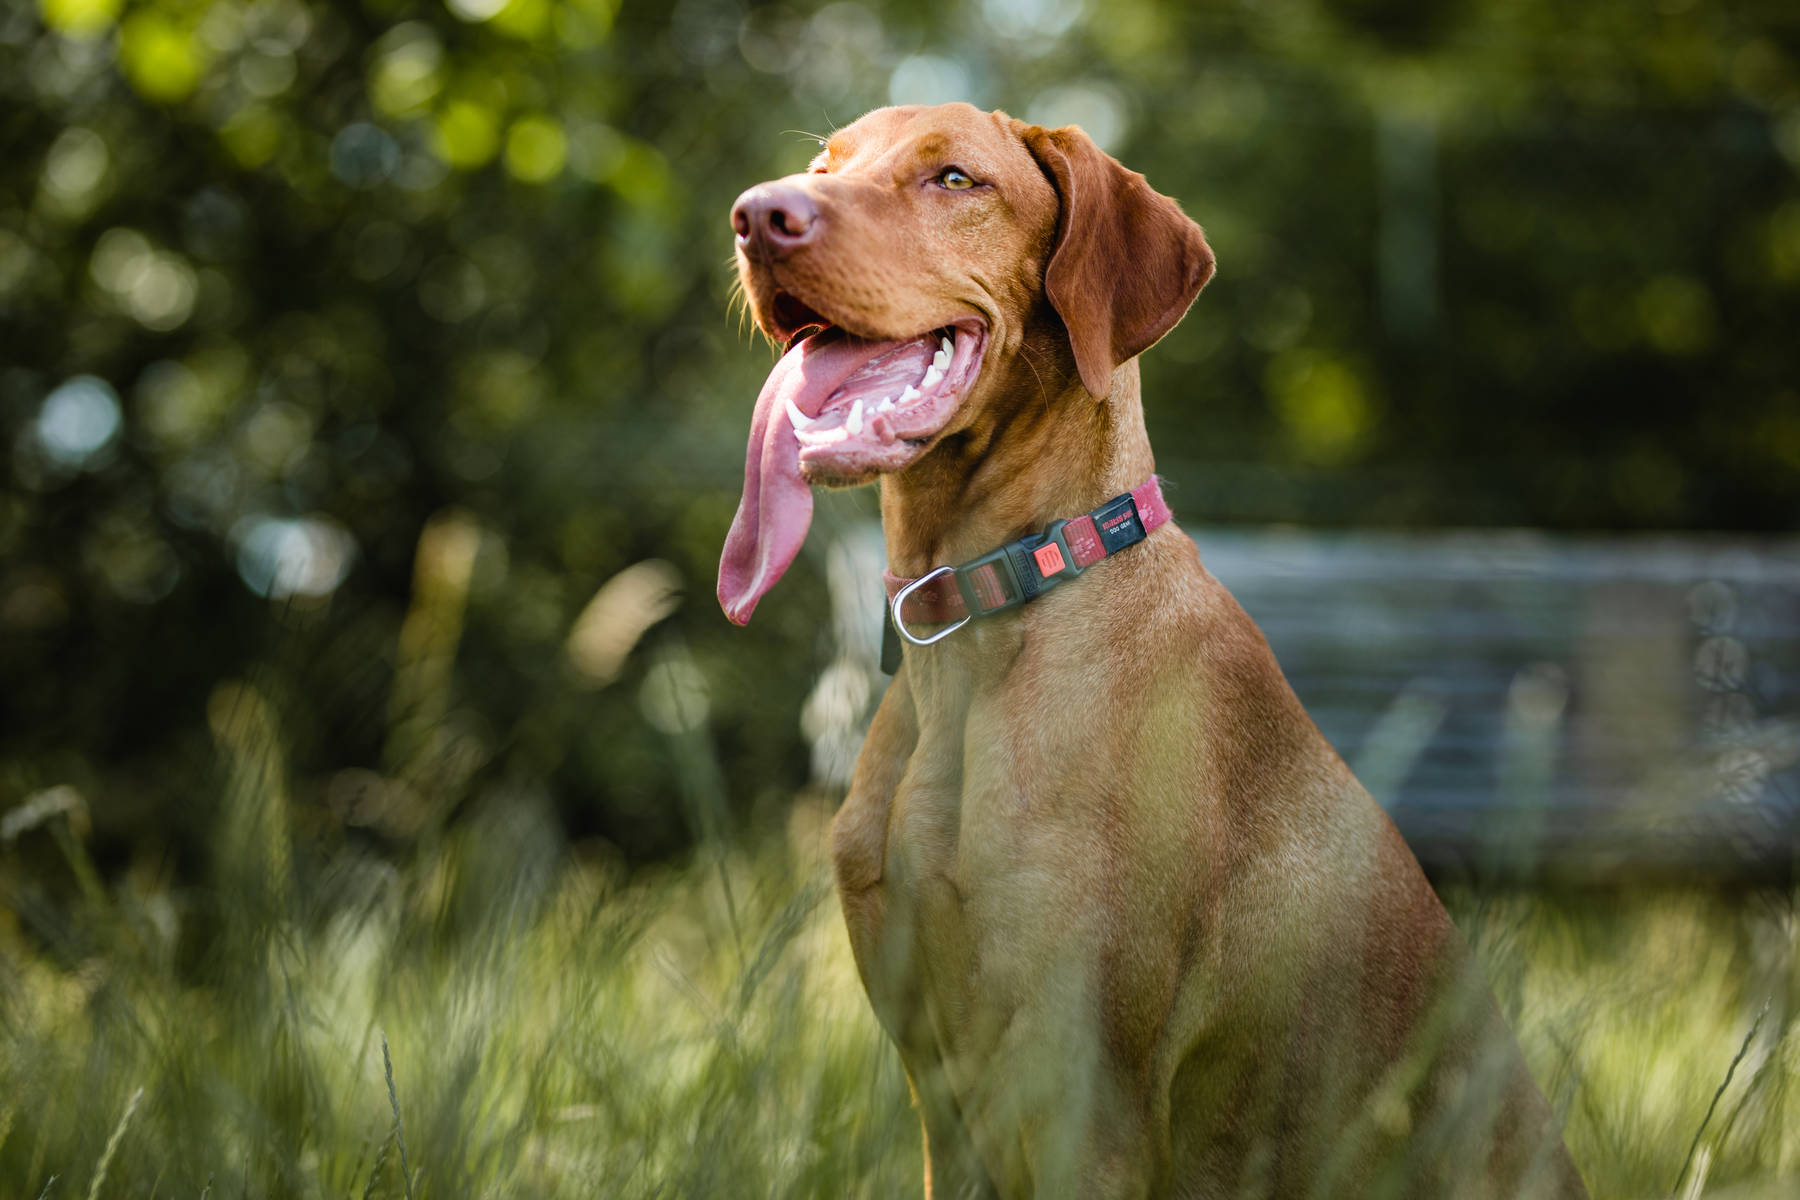
The dog area on the other hand had a big tree providing a few square meters of shade. Photos taken there looked much nicer:
Soft light, no harsh shadows. The tree also provided a nice even background bokeh - win win!
Read more about shooting in the shade here (by It’s Always Autumn) or here (by Neil van Niekerk.
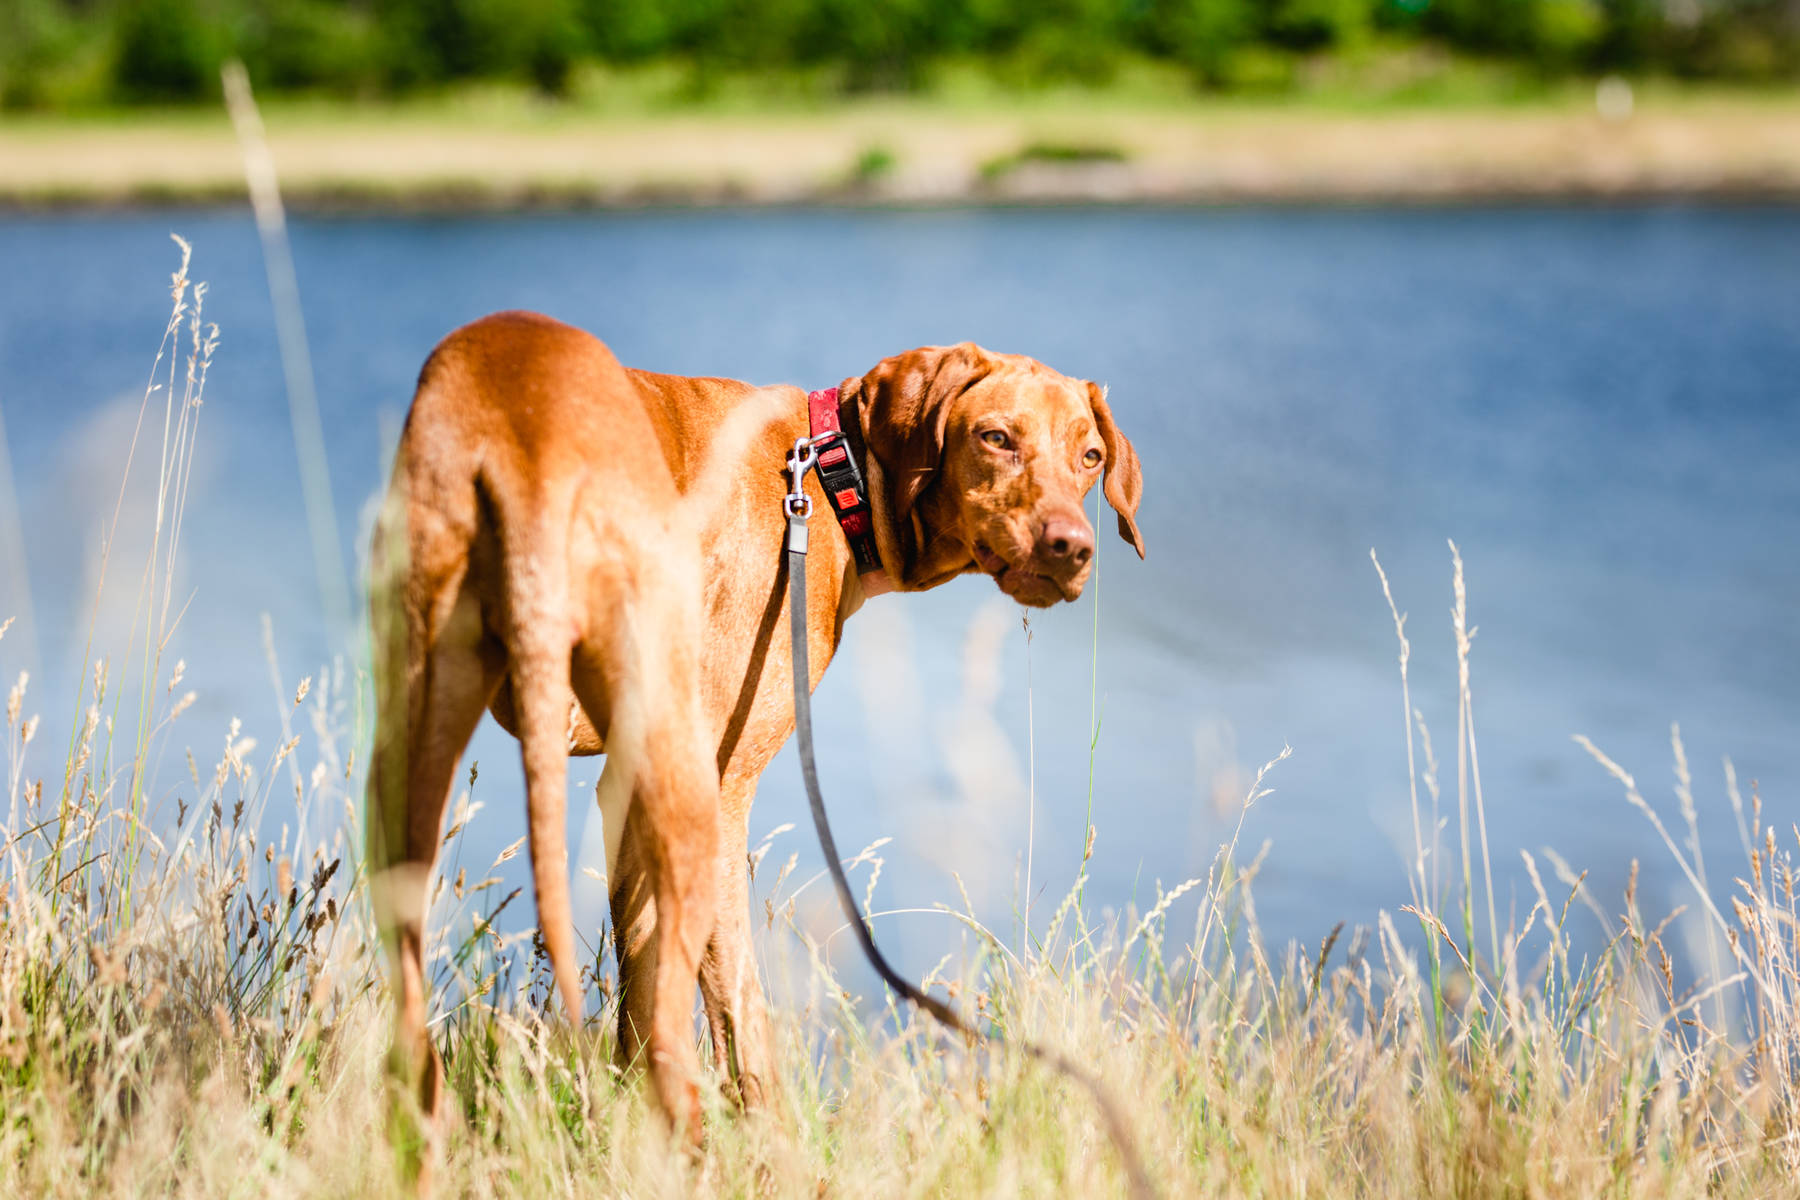
Off Leash vs on Leash
Photos of dogs without leash and without collar often are the prettiest - at least if we’re talking posed, pretty photoshoot kinda photos.
Before releasing your dog into the wild and snapping away on the camera, do consider whether that’s a smart move, though.
You should always be sure that your dog is safe and has a good recall. However, on top of that it can be difficult to take photos of your dog when it is enjoying its freedom and sploinking about.
Often, dogs will have an easier time being calm and relaxed when on a leash. Keep the leash lose and try to place it behind the back of the dog, then it’s not difficult to photoshop out!
Exif: 1/500 sec f/1.8 ISO 160 @85mm
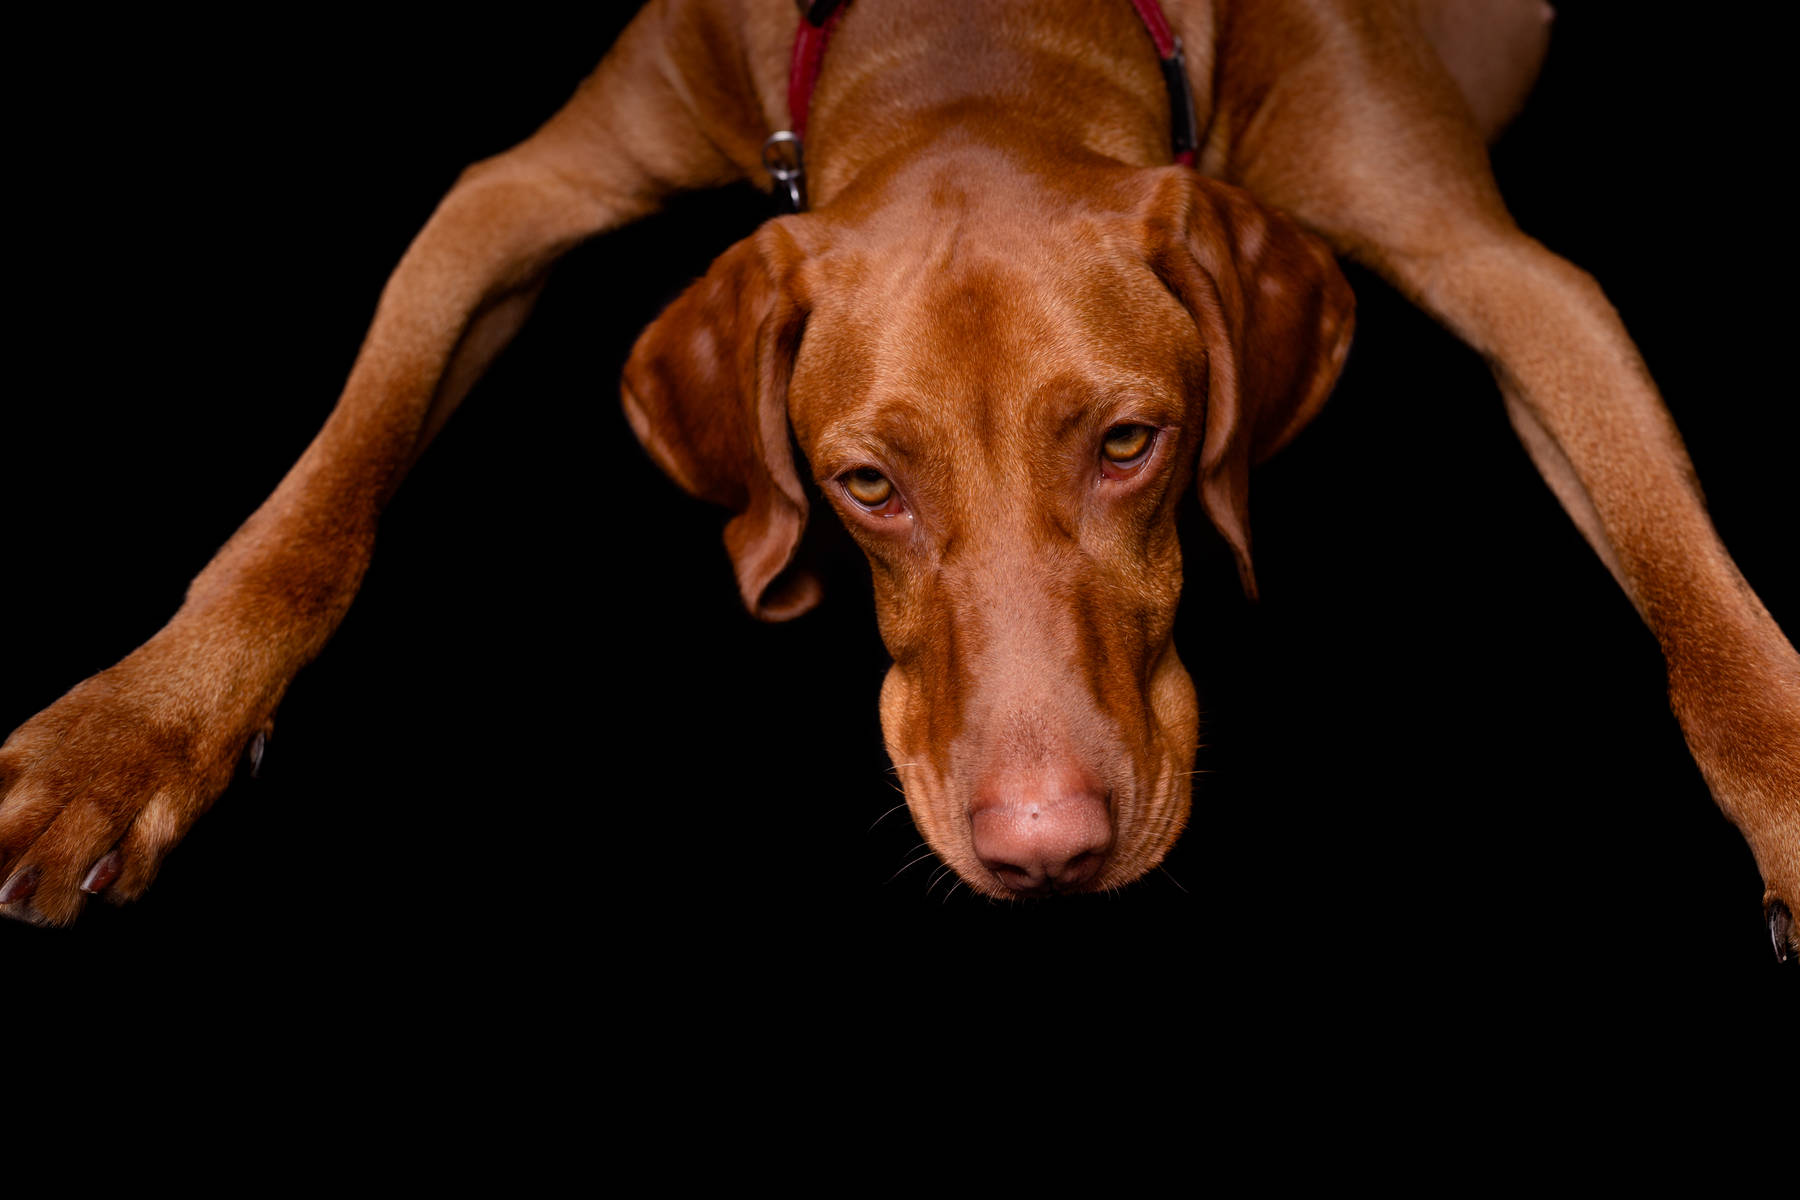
As Moka isn’t our dog and we don’t know her well, we definitely wouldn’t take the collar of her outside. And even though she could roam free, she luckily stayed close to us - cause that’s where we had shade, water and treats.
Removing leashes and collars through editing might require a lot of patience and focus on details. Check out this article by Michael Garth to see how it can be done.
Which Lens to Use for Dog Photography
Like always, it mostly depends on the type of photography and your style what lens is suited best. I have seen some amazing wide-angle photos of dogs, they’re not the most common style, though. (I’d assume it’s also more difficult to shoot dogs with a small focal length as you need to be pretty close to the subject and therefor need to have an obedient dog that doesn’t start eating your lens right away.)
Today I’ve got some canine bipods for you. Some wide-angle quirky puppy cuteness. ❤ Don’t worry, they all got four legs. Four legs good, but two legs cute, too. #wideanglepuppies #wideangledogs #flickrfeature #mmmexplore #boredpanda This week’s topic for #52weeksofwieselblitz: Shoot with a wide-angle lens. Use distortion to your advantage. A lens of focal length 35 mm or less is considered wide-angle. The wide angle leads to a so-called barrel distortion. That’s not recommendable if you want to look slim in a picture. But it leads to big dog noses. A post shared by Elke Vogelsang (@wieselblitz) on May 6, 2019 at 9:45am PDT
A lens with a longer focal length and/or large aperture will secure a nice bokeh and seperation of the subject from the background (we blogged about bokeh before - read it here).
A longer focal length might make it easier to work with the dog, especially if there is a second person that might direct the dog but still be outside of your frame.
In case you want to photograph dogs in action, a zoom lens definitely is recommended.
Moka’s outside photos were all taken with a Sigma 85mm F1.4 DG HSM Art. The focal length (85mm on full-frame) would be the lower end that I’d personally recommend, however, this lens can go all the way down to f1.4 in terms of aperture.
This article by Andrew Sproule covers the diversity of style in dog photography rather well.
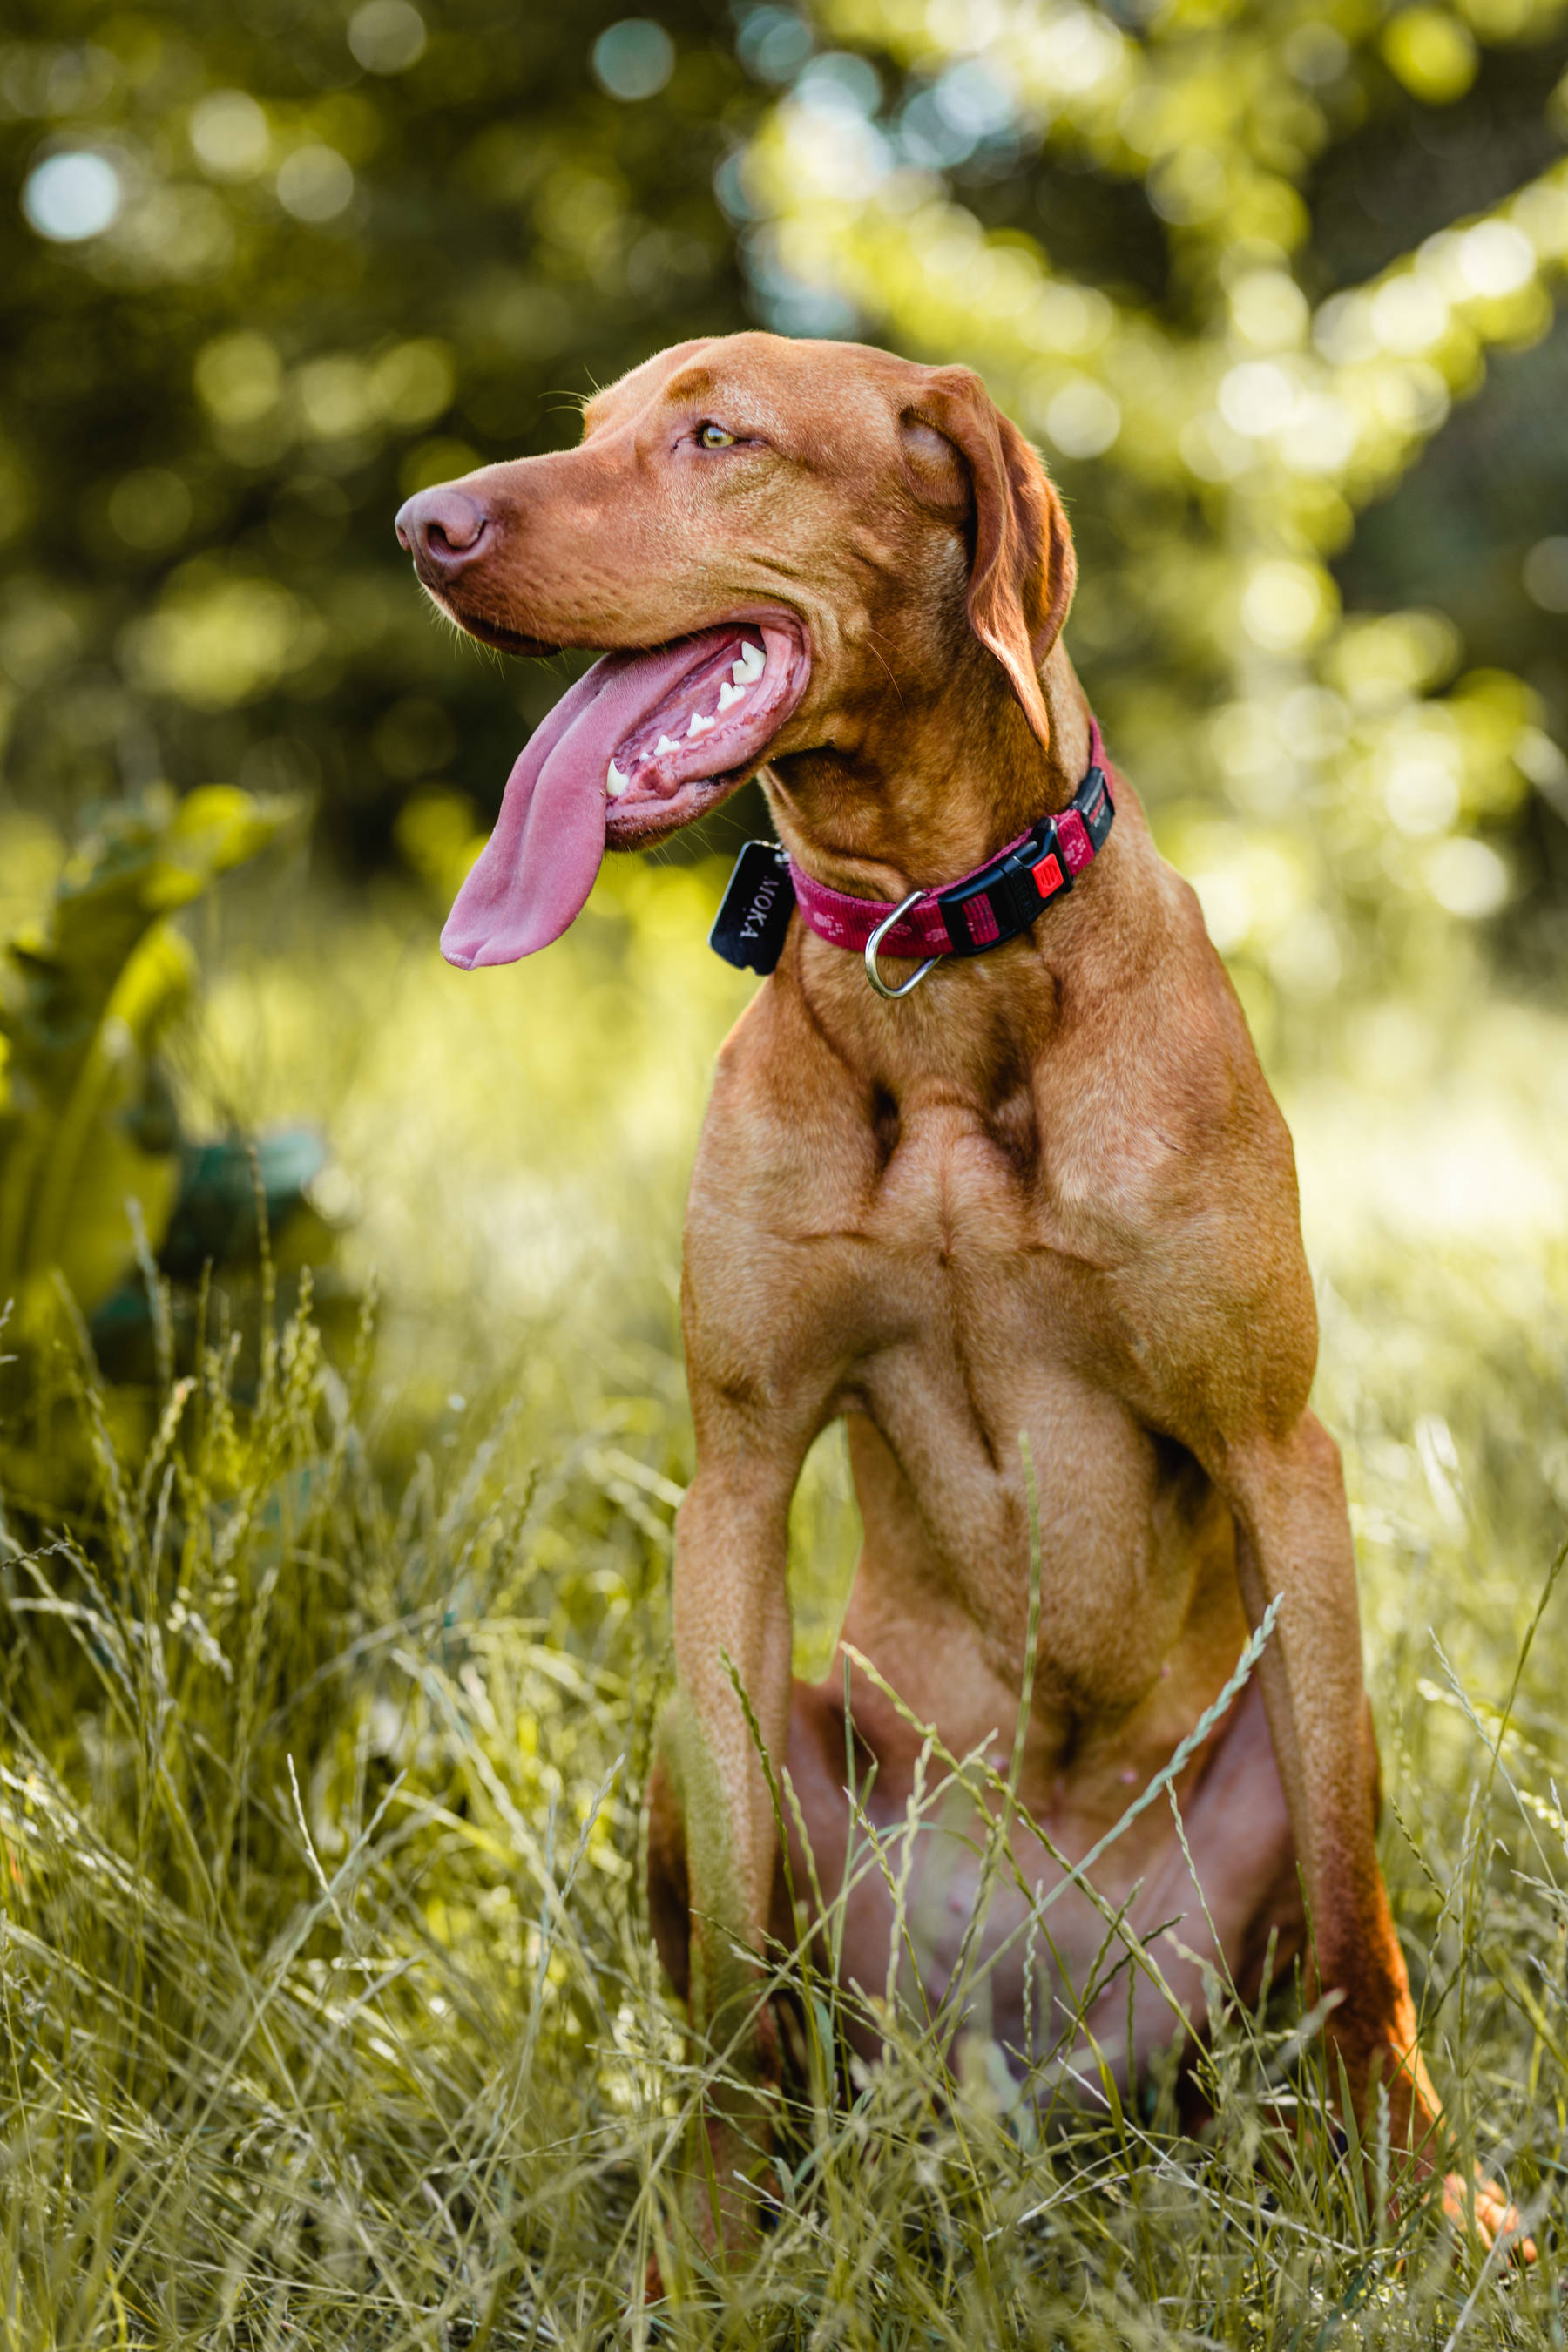
Positioning & Posing
There is one tip you will read again and again:
Get on the same height as your dog
So - get down on you knees or even on your stomach. It makes the photo more interesting and dynamic and let’s the viewer connect more easily with the dog. Be aware, though - many dogs see your getting down as an invite to come dashing over and play!

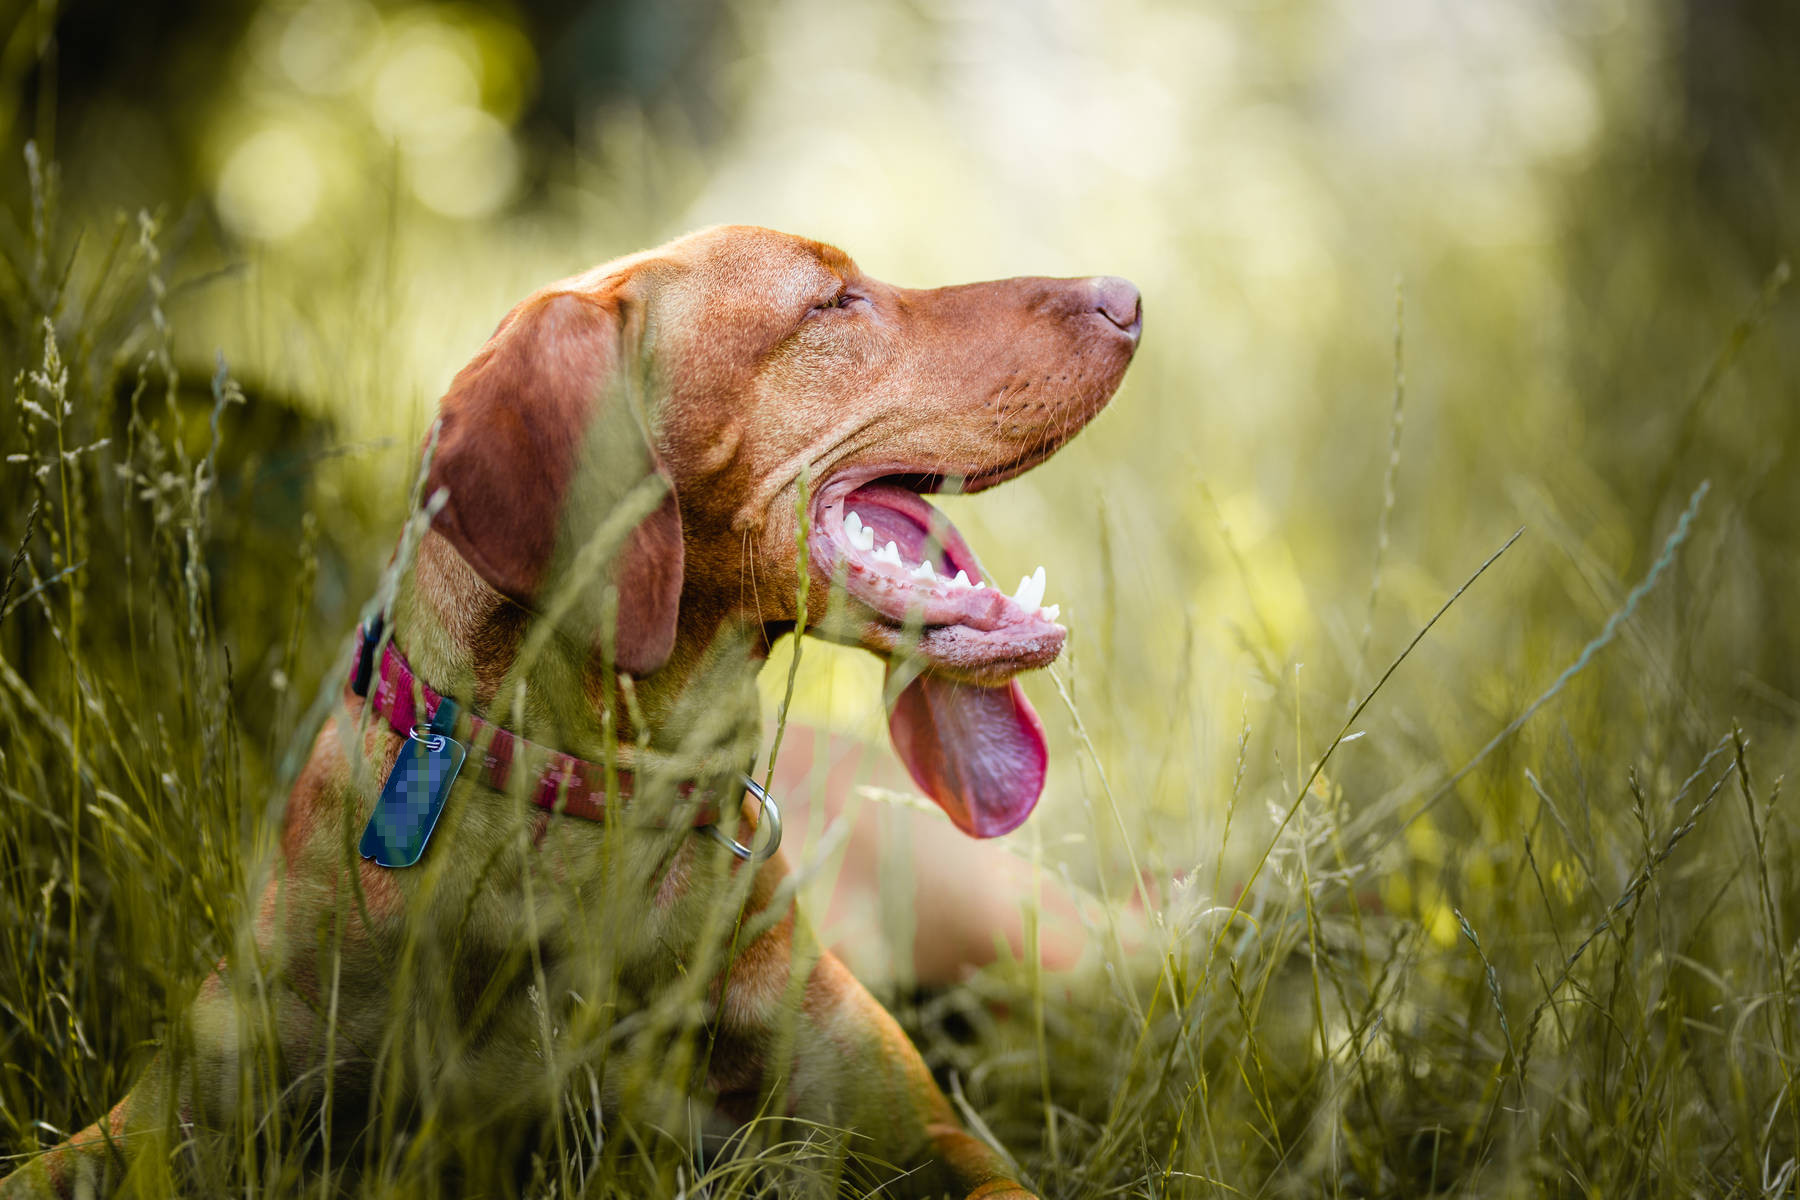
Even though I’ve been on the same level like Moka for this photo and it’s interesting, I actually think that too much is going on in this photo. The reason is the grass in the foreground that is covering Moka too much, making the photo confusing. It’s not helping that Moka flopped down completely, stretching all legs and therefor not lying in a very flattering position. Nontheless - it’s a very funny and goofy photo of a goofy girl!
Exif: 1/640 sec f/2 ISO 160 @85mm
This is my favorite photo from the session. Moka has a beautiful regal pose, her head is turned just the right amount, the grass in the forground is interesting but not too disturbing. The bench in the background is a minus in my eyes, but if I wanted I could photoshop it out.
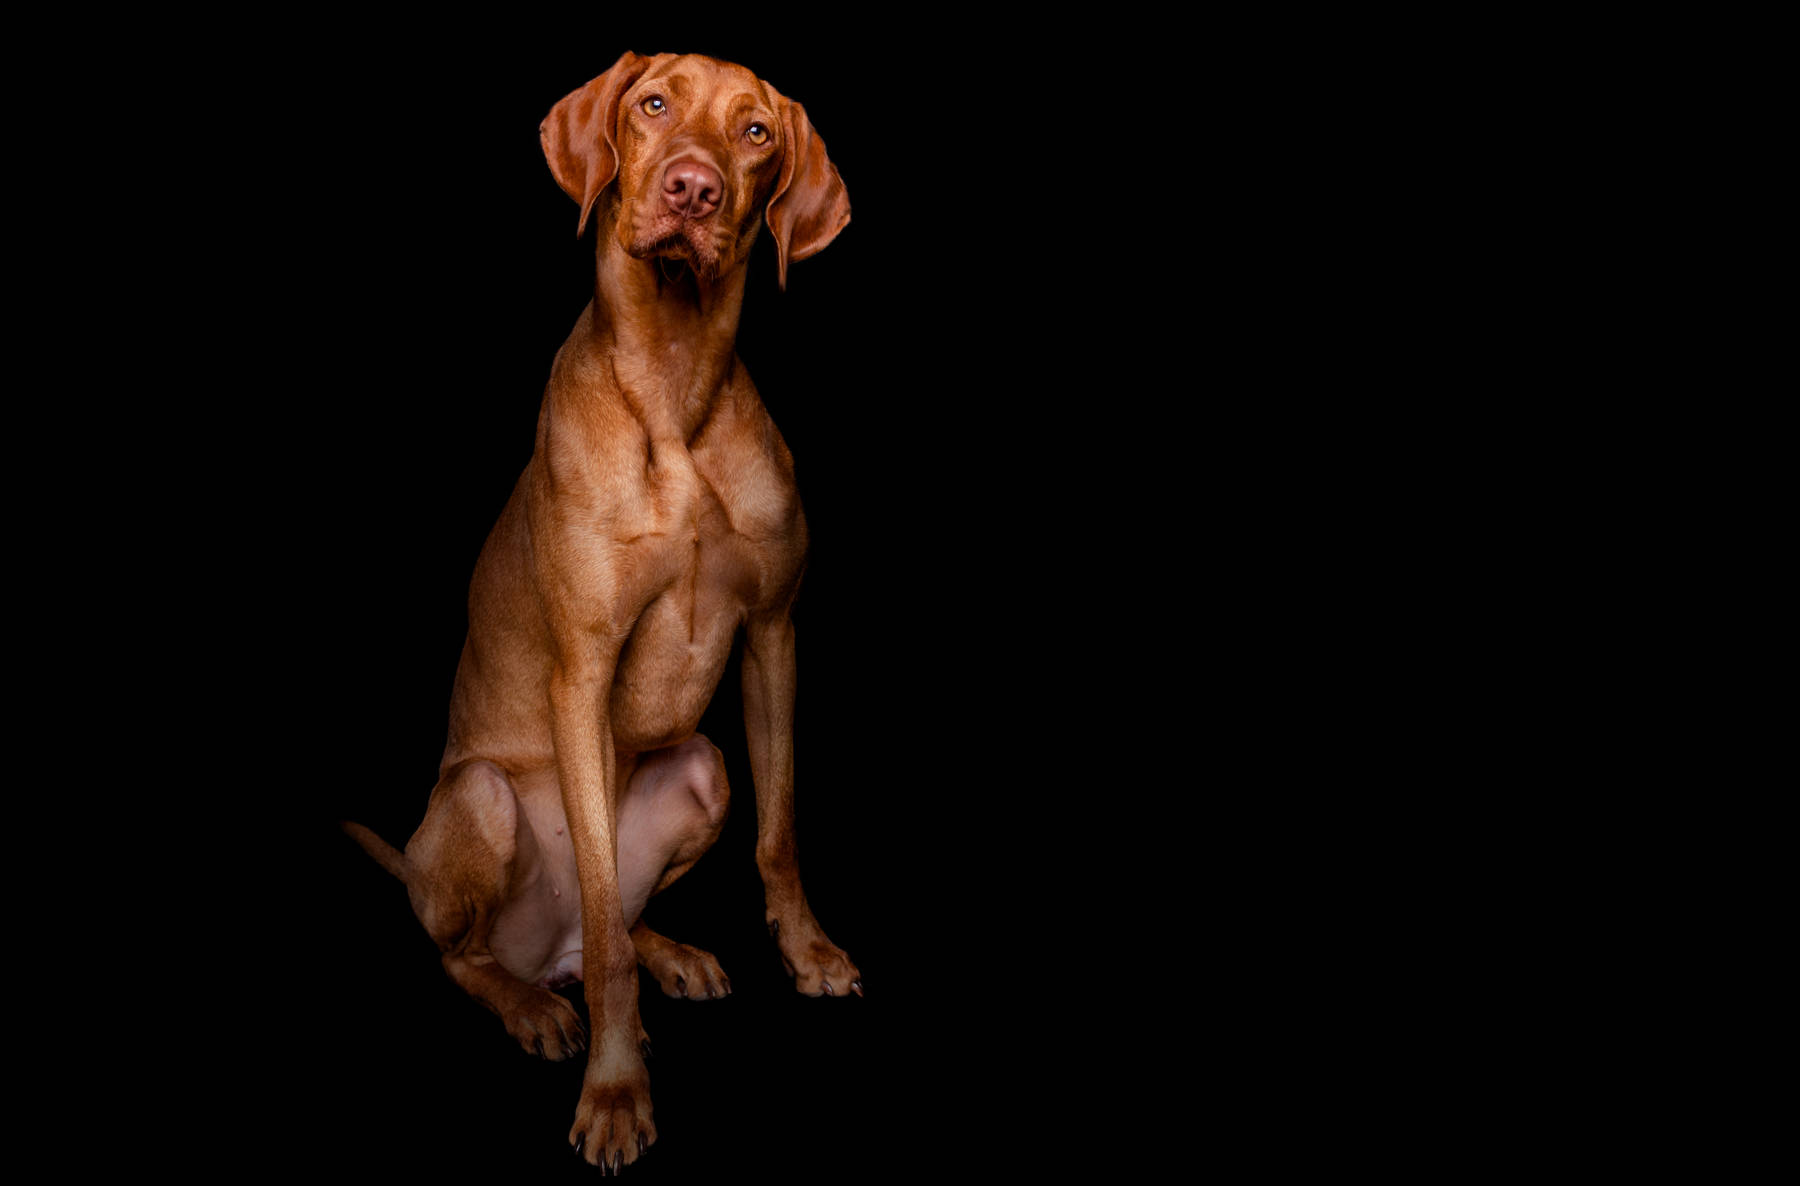
Photographing Moka in the Studio
After plenty of water and some sleep- and playtime after our first session, we also snapped some photos of her in the studio. What a girl! She must have been the best dog model we have photographed so far, followed by corgi Max.
Exif: 1/200 sec f/5 ISO 200 @24mm
Usually, Moka is full of energy. The Hungarian Vizsla - the breed - is a hunting dog and works with its nose, so when we were outside it often was difficult to get Moka’s attention as everything was much more interesting than us. In the studio it was different though!
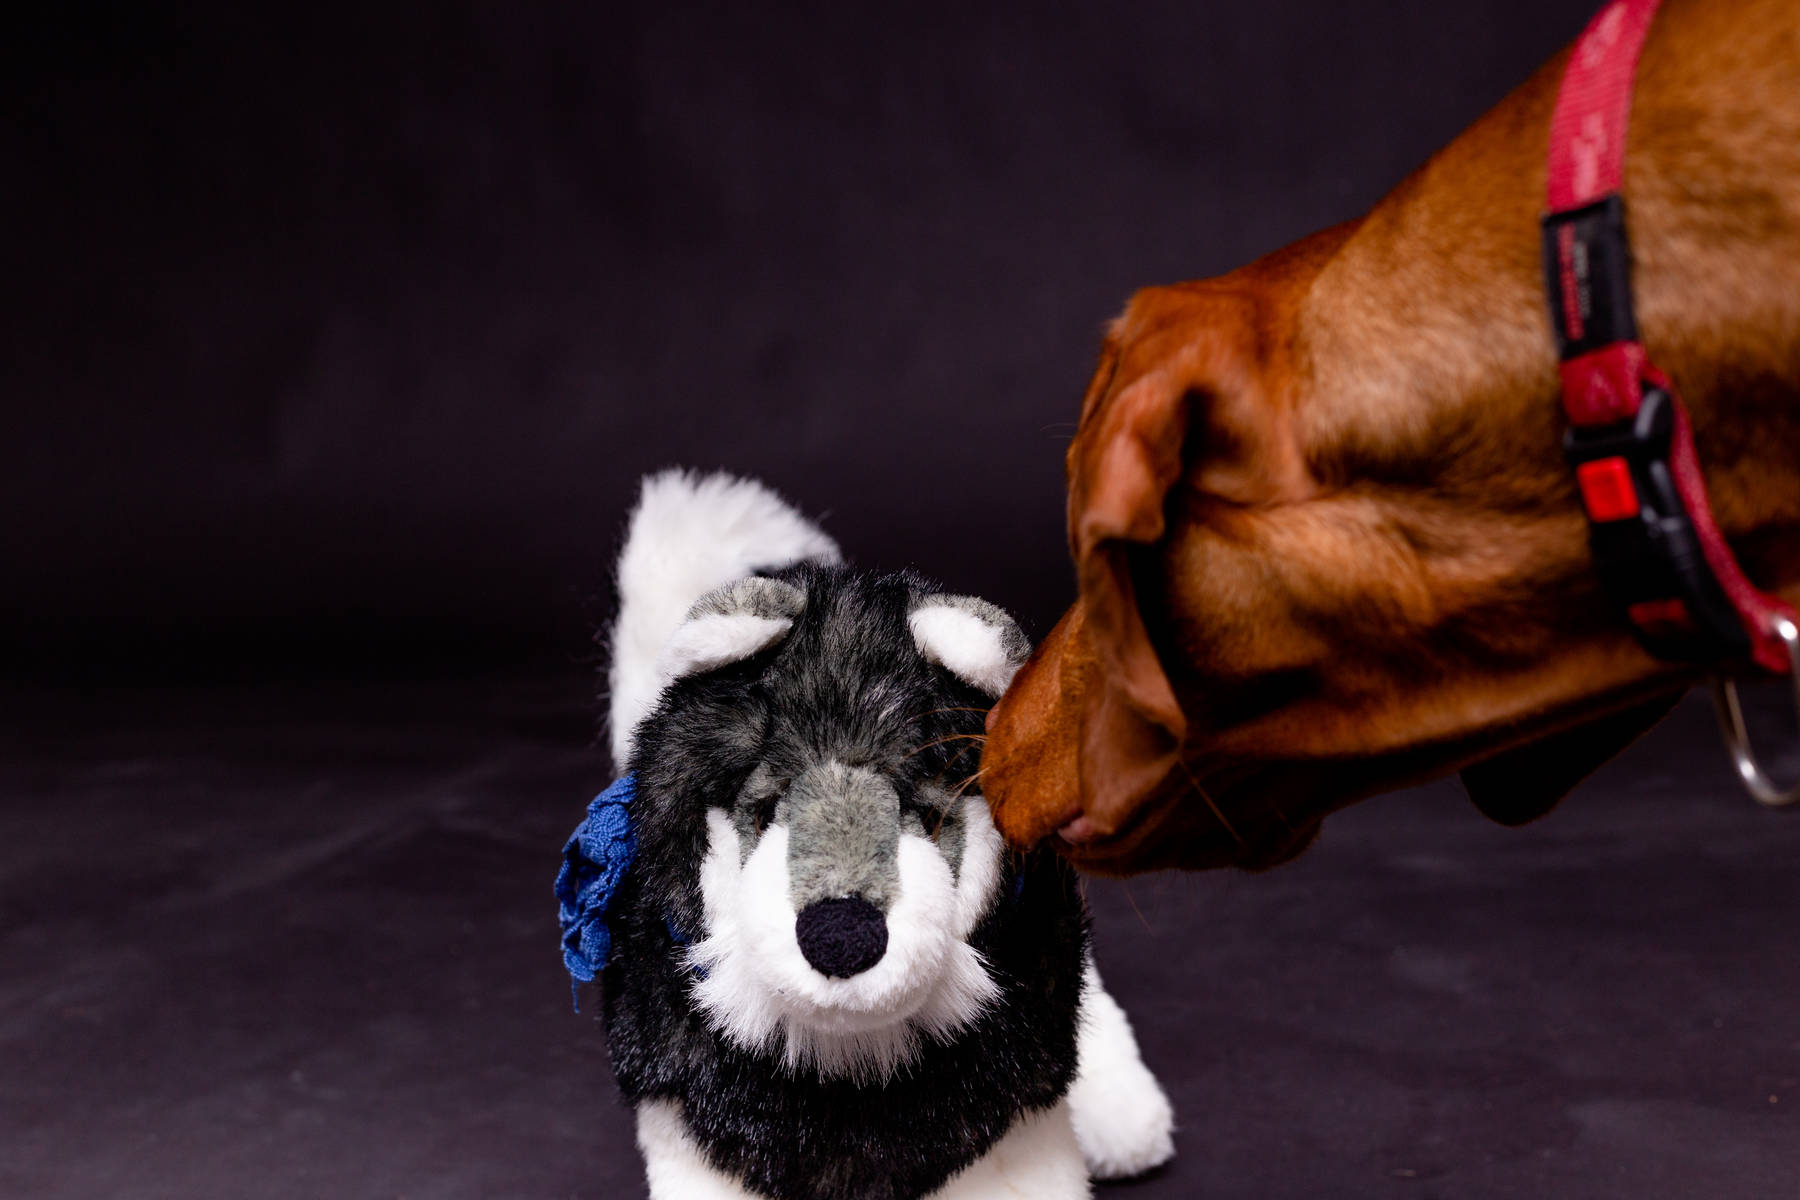
Sniffing out the stand in model that was used for setting the light. In contrary to Max, she didn’t bark at it. She did smell its butt, though!
Light Setup for Photographing Dogs in the Studio
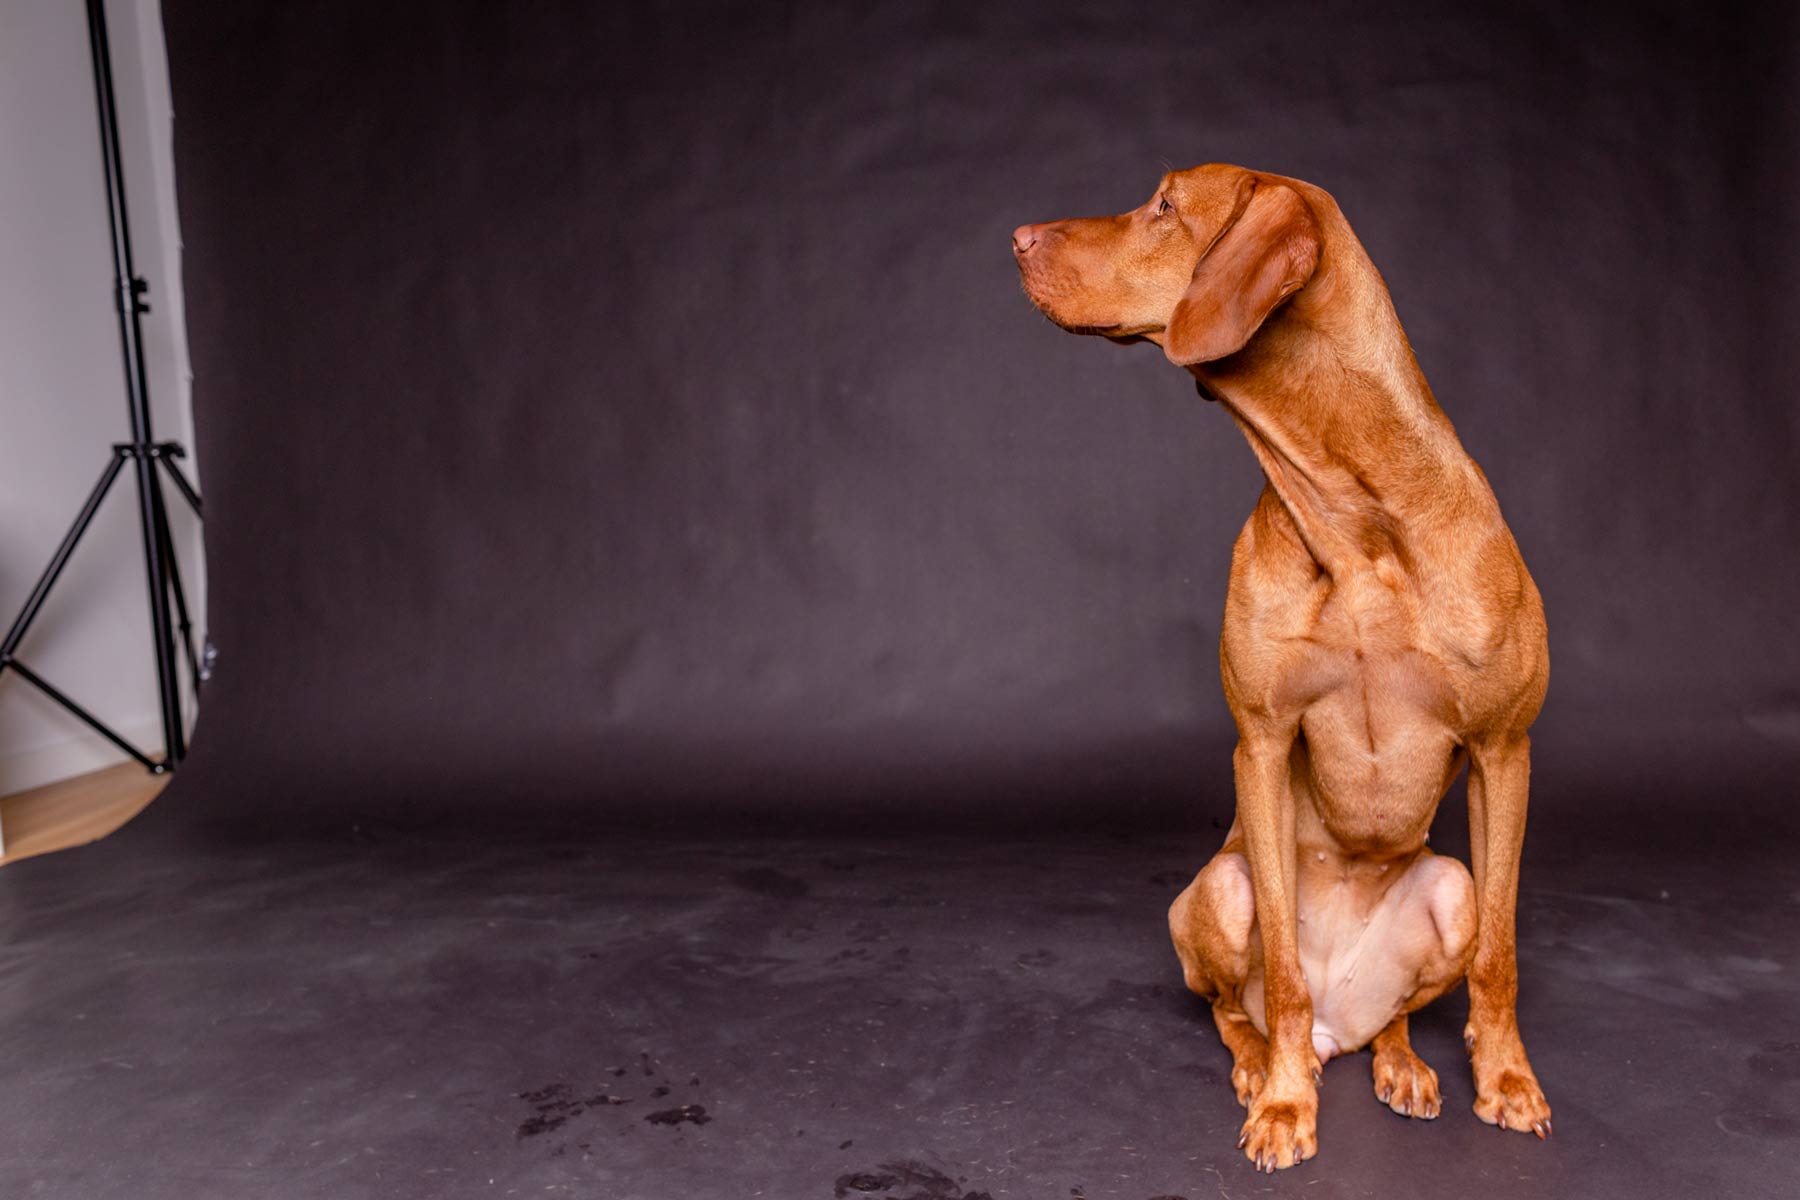
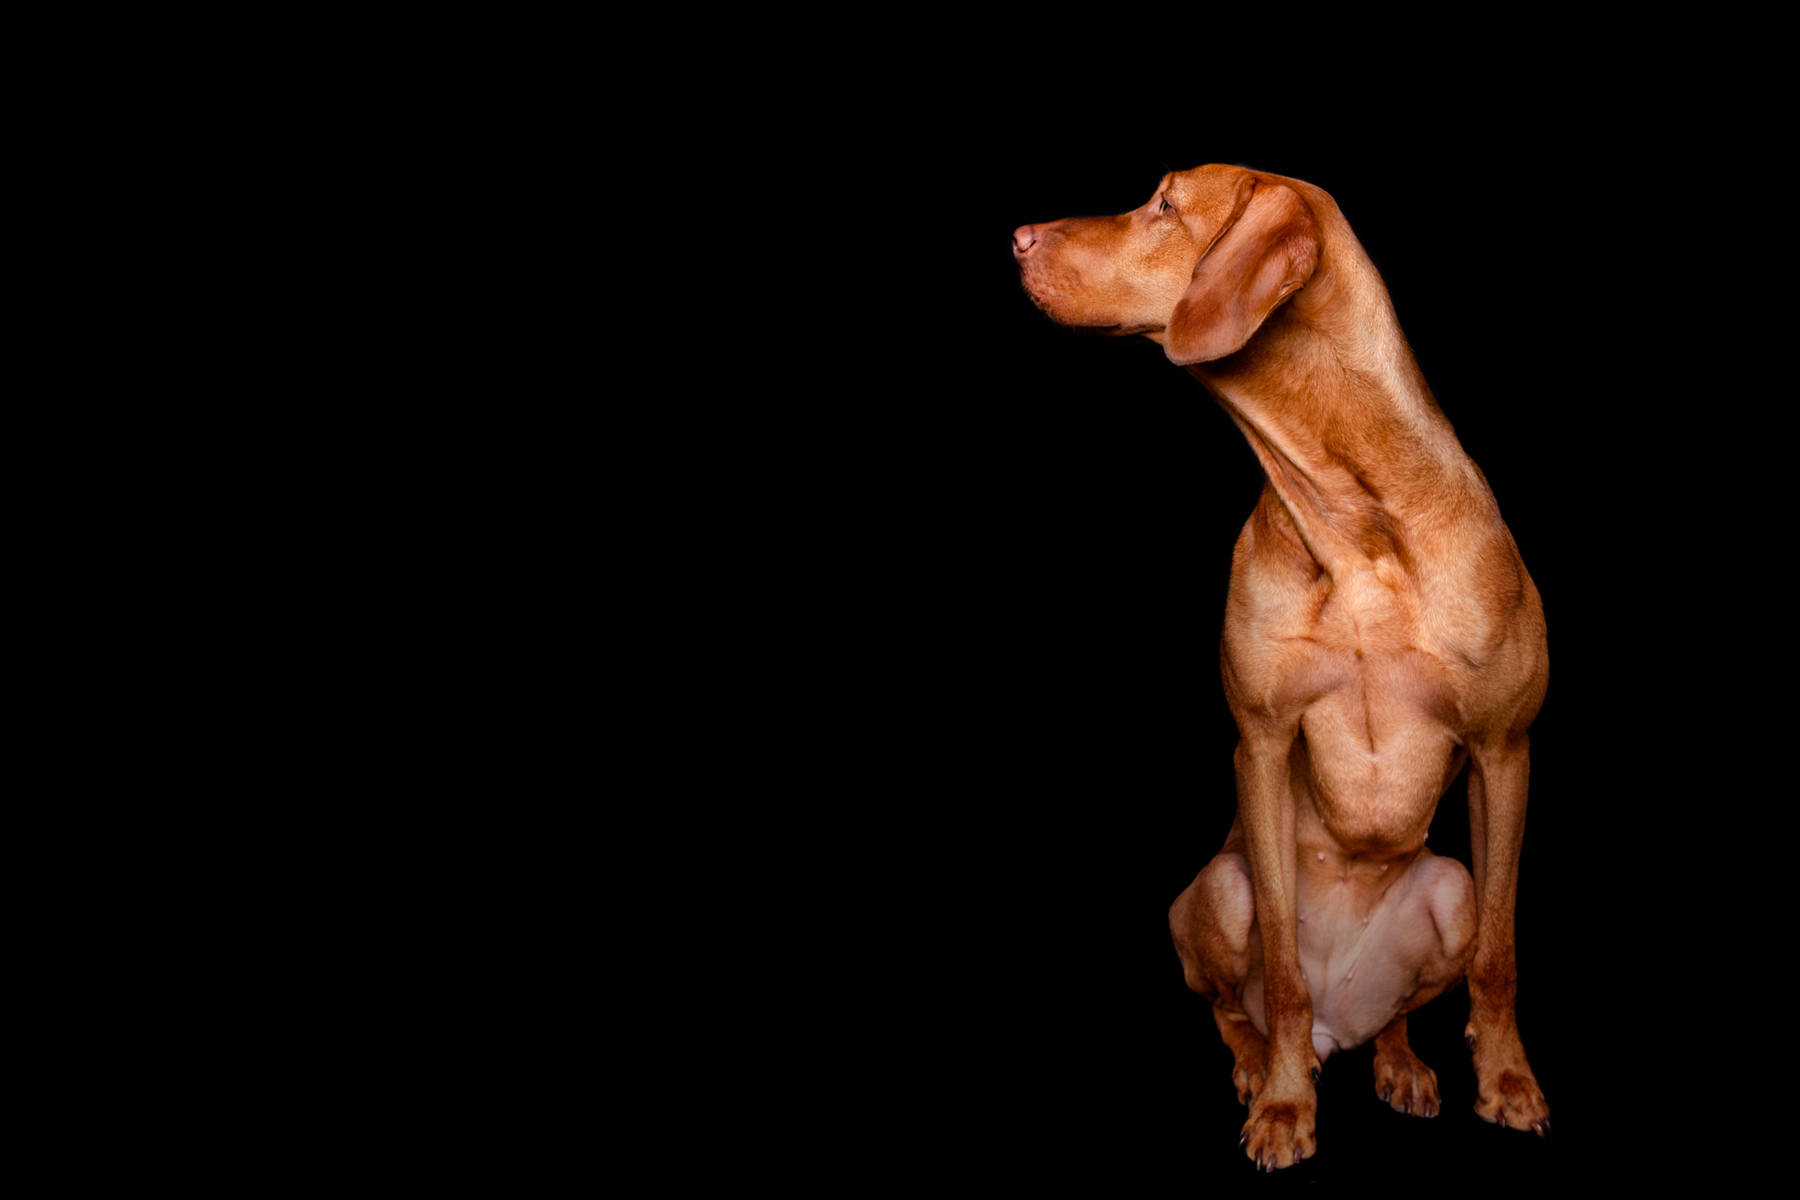
We used a single light setup for these pictures of Moka. It was softened by a big, rectangular softbox and placed just in front of her, facing slightly downwards.
Exif: 1/200 sec f/5 ISO 200 @50mm
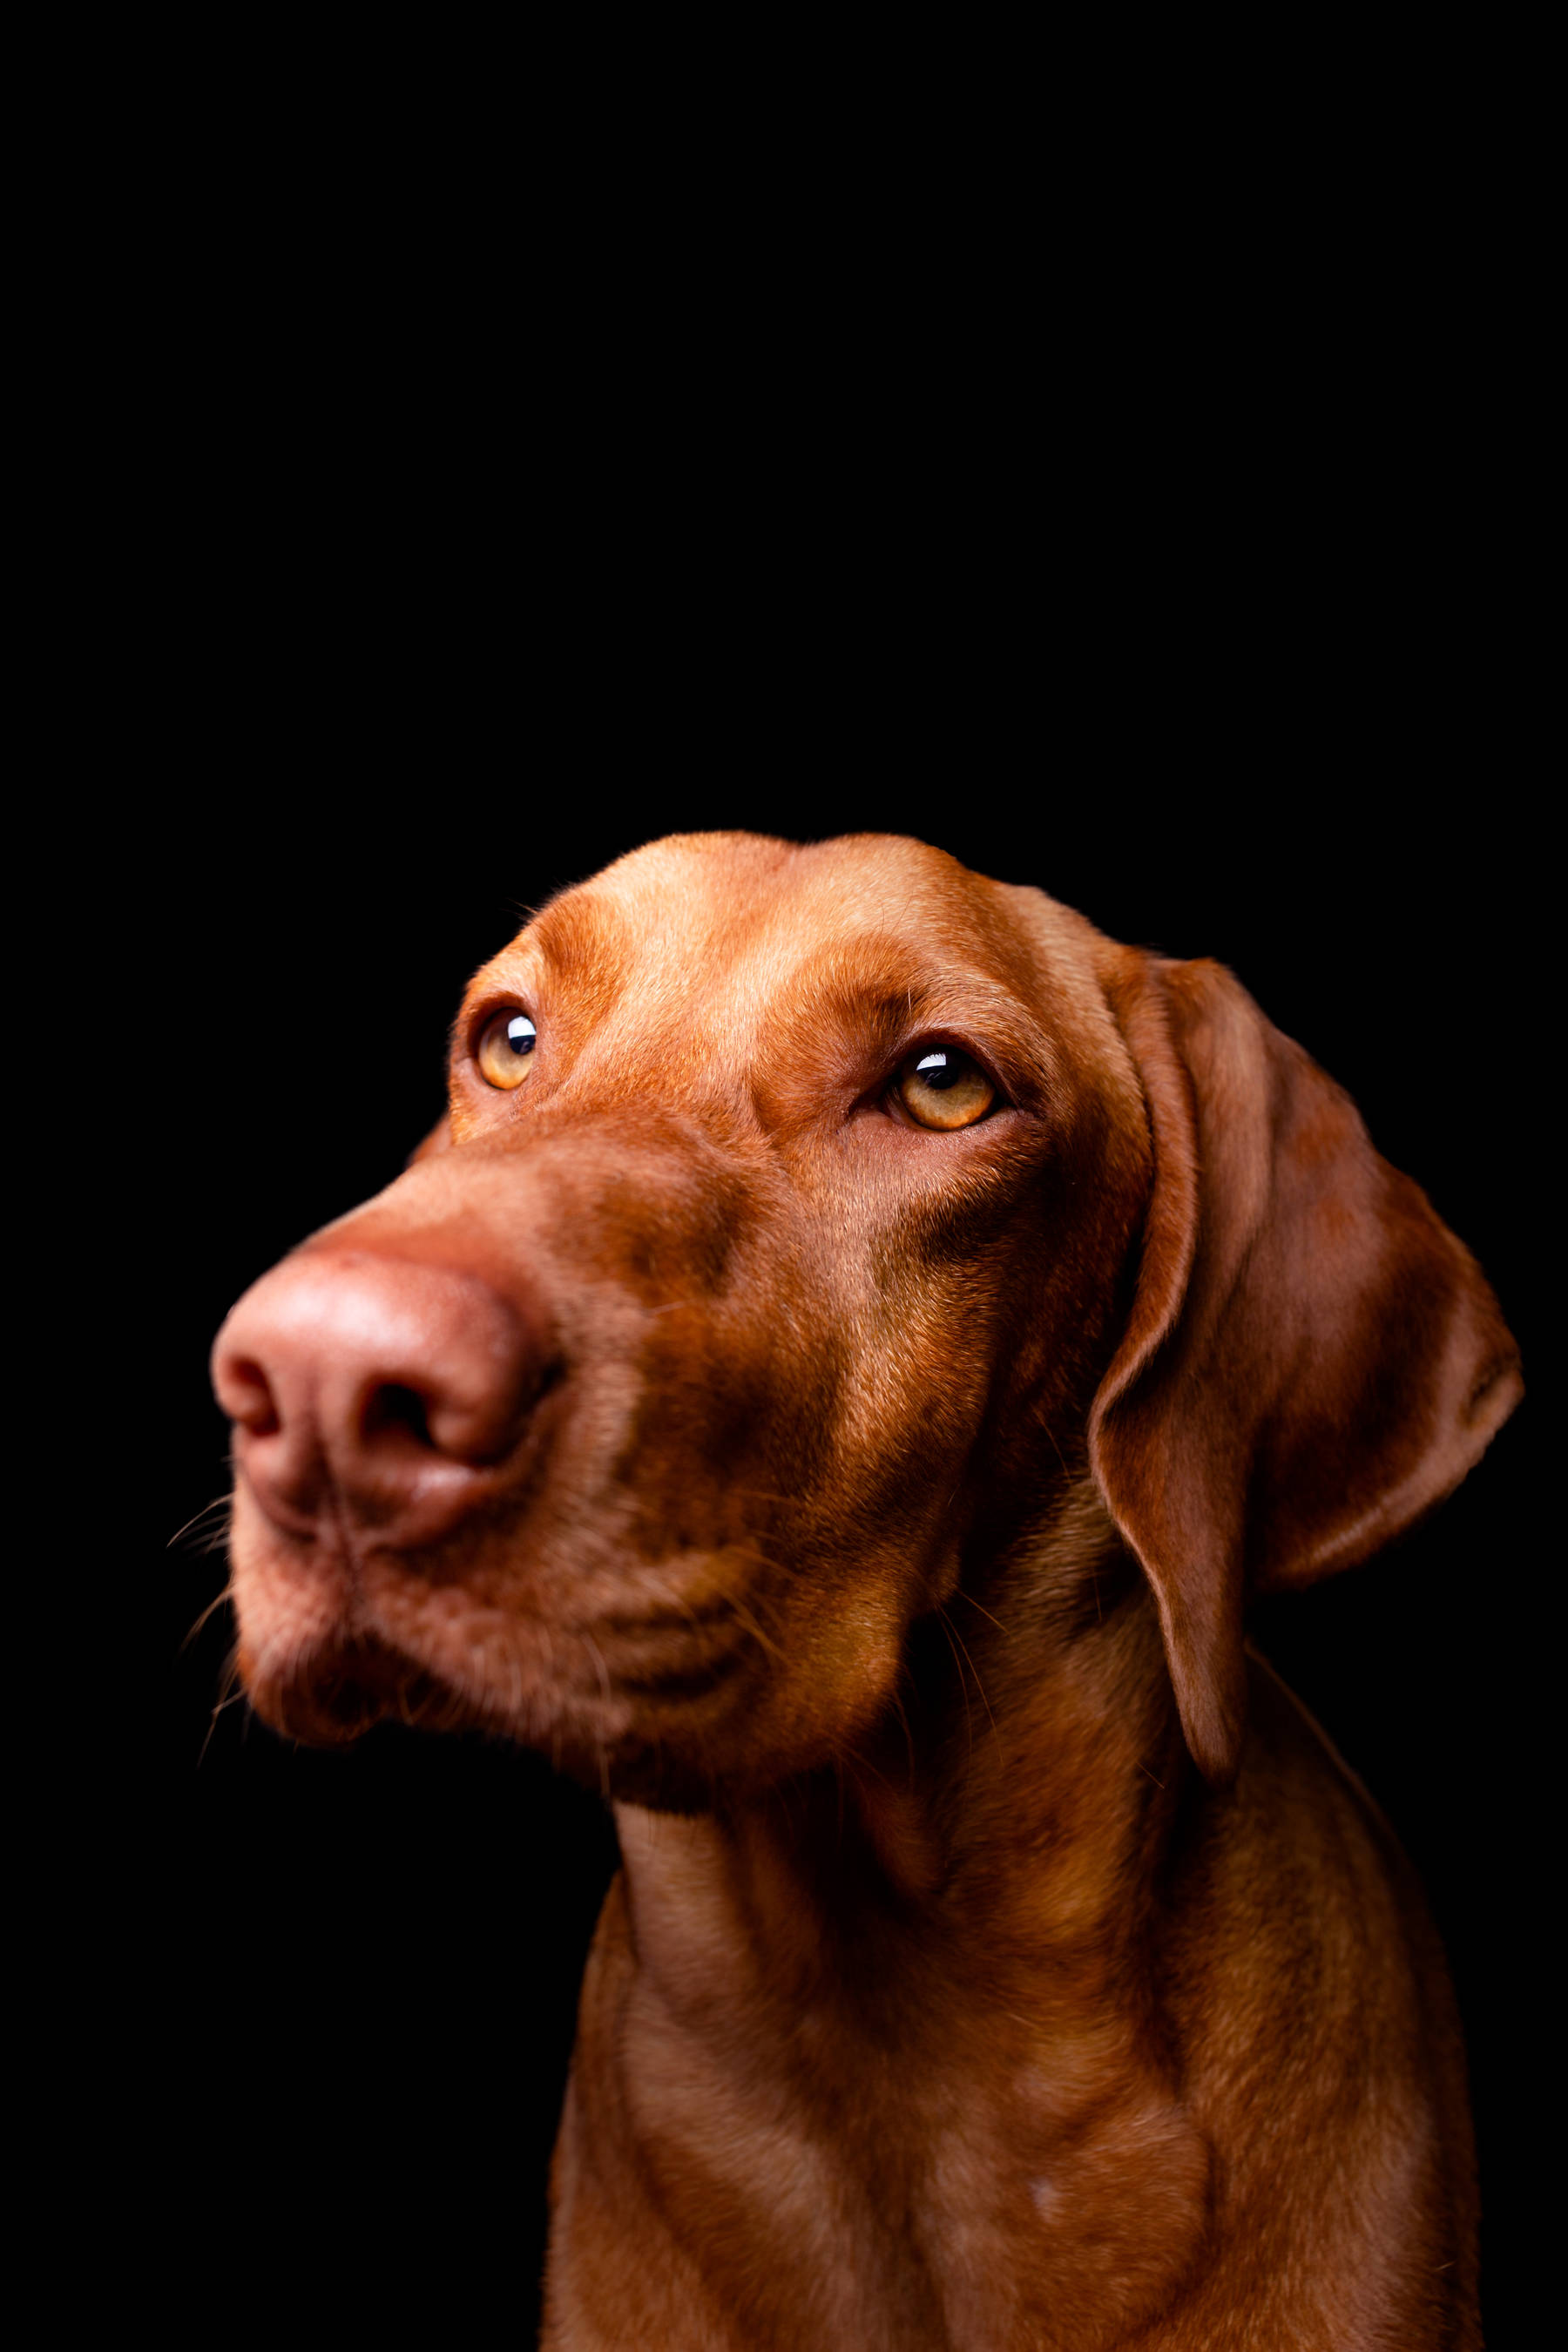
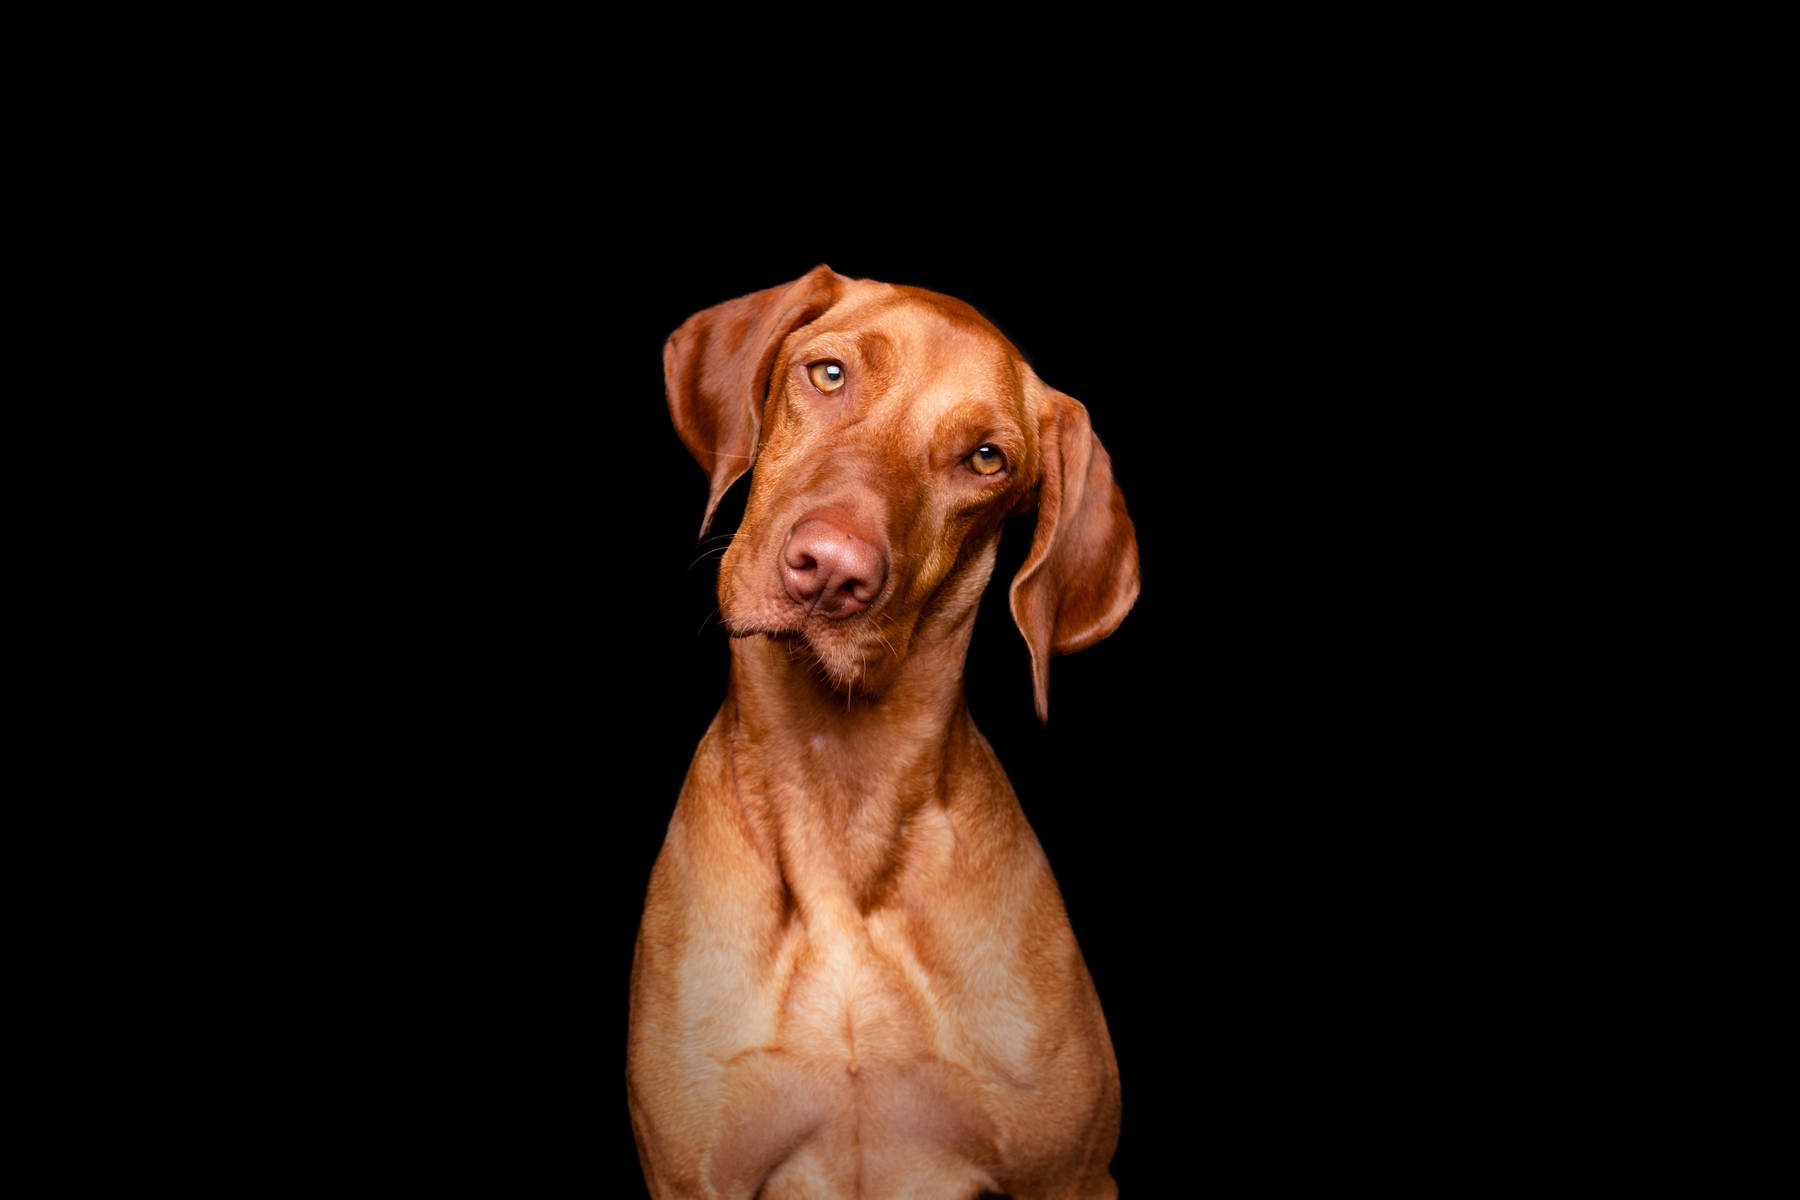
If your’re in doubt what kind of light setup was used for studio photos, have a closer look at the eyes of the subject! The light setup is often reflected.
Exif: 1/200 sec f/5 ISO 200 @24mm
A closer look at Moka’s eyes:
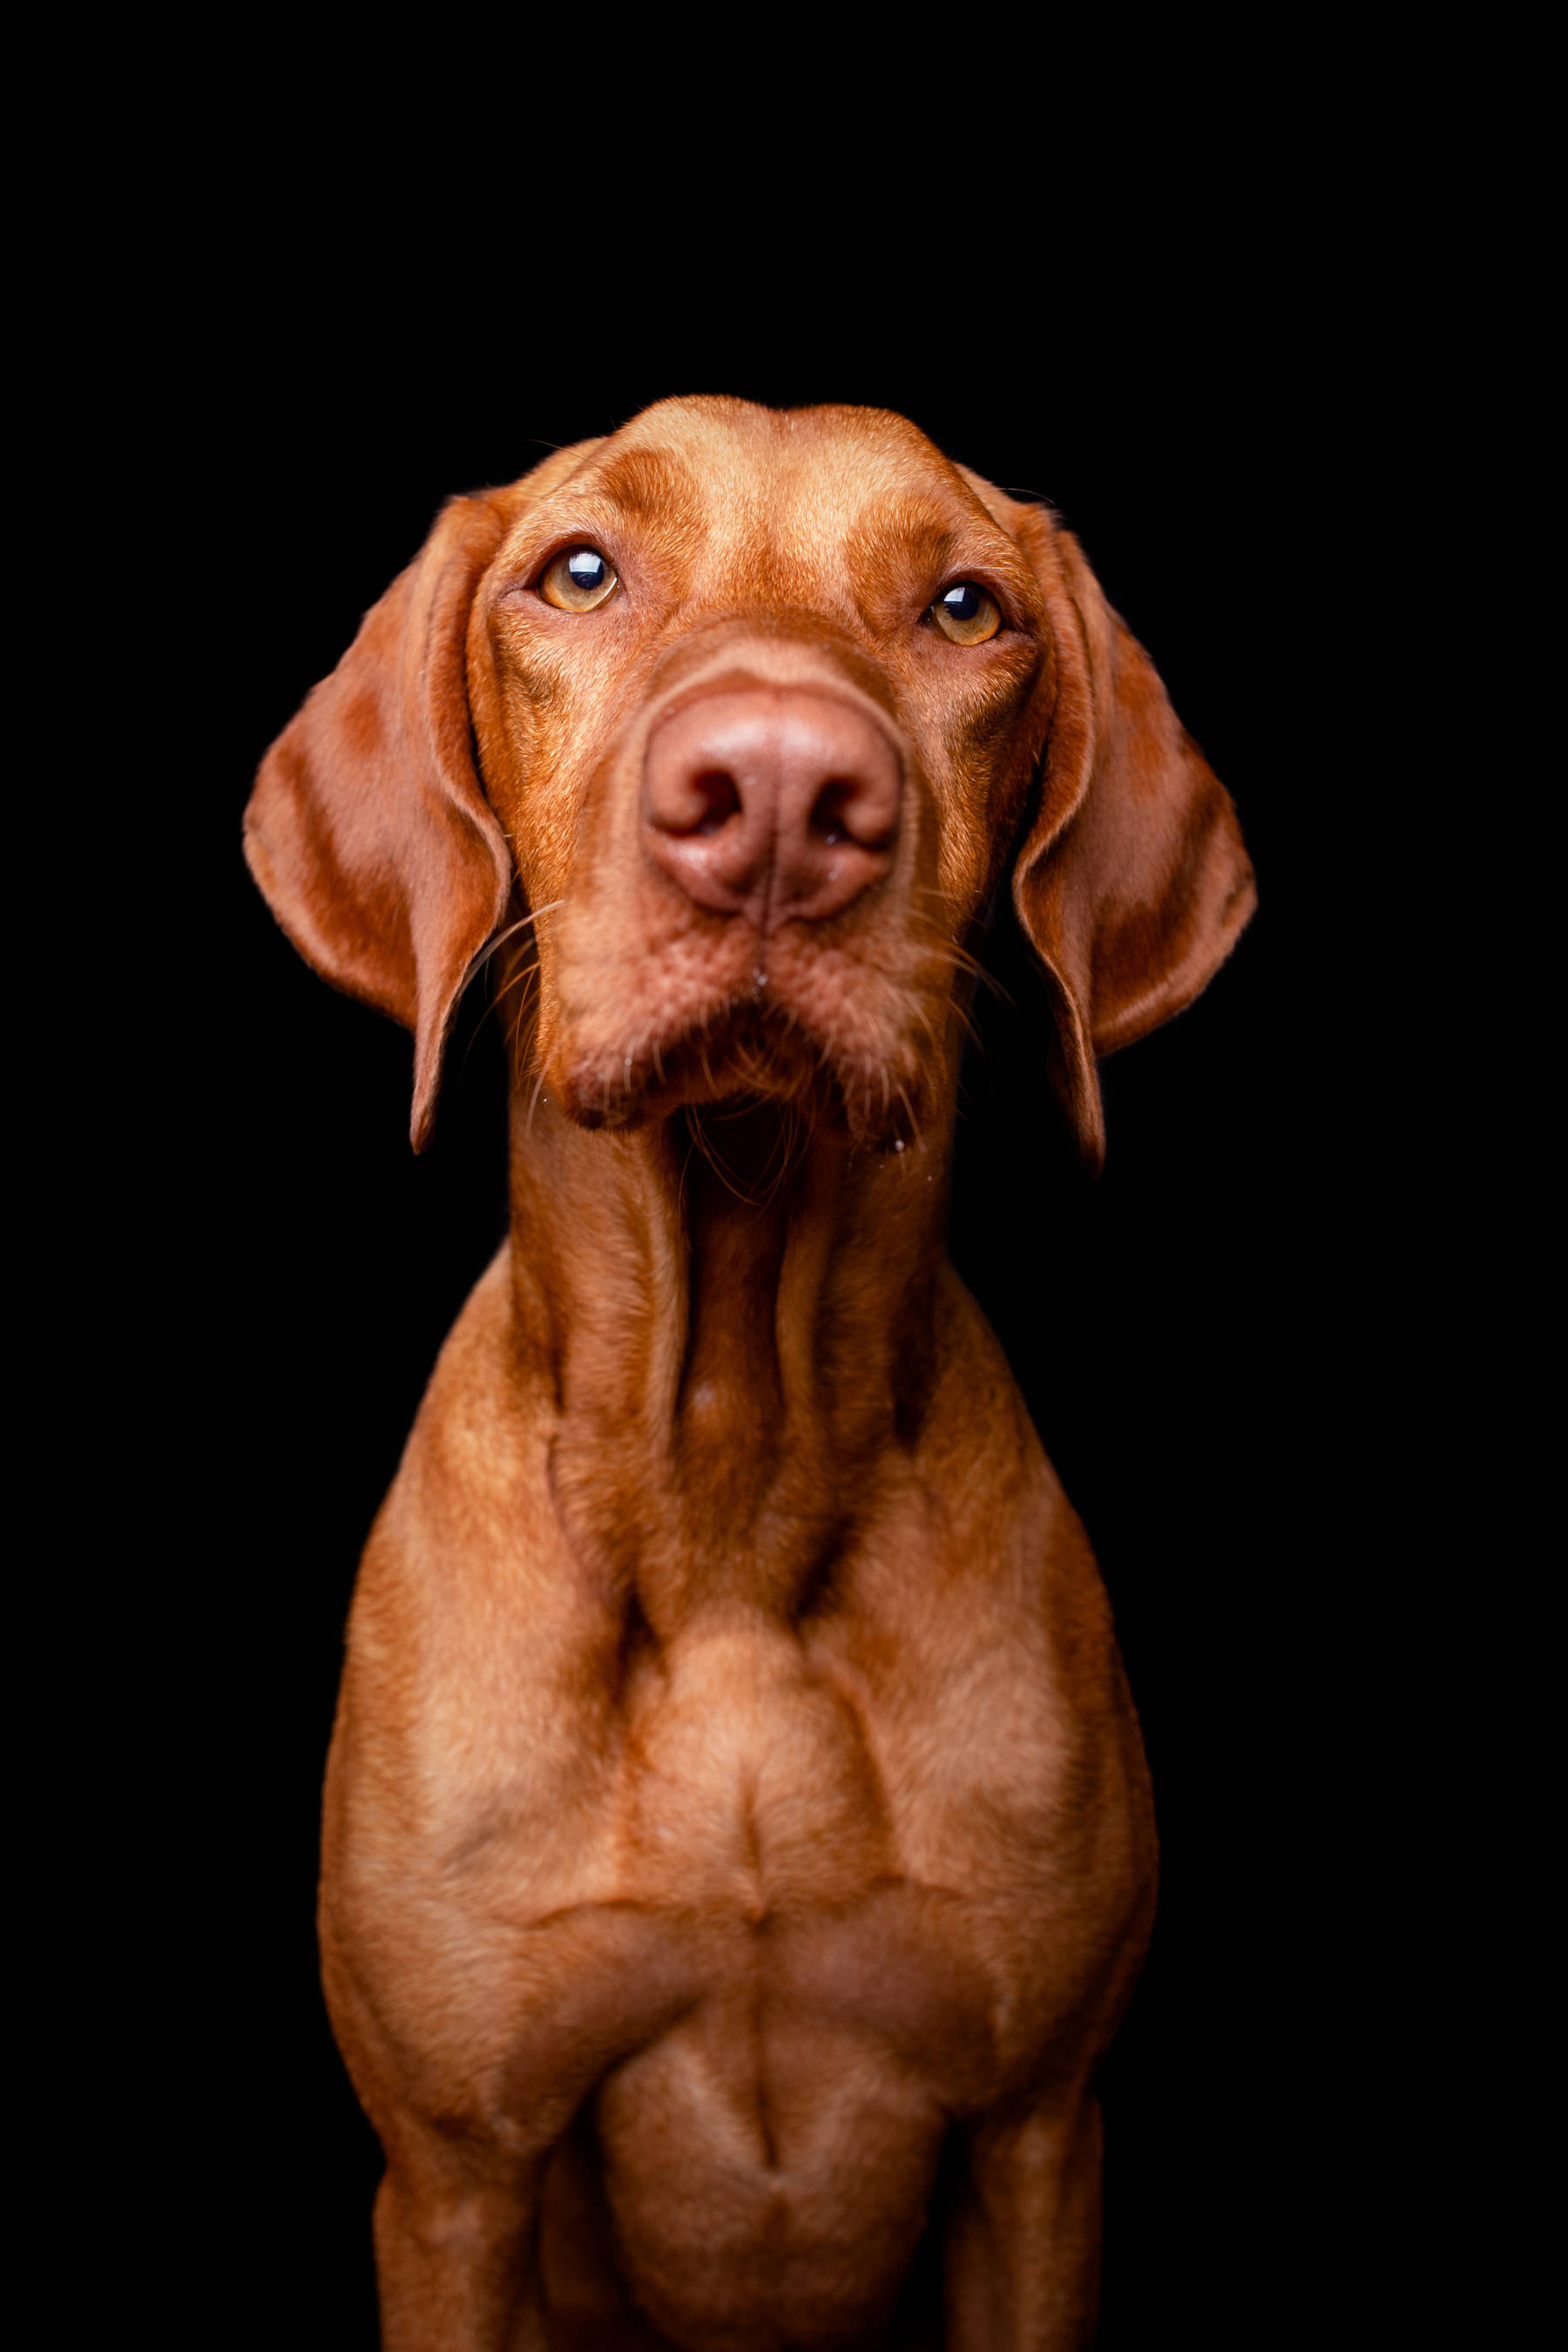
Exif: 1/200 sec f/4.5 ISO 400 @24mm
Posing and Positioning
When shooting outside, I mostly follow the dogs around with my camera and constantly trying to capture their sweet moments. If the dogs is especially well trained, the positioning of the dog can be more controlled, but in general it’s more free.
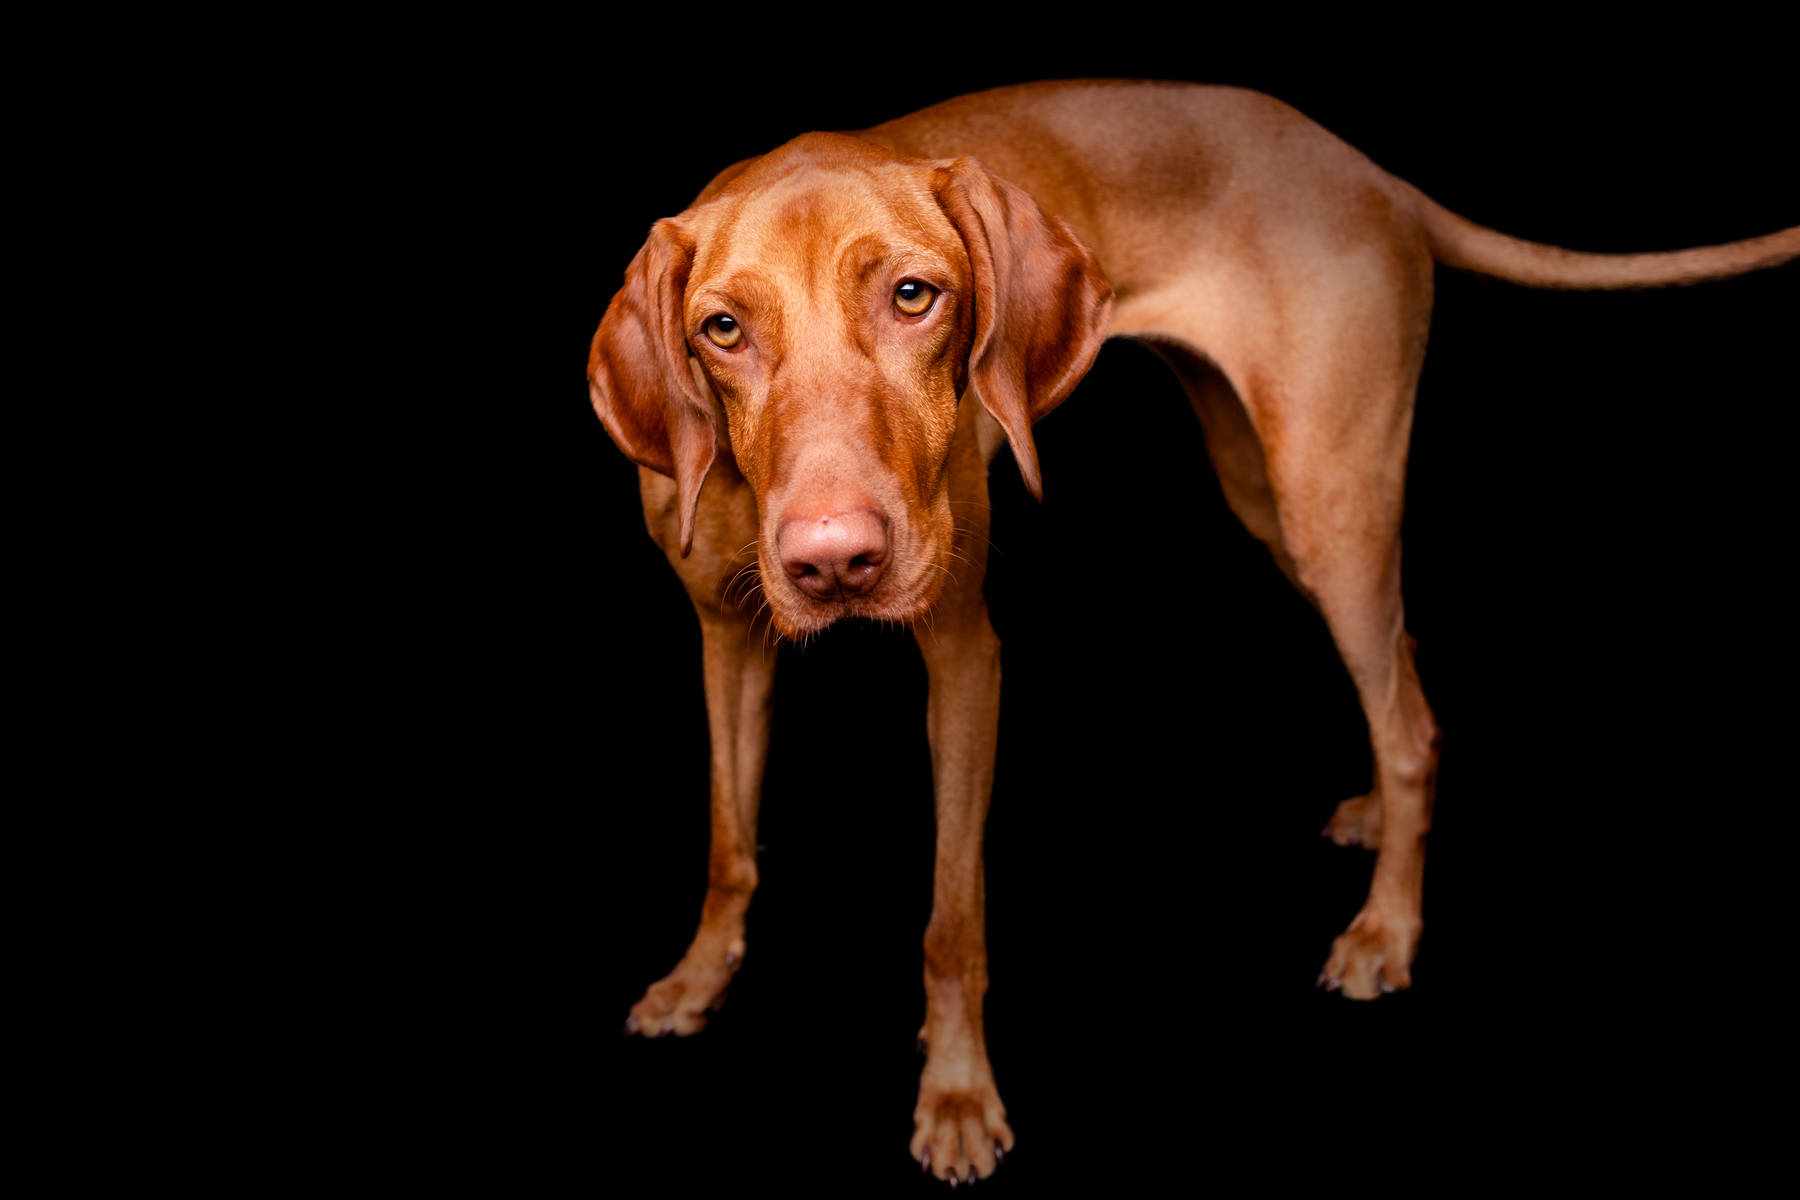
In the studio, however, we always try to create a as controlled photoshooting situation as possible. How? With treats. Tons of treats. (Some dogs might be more interesting in their favorite toy than treats, but we have so far not yet encountered that species)
Exif: 1/200 sec f/5 ISO 200 @50mm
Every time the dog looks in the general direction of the camera, it’s looking at the treat. Every time.
Exif: 1/200 sec f/5 ISO 200 @24mm
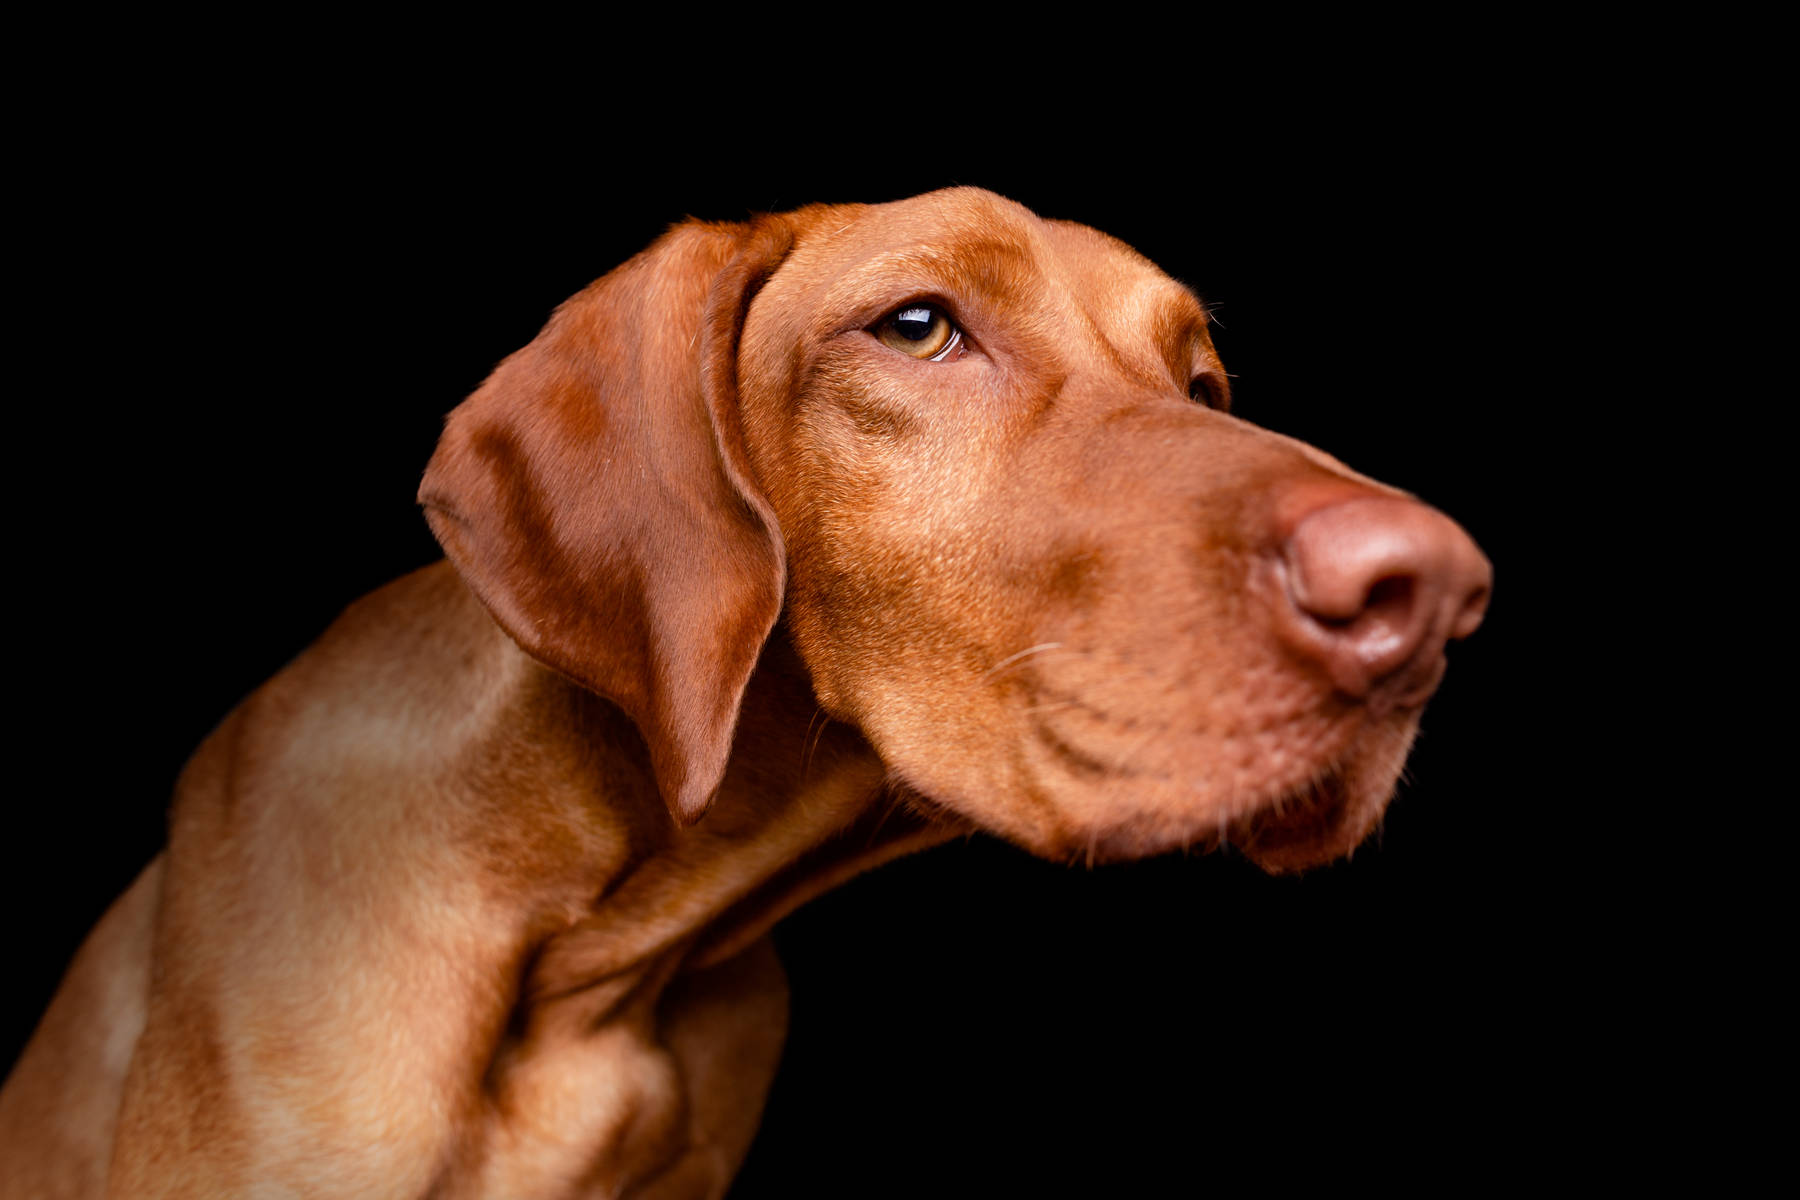
To get that head tilt, I hold a treat beside the camera and neighed like a horse. That’s how we work.
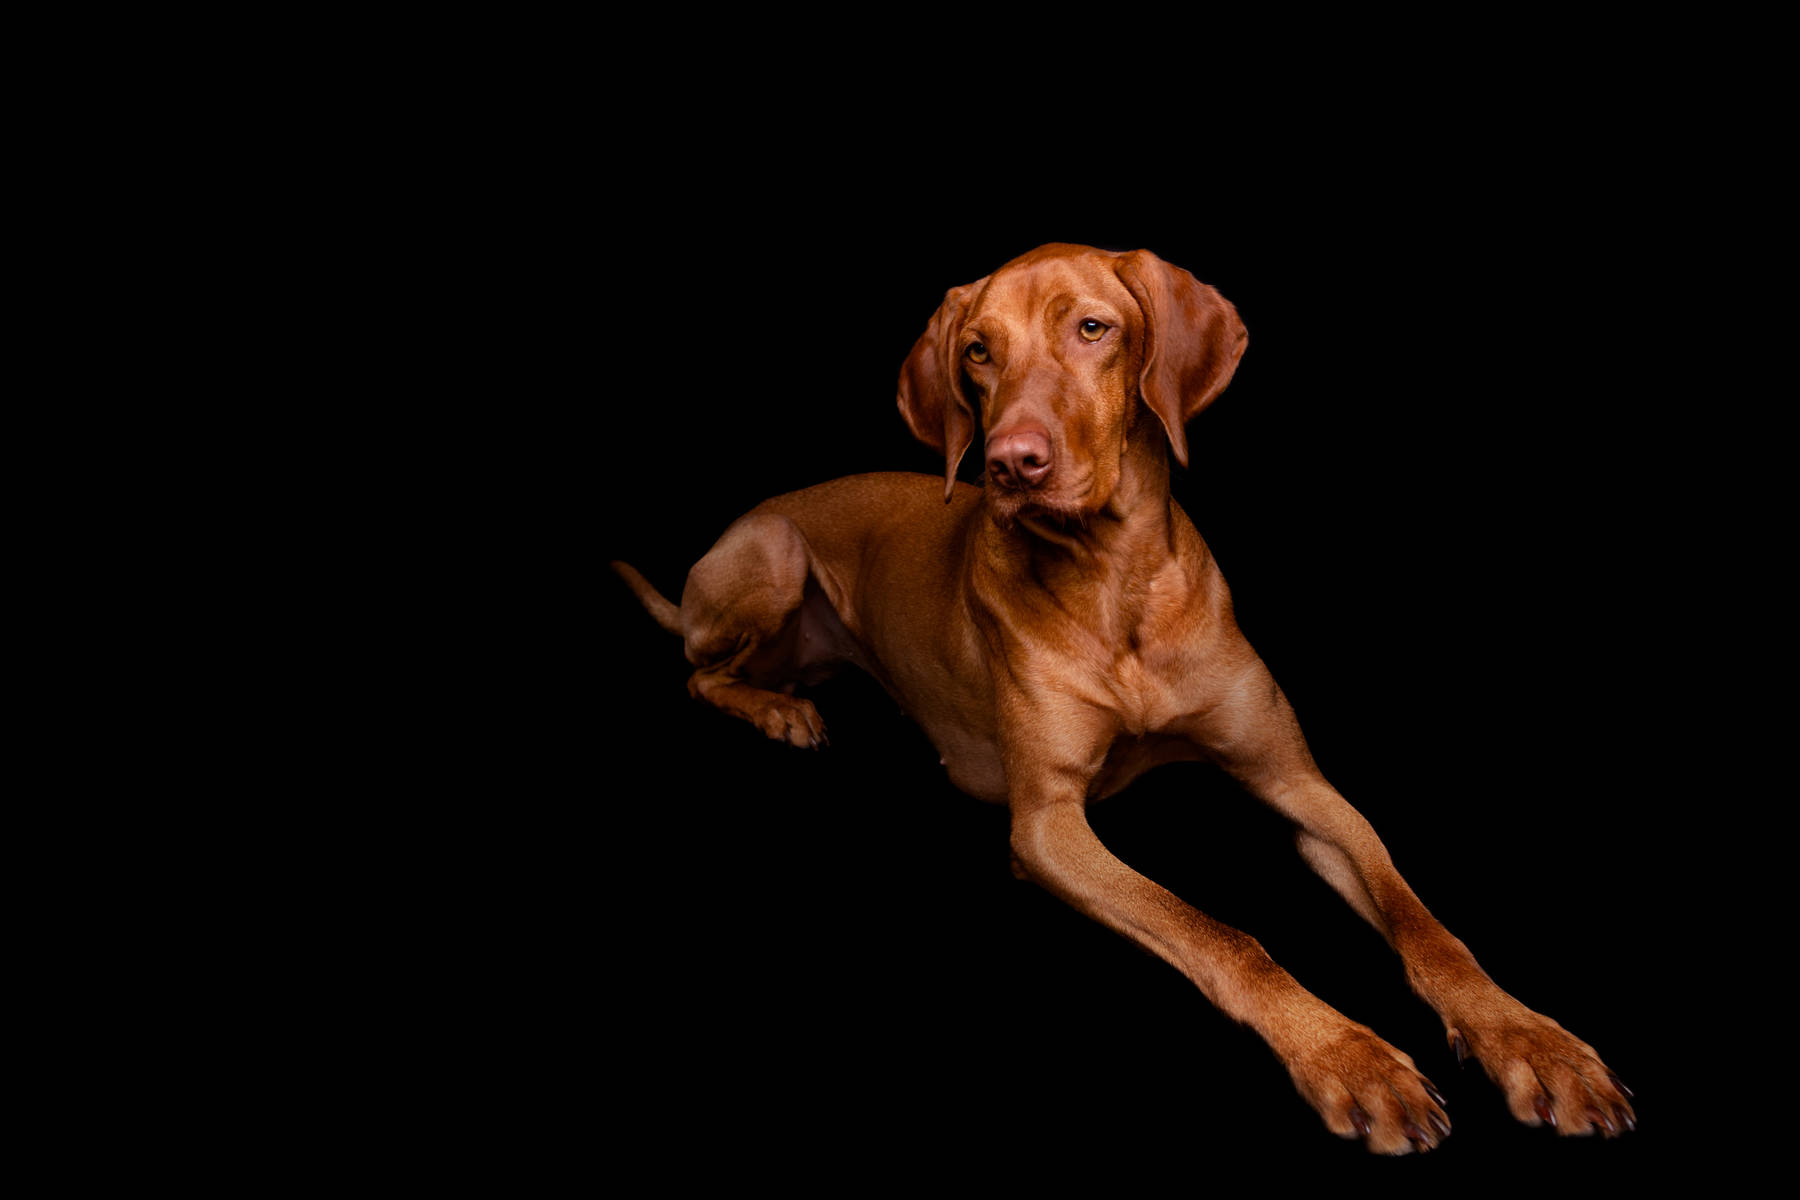
Most of the times I position the dog with the following trick:
- I throw a treat further away, just in front of the background. The dog will happily go for that treat.
- As soon as it has gobbled down that treat, I catch its attention with the next treat already in my hand.
- I then tell the dog to sit or stay. Sometimes the dog will react immediatly, giving me the opportunity to get a full body shot. Other times it will manage to walk towards me before following the command - however, most of the times it will still be far enough away for a nice portrait shot.
- When I praise the dog and give the treat or the dog loses its patience and goes for the treat without being allowed, I will cuddle it for a bit before starting at the beginning again.
When working like this, I will use up a lot of treats just for moving the dog around and getting some distance between it and me. However, it turned out to work wonderfully compared to before, where I would try to get up and make the dog sit where I wanted it to sit before squatting down myself to take the photo - just to realise that the dog understood that as an invitation to come cuddle.
Exif: 1/200 sec f/5 ISO 200 @24mm
The method works because the throwing of the treat will move the dog to the wished position. Then having the next treat in your hand will make it turn and position it correctly (unless you don’t want it to look into the camera, obviously!). Then the dog only needs to follow the single and clear command to sit or stay and does not get confused about you shouting at it and pushing it. (Disclaimer: Don’t do that!)
Exif: 1/200 sec f/5 ISO 200
Which Lens to Use for Dog Photography in the Studio
Our photostudio is in our living room, so obviously it isn’t very big and therefore the focal lengths are shorter. I usually go with 50mm or 24mm - a 35mm would probably be the perfect compromise here, or a zoom lens like the 24-70mm.
Exif: 1/200 sec f/5 ISO 200 @24mm
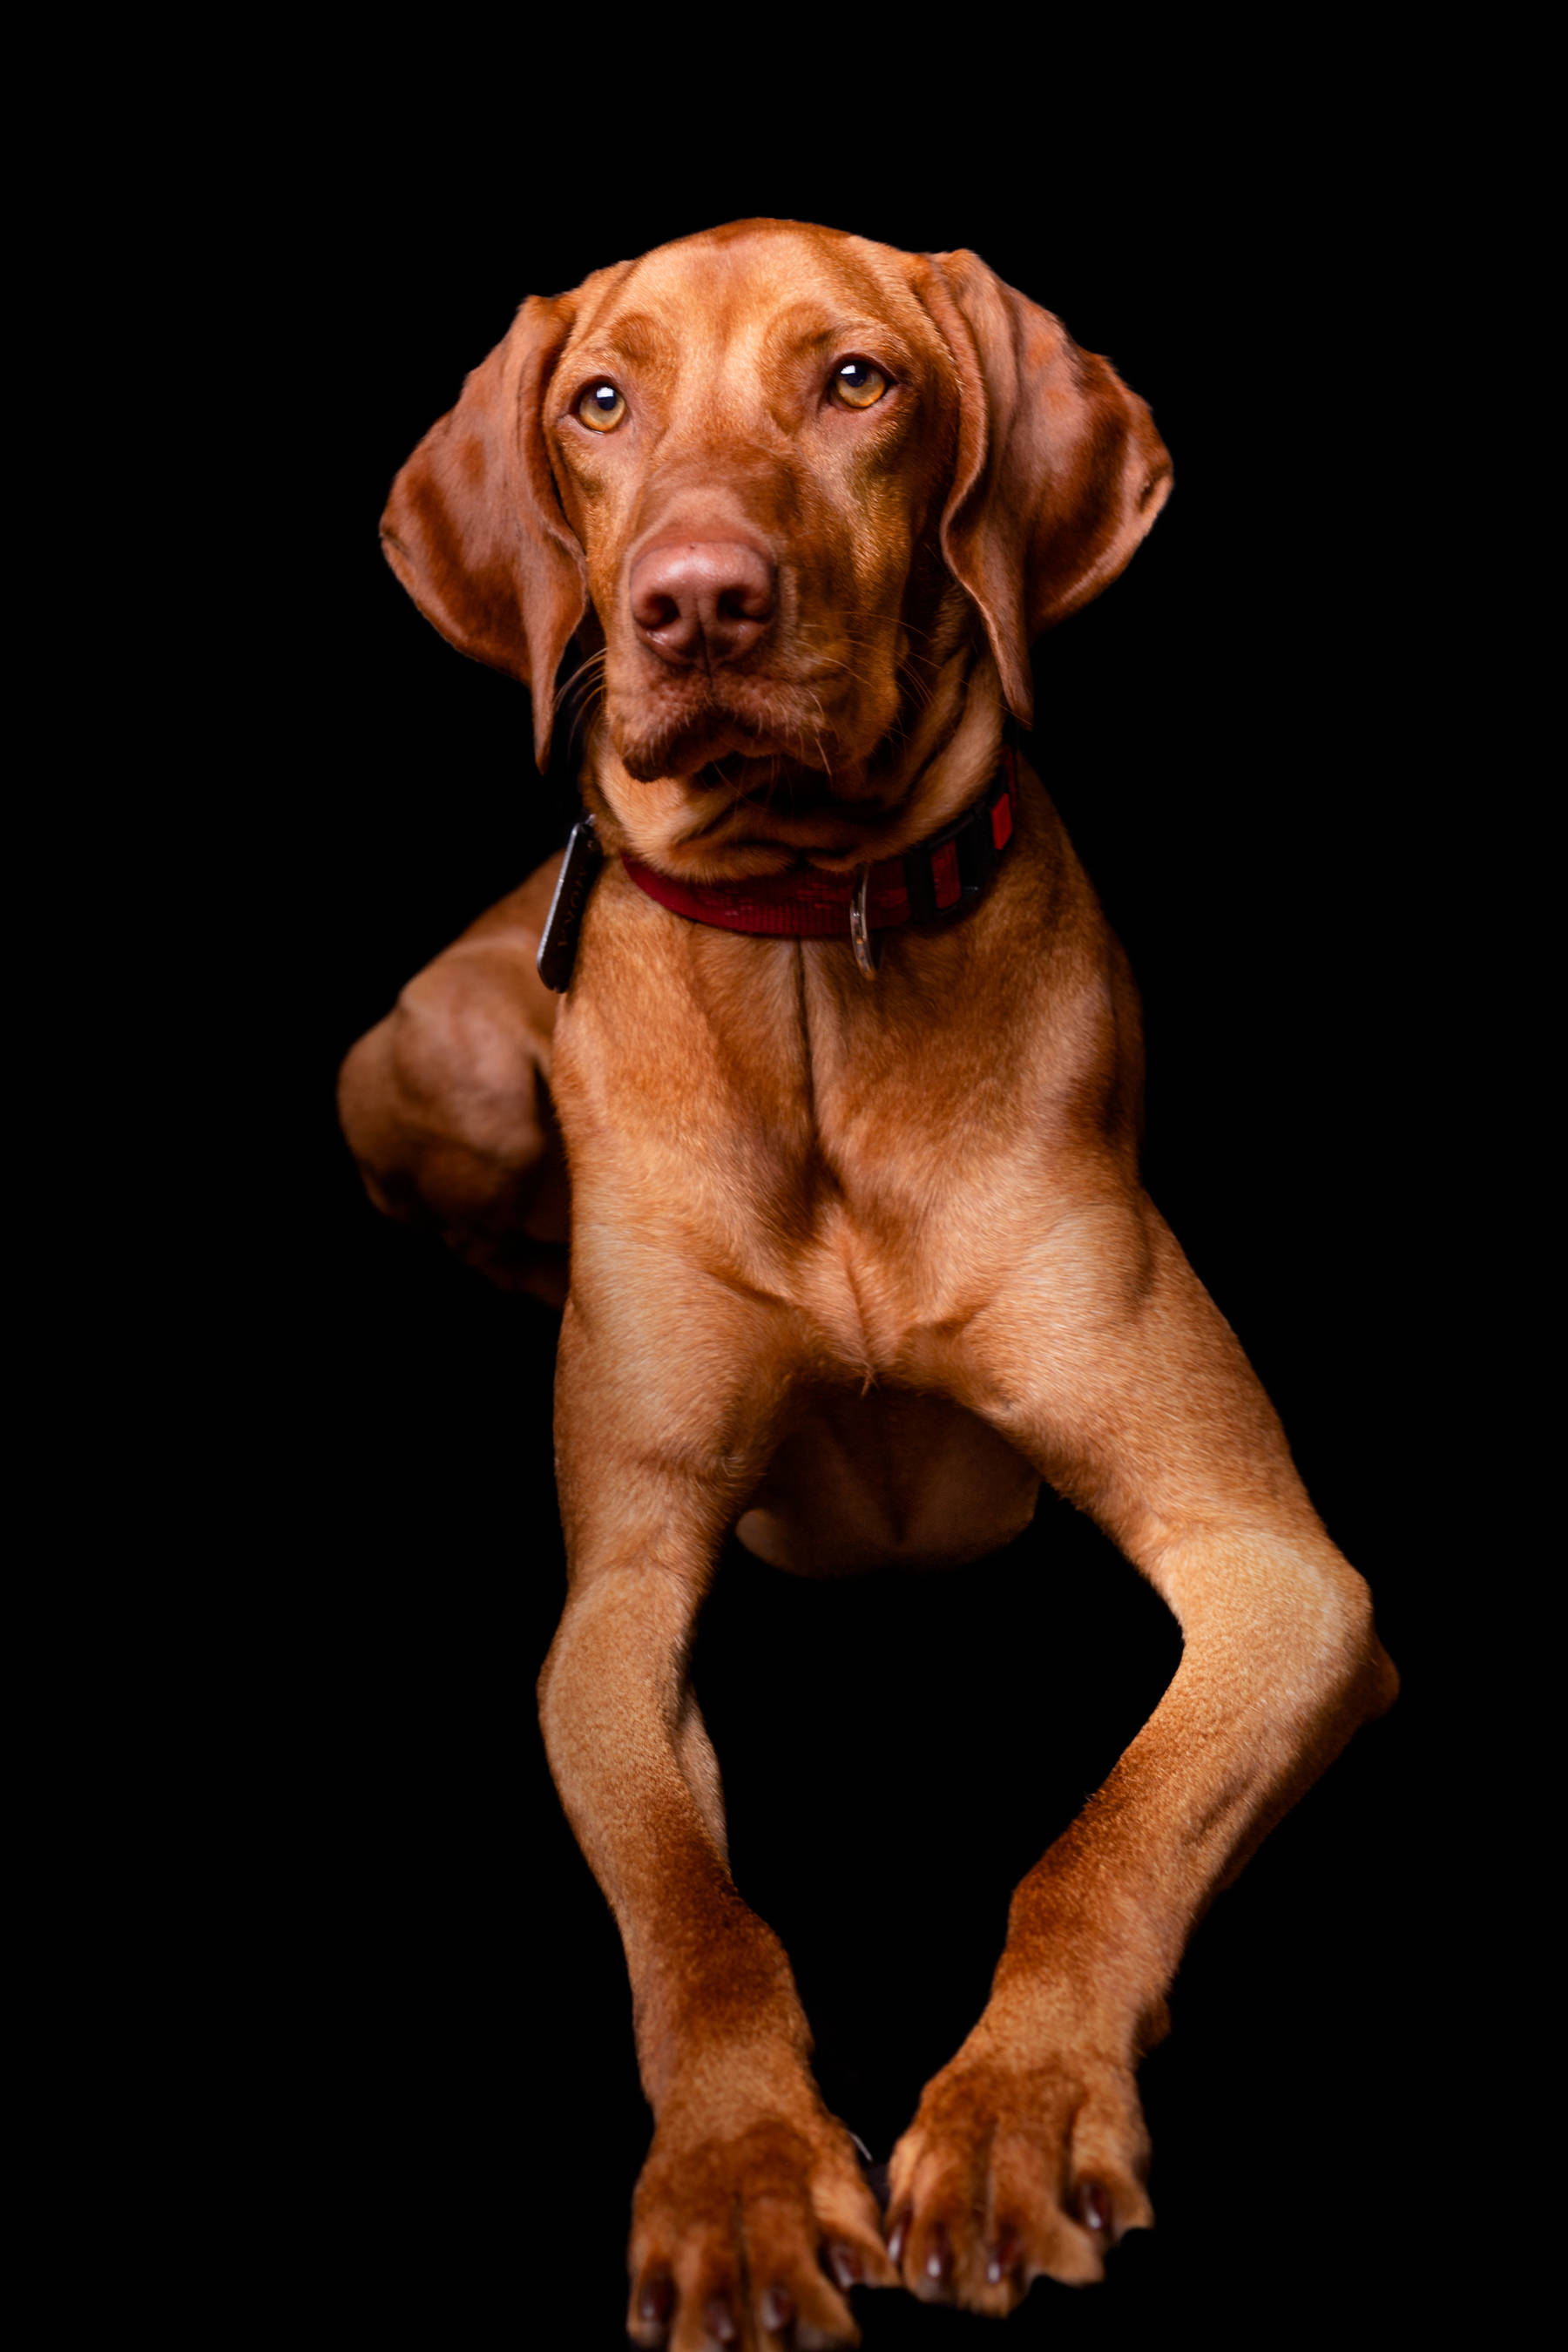
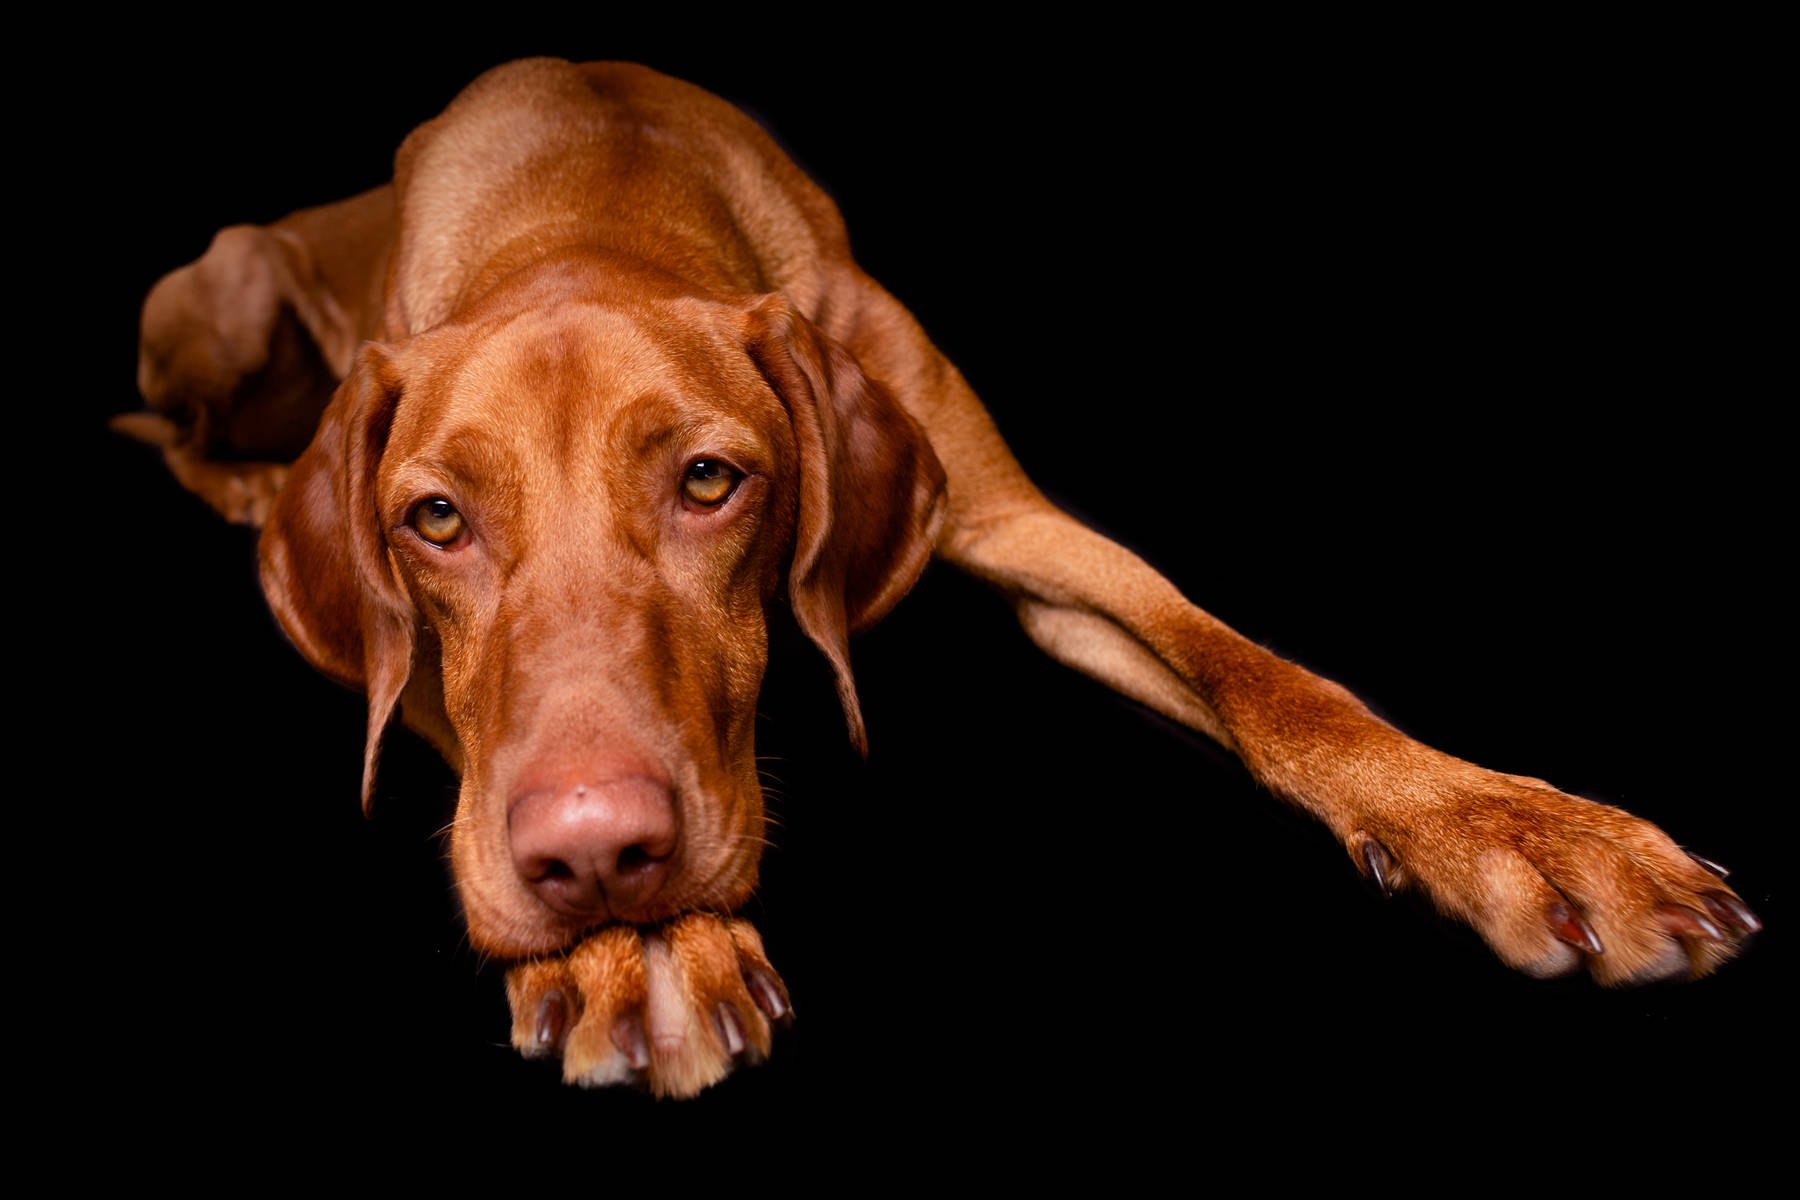
Using the 24mm focal length means that it is easier to get a total photo of the whole dog. It also means that in some shots Moka looks like she has the legs of a Great Dane …
Exif: 1/200 sec f/5 ISO 250 @24mm
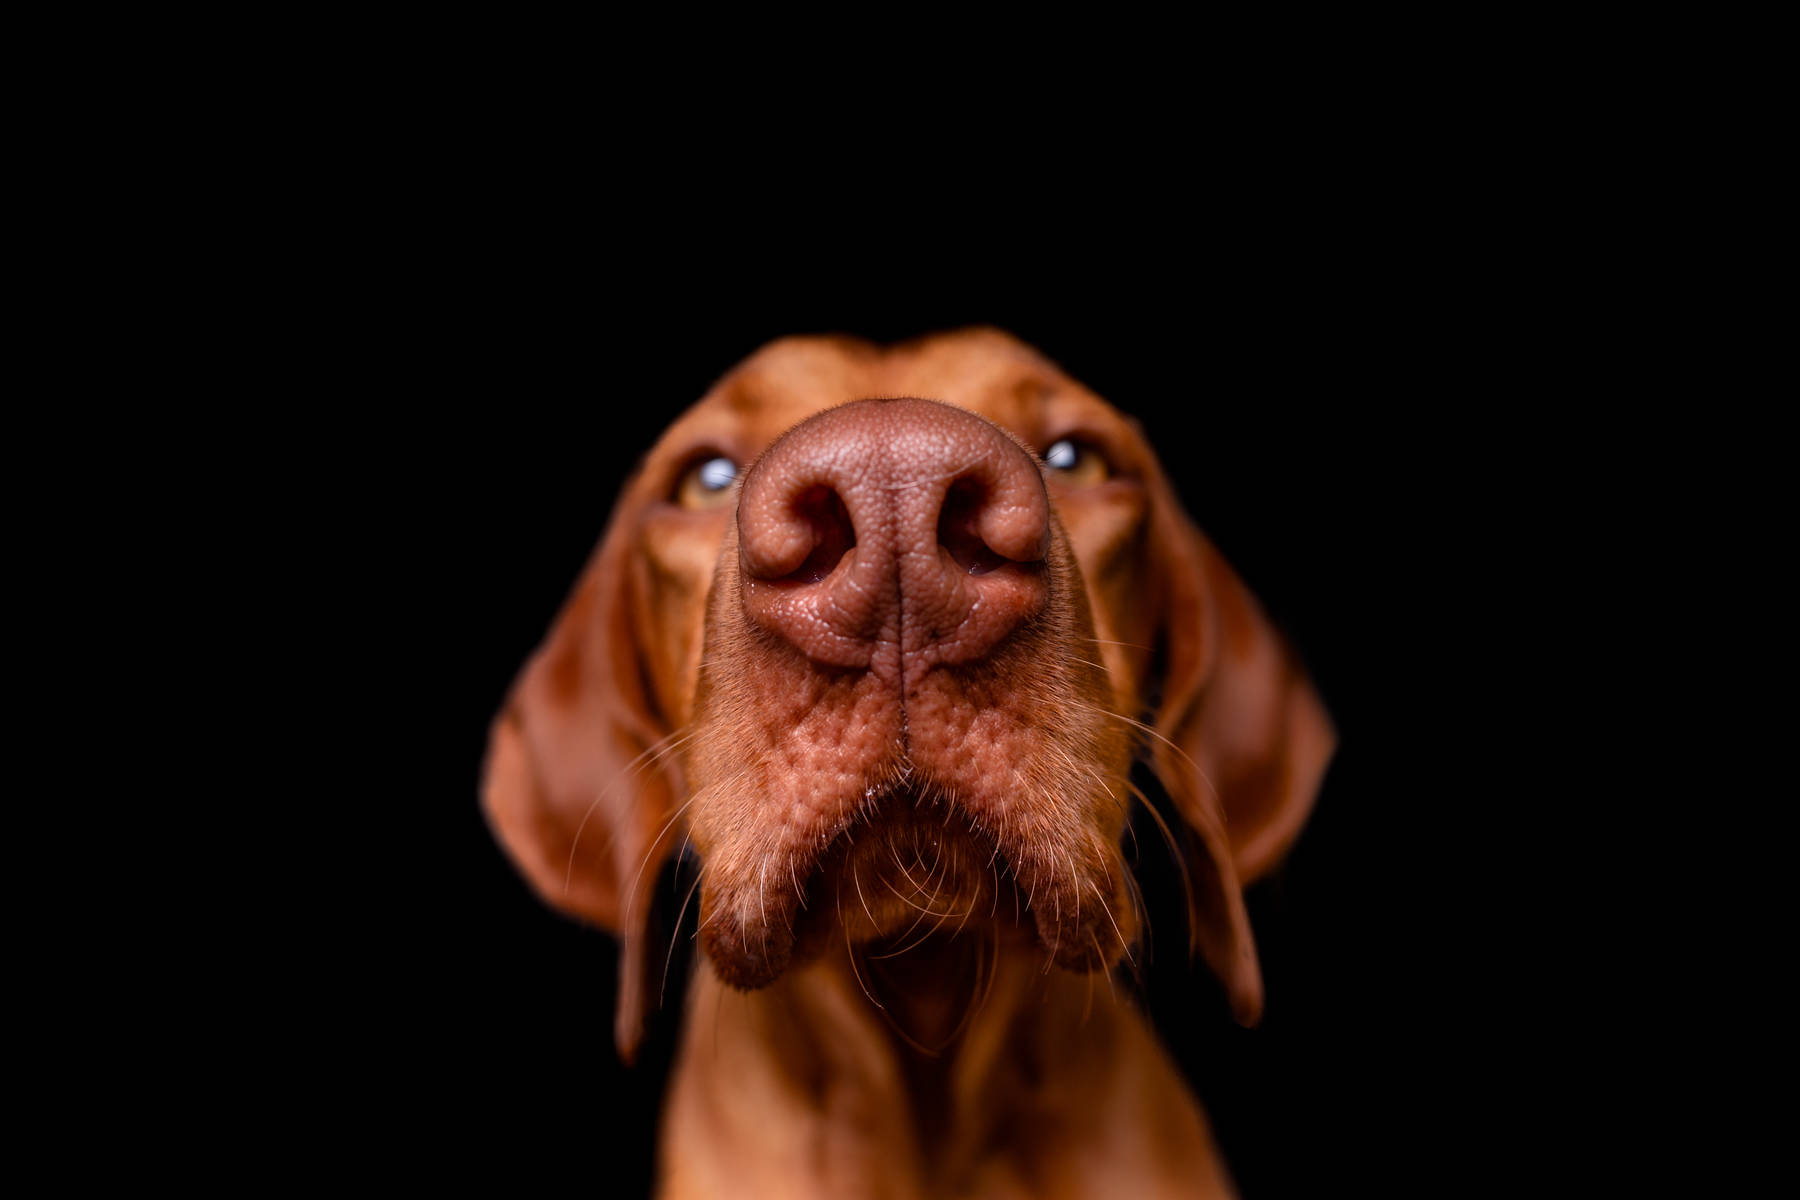
… or it might make the nose steal the focus of the whole photo. Boop!
Editing the Photos
Editing the photos of Moka were a joy! Vizslas are really good and easy for studio photography because of the following reasons:
- They’re short haired. Long fur usually looks unruly and dirty, covers the eyes, and it is difficult to edit the background. Vizslas (or at least Moka) don’t give you any issues with that!
- Their neutral colored. I mean by that that their fur doesn’t have any dark or bright spots and is evenly colored. No problems with with highlights or shadows when using this tone curve!
- They have relatively bright eyes. On top of their eyes not being covered by long fur, their eyes are also a relatively bright brown/amber which has a great impact on photos. Dark eyes hardly reflect the eyes, quickly look dead and often need furhter brightening in Photoshop.
Exif: 1/200 sec f/5 ISO 200 @24mm
I actually completely swapped out the background to make it solid black. However, it’s always helpful to get the shot done as much as possible in camera.
Here is a before and after comparison:
Exif: 1/200 sec f/4.5 ISO 400 @24mm
Inspiration
There are many good dog photographers out there, and the genre really has gained some popularity with a lot of pet owners buying better cameras and improving their skills.
Here are some of the photographers that we follow:
Elke Vogelsang Photography (Wieselblitz on Instagram and Facebook)
Vieler Photography (Instagram, Facebook)
Sebastian Schoppe Pfotografie (Instagram, Facebook)
Alicja Zmyslowska (Instagram, Facebook)
Do you take photos of dogs? And how and where do you like to take them?